
Door & Frame Finish Defects at Handover (India 2026)
Spotting and fixing paint, polish and laminate finish defects on doors at handover — runs, orange peel, dust nibs, lifting laminate and colour mismatch.
A door can be hung dead plumb and latch first time, yet still fail handover — because the door finish defects are the first thing a homeowner sees and the easiest to spot in raking light. Runs and sags in paint, orange peel and dust nibs in polish, a patch of dull sheen, a laminate edge starting to lift, a chipped lipping, or a leaf that simply does not match its frame: these are the snags that get a door rejected at the very end of a project. This guide is the quality-and-defects companion to the craft guides — if you want the how-to of applying the coat, read door painting and door polishing & refinishing. Here we cover how to inspect, what an acceptable finish actually is, and how each defect is rectified before you sign off.
Why finish defects happen on Indian sites
Most finish faults are not the material's fault — they come from the conditions a coat was applied in. India's site realities make all the classic defects more likely: dust drifting from other trades onto a wet film, high humidity and monsoon damp slowing cure and trapping moisture under laminate adhesive, heat skinning a paint surface before it flows out, and painting before plaster or the timber itself has fully dried. Doors are also finished too early — hung and coated while wet trades are still working nearby — so dust nibs and scuffs are almost guaranteed unless the leaf is protected and the final coat held back until the room is clean. Understanding the cause tells you whether a defect is a quick local fix or a strip-and-redo.
The three finish systems you will meet on Indian doors each fail in their own way. Enamel and PU paints show runs, sags, brush marks and dust nibs when applied too thick or in a draught. Melamine and PU clear polishes over veneer reveal patchy sheen, swirl marks and bittiness, and are unforgiving of any wax or silicone contamination. Laminates and acrylic-faced panels don't fail in the coat — they fail at the bond, lifting or bubbling when the adhesive is starved, the panel went on damp, or the edges were never banded. Knowing which system is on the door tells you which column of the catalogue below to read.
The defect, cause and fix catalogue
This is the heart of a finish inspection. Walk every door, name the defect, and decide the rectification before it goes on the snag list.
| Defect | What you see | Likely cause | Rectification |
|---|---|---|---|
| Runs / sags | Vertical drips or curtains in the film | Over-loaded coat, paint too thin, applied vertically | Sand back when fully hard, re-coat thinner |
| Brush / roller marks | Visible ridges and tracking lines | Wrong tool, paint drying too fast, poor laying-off | Sand smooth, re-coat; spray or fine roller for final |
| Orange peel | Dimpled, bumpy sheen like an orange skin | Spray pressure/viscosity wrong, coat too thick | Flat back with fine wet paper, polish or re-coat |
| Dust nibs / bittiness | Gritty specks embedded in the film | Dusty environment, no tack-cloth, no clean cure space | De-nib with 600-1200 grit, buff or re-coat |
| Patchy / uneven sheen | Dull and shiny areas side by side | Inconsistent coats, sanding through, absorbent patches | Seal/prime patches, re-coat whole face evenly |
| Sags around hardware | Build-up near hinges, lock, edges | Finishing after fitting hardware, pooling | Mask hardware or remove it, re-finish cleanly |
| Lifting / peeling laminate | Edge or corner of laminate raised | Poor adhesive bond, moisture, no edge-band | Re-glue and clamp; replace panel if bubbled |
| Bubbling / blistering | Raised blisters in paint or veneer | Moisture under film, painted over damp timber | Strip blistered area, dry, prime, re-coat |
| Chipped edges / lippings | Bare bruised corners and edges | Knocks in transit, careless handling | Fill, sand, touch-in to match |
| Colour / sheen mismatch | Leaf and frame are different shades | Different batches, products or applicators | Re-coat the odd element to match the set |
| Bleeding knots / stains | Brown stain ghosting through paint | No knot-sealer / stain-block primer | Sand, apply stain-block, re-coat |
| Cissing / fish-eyes | Small craters in the film | Oil, silicone or wax contamination | Clean substrate, key, re-coat |
For the underlying surface preparation and coat sequence behind most of these fixes, cross-check door frame installation handover order and the application detail in door painting.
What an acceptable door finish actually is
A "perfect" finish is not the standard — a consistent, sound, defect-free at normal viewing distance finish is. IS 1003 (wooden flush and panelled doors) and IS 1200 / CPWD specifications govern measurement and workmanship on Indian contracts; the practical acceptance rule of thumb for a homeowner is below.
| Aspect | Acceptable | Not acceptable |
|---|---|---|
| Surface texture | Smooth, even; minor nibs only at very close raking light | Visible runs, sags, orange peel at normal distance |
| Sheen | Uniform across leaf and frame | Patchy dull/shiny areas, glossy where matt specified |
| Colour | Leaf, frame and beads match as a set | Visible shade or undertone mismatch |
| Coverage | Full, opaque (paint) or even build (polish) | Bare patches, primer ghosting, thin edges |
| Edges & lippings | Fully finished, no bare or chipped corners | Unpainted top/bottom edges, chips, bruises |
| Laminate / veneer | Flat, fully bonded, edges banded | Lifting, bubbling, open joints, frayed edges |
| Hardware areas | Clean lines, no paint on hardware | Paint over hinges/lock, sags at fittings |
| Top & bottom edges | Sealed (critical against moisture) | Raw — invites swelling and warp |
The most-missed item is the top and bottom edge: an unsealed edge lets monsoon humidity into the core and is a genuine defect, not a cosmetic one, because it leads to swelling and warp. Always check it at handover. This sits alongside the broader door operation testing and door snagging routine.
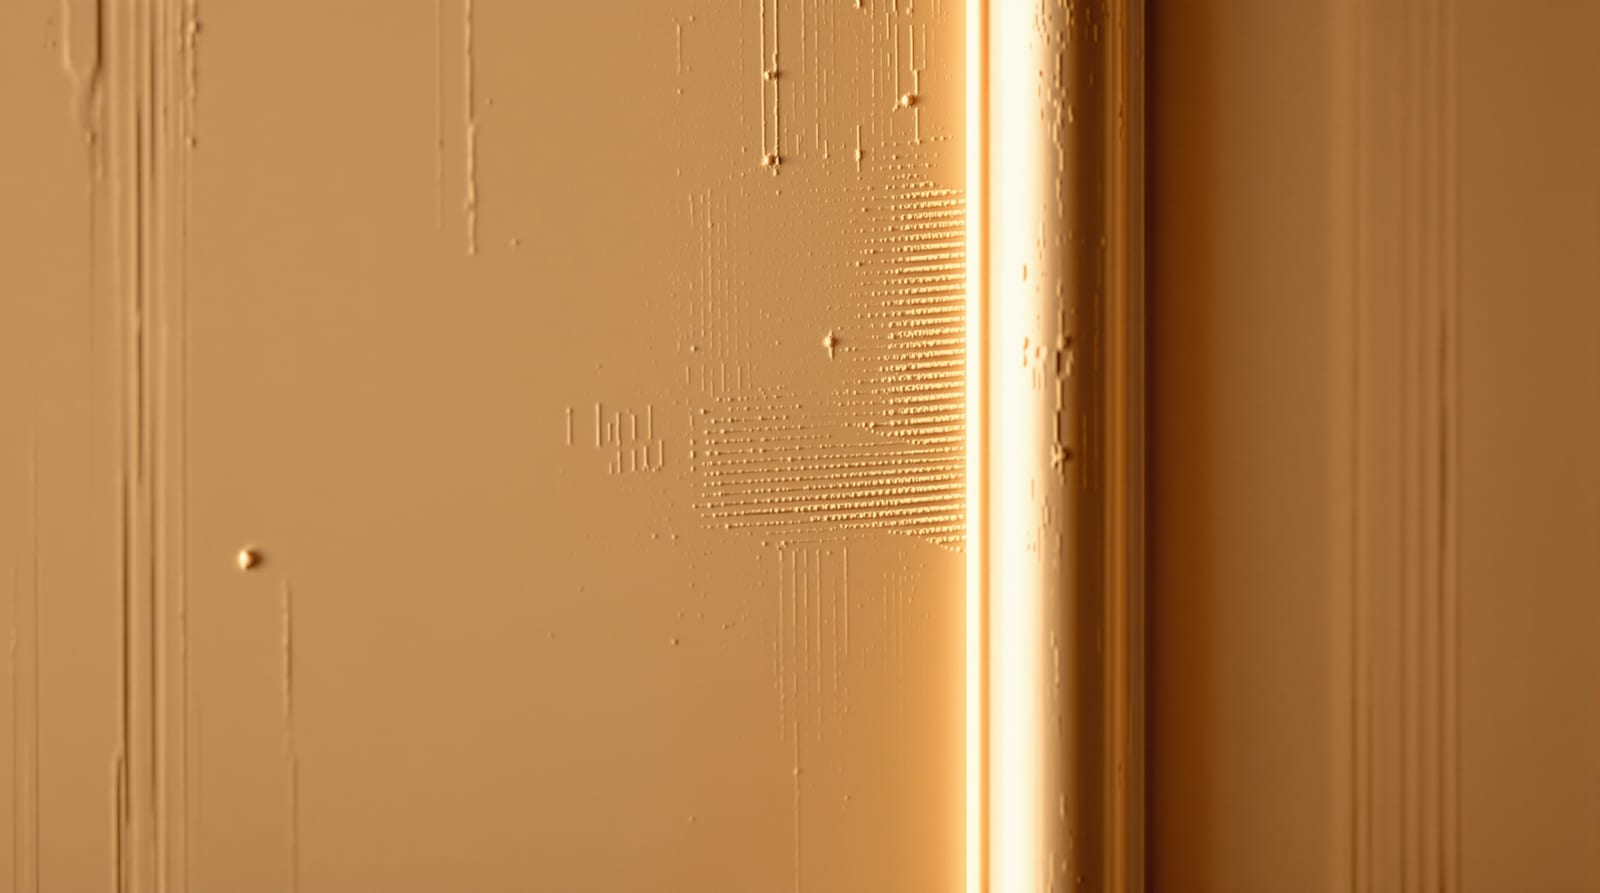
How to inspect — light, distance and the witness test
Inspection technique decides whether you catch a defect or argue about it later.
1. Use raking light. Hold a torch or phone light low and almost parallel to the surface. Runs, nibs, sanding marks and orange peel that vanish under flat light jump out under a grazing beam.
2. Step back to a normal viewing distance (about an arm's length to a metre). A defect invisible at a metre is usually not a defect; one obvious at a metre always is. This is the fair test.
3. Run a clean hand across the face. Your palm feels dust nibs, ridges and edge chips your eye can miss.
4. Check leaf against frame as a set, side by side, in the room's actual light — colour and sheen mismatch only shows when they are together.
5. Press laminate edges and corners with a thumbnail; a lifting edge gives or clicks. Tap suspected bubbles — a hollow sound means a failed bond.
6. Inspect the top and bottom edges by feel and torch — the commonly forgotten faces.
7. Mark each defect with low-tack tape or a dot and log it on the punch-list.
Finish-defect inspection map
Touch-in versus strip-and-redo — how big is the fix
Not every defect needs the whole door re-done. Use this decision rule:
| Severity | Examples | Right fix |
|---|---|---|
| Local / cosmetic | A few dust nibs, a small chip, one light run | De-nib, fill, touch-in to match — spot repair |
| Whole-face | Patchy sheen, brush marks across the leaf, orange peel | Flat back and re-coat the entire face evenly |
| Substrate | Bubbling over damp, bleeding knots, lifting laminate | Strip back, dry, fix the cause, then re-finish |
| Reject / replace | Bubbled laminate over a large area, warped/swollen leaf | Replace the leaf or panel — don't paper over it |
The trap with a melamine, PU or polish finish is that a localised touch-in can leave a sheen halo, so a whole-face re-coat is often the honest fix even for a moderate defect. A colour-mismatch between leaf and frame can almost never be "touched in" — re-coat the odd element so the set matches. Where laminate is bubbled or a leaf has swelled, that is a replacement, not a repair; insist on it during the door defect liability period rather than living with it.
Timing matters as much as technique. A coat that has not fully hardened will not sand cleanly — it clogs the paper and tears — so wait until the film is properly cured before any flatting-back. In monsoon humidity that can mean a day or two longer than the tin claims. Equally, never accept a fix done in a hurry on a dusty landing; the re-coat will pick up the same nibs the first one did. A genuine rectification fixes the cause first — dries the substrate, seals the knot, cleans off contamination, re-banding the laminate edge — and only then re-finishes. A re-coat applied straight over an un-cured cause is not a repair, just a second defect waiting to surface, and you are entitled to hold it as an open snag until it is done properly.
Finishing should always be the last trade: hang the leaf, fit the ironmongery, then apply the final coat or polish in a clean, dust-controlled room so you are not coating over hardware or into site dust. Log every finish defect on the same punch-list you build during common door defects inspection, fold it into the door handover pack, and pull the whole sequence together at the complete door guide. Build the punch-list itself with the door snagging checklist generator and check it against the door acceptance tolerance checker.
Frequently asked questions
Are a few dust nibs in the polish a defect I can reject?
At normal viewing distance — about a metre — the finish should look smooth and even. A few nibs visible only under raking light at very close range are usually acceptable; nibs you can see and feel at arm's length are a defect. The fair test is normal viewing distance, not a microscope.
The door leaf is a slightly different shade from the frame — must they match?
Yes. A door-set should read as one colour and sheen. Leaf-versus-frame mismatch usually comes from different paint batches, products or applicators, and it cannot be "touched in" without leaving a halo. The correct fix is to re-coat the odd element so the whole set matches.
The laminate is starting to lift at one corner — is that fixable?
A small lifting edge can be re-glued and clamped, and the edge banded. But if the laminate is bubbling over a wider area or the bond has failed because of trapped moisture, re-gluing won't hold — that panel or leaf should be replaced. Press edges with a thumbnail and tap for hollow spots to judge.
Why are my freshly painted doors covered in tiny specks?
Dust nibs — the film picked up airborne dust before it cured. On Indian sites this happens when doors are finished while other trades are still raising dust nearby. De-nib with 600–1200 grit and re-coat the final layer in a clean, dust-controlled room. The cure is to finish last, not first.
Should the top and bottom edges of the door be finished too?
Yes — and they are the most commonly skipped. Unsealed top and bottom edges let humidity into the core and cause swelling and warp, especially through the monsoon. An unsealed edge is a genuine defect, not a cosmetic one. Check both edges by torch and feel at handover.
Export this guide
Related Guides — Deep-dive reading
Door Snagging Guide: Inspect & Fix Defects India 2026
How to build a door snag list, inspect a fitted door systematically and clear binding, gap, latch, finish and hardware defects before handover.
Home Doors & EntrancesDoor Painting Guide for Indian Homes (2026): Prep, Paint, Coats & Cost
How to paint a door the right way — remove hardware, clean, sand, fill and prime, then choose enamel, PU or acrylic for wood, flush, metal or WPC doors, brush vs roller vs spray, the correct panel-door painting order, coats and monsoon drying caveats, with ₹ for a DIY repaint vs a painter.
Home Doors & EntrancesDoor Acceptance Criteria: Tolerances & Tests India 2026
What 'acceptable' means for a fitted door: even gaps, frame plumb, flat leaf, one-hand operation, latches first time, clean finish — and the accept/snag/reject thresholds.
Home Doors & EntrancesRelated Tools — Try Free
Painting Prep & Quality Checklist
Painting audit — 10 categories, 65+ checkpoints across surface prep, putty, primer, emulsion coats, enamel, external, ceilings, defects, final QC.
Painting QCDoor Paint Calculator
Estimate paint and primer litres and cost to paint your doors by size, number of doors, coats and paint type.
Door CalculatorSnag Checklist
Professional interior snag checklist for handover inspection across 10 work categories.
Snag List