
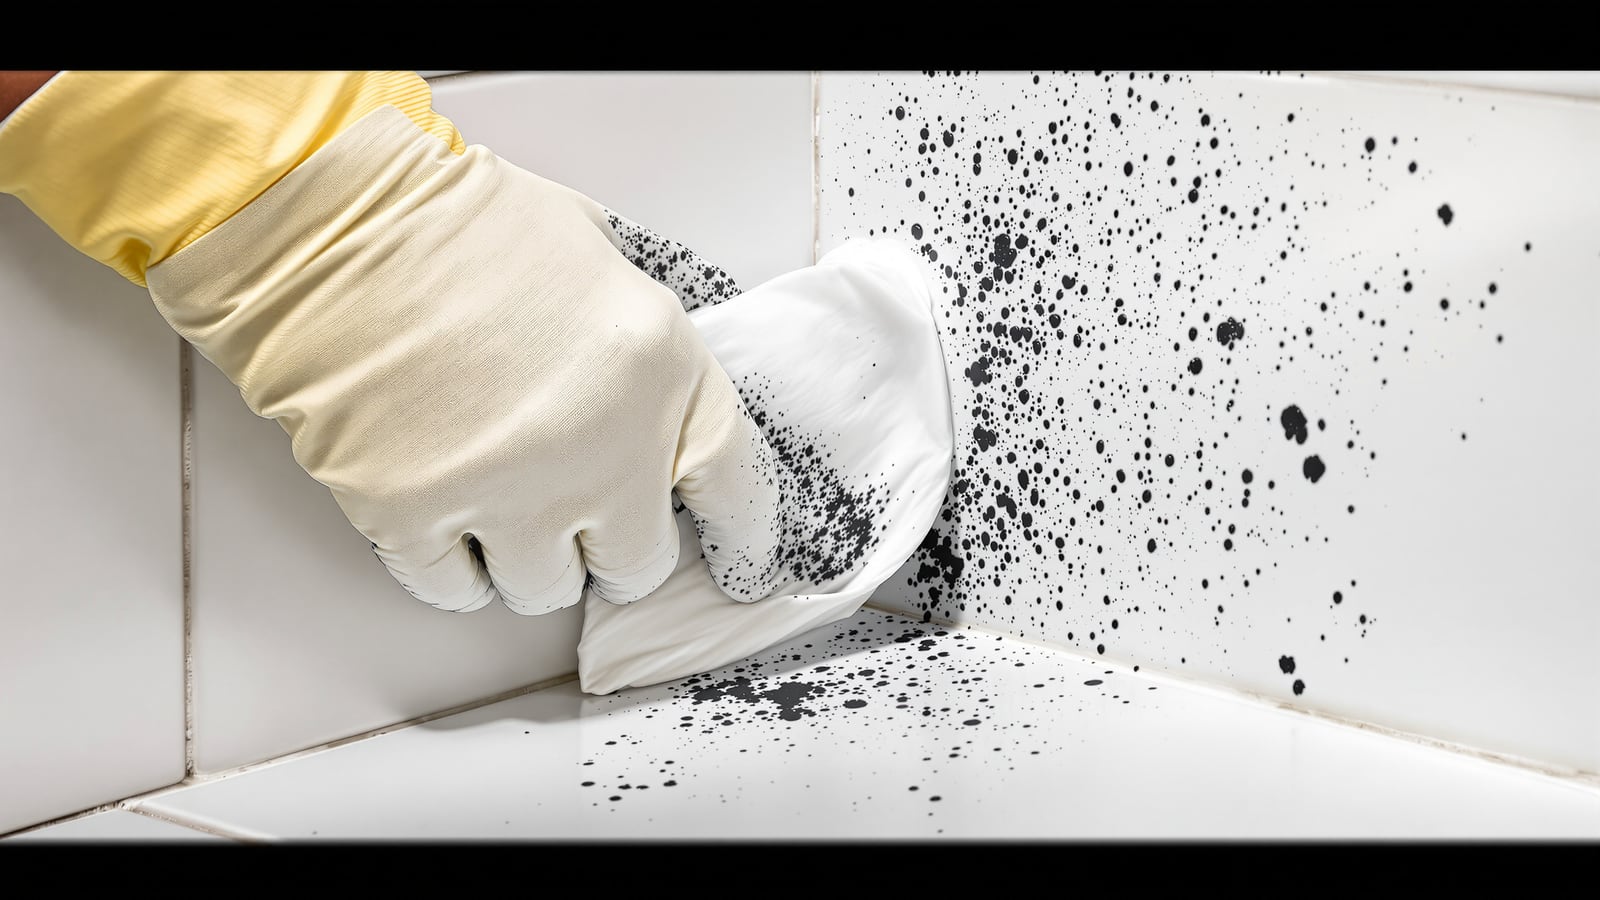
How to Remove Bathroom Mould India: Kill Black Mould on Silicone, Grout & Ceilings for Good
A safe, practical Indian playbook for getting rid of black mould and mildew — where it hides, how to scrub it off grout and tiles with diluted bleach or vinegar, when to cut out mouldy silicone instead, and how to stop it coming back through the monsoon.
Those dark speckles creeping along the silicone joint behind your tap, the grey-black fuzz in the grout lines, the spreading stain in the ceiling corner above the shower — that is mould, and in an Indian bathroom it is almost never a one-off. It is a colony feeding on constant dampness. The good news is that removing it is cheap and quick with things you already own. The catch is that unless you also kill the moisture feeding it, it will be back within a fortnight — faster during the monsoon.
This guide is the removal companion to the Studio Matrx bathroom cleaning guide for India. It covers exactly where mould hides, how to strip it off each surface safely, when scrubbing is a waste of time and you should cut the silicone out instead, and the routine that keeps it gone. For the deeper why — condensation, dew point and airflow — read the companion bathroom condensation and mould prevention guide.
Mould does not need dirt — it needs water. A bathroom that dries out within an hour of every shower will not grow mould even if you never scrub it. Remove the mould you have, then remove the moisture, and the problem is over.
Where black mould grows — and why there
Mould always colonises the spots that stay wet longest and dry slowest. Learn to read them and you know where to attack.
- Silicone joints. The flexible seal around the bath, shower tray, basin and the wall-to-floor corner is the number-one home for black mould. It stays damp, and the mould roots into the silicone rather than just sitting on top — which is why it so often will not scrub clean.
- Grout lines. Cement grout is porous and soaks up water, especially on the shower wall and floor. Unsealed grout is a reliable seed point.
- Ceiling and top corners. The ceiling is the coldest surface, so it condenses first, and it is the hardest to wipe. The corner where two walls and the ceiling meet is a dead-air pocket that barely dries.
- Behind fittings and in dead spots. Behind the cistern, under a loose tile, along a window reveal, or in a poorly vented false ceiling — anywhere air does not move and water lingers.
Remove it safely: protect yourself first
Disturbing a mould colony releases a burst of spores, so a little care matters — especially for children, the elderly and anyone with asthma or allergies.
- Wear rubber gloves and a mask. A basic N95 or a snug cloth mask keeps spores out of your lungs.
- Ventilate hard. Open the window and run the exhaust fan the whole time you work.
- Never dry-brush. Spray or wet the mould first so it does not go airborne.
- ⚠️ Never mix bleach with any acid or ammonia cleaner. Household bleach plus a toilet/acid cleaner (like Harpic) or an ammonia glass cleaner releases toxic chlorine gas. Use one product, rinse well, and never combine. This is the single most important safety rule on this page.
The two cleaners that work: diluted bleach or vinegar
You do not need a specialist product. Two everyday options handle almost all bathroom mould.
- Diluted household bleach (sodium hypochlorite). The fastest way to kill mould and remove the black stain, especially on white grout and tile. Mix roughly one part bleach to four parts water in a spray bottle, or use a ready mould-and-mildew spray. Spray, leave 10–15 minutes, scrub, rinse. Bleach whitens the stain even where mould has died. Do not use it on natural stone (marble, granite) or coloured grout, and never near an acid cleaner.
- White vinegar. A gentler, fume-free choice that kills most common bathroom moulds. Spray neat white vinegar (the plain distilled kind, widely sold), leave an hour, scrub, then wipe. Vinegar does not bleach out the black stain as well as chlorine, but it is safer around children, pets and poor ventilation. Because vinegar is a mild acid, keep it well away from any bleach and off marble and other natural stone.
- Baking soda paste as a scrubbing helper. A paste of baking soda and a little water lifts stains and deodorises; pair it with vinegar (expect harmless fizzing) or with a mould spray, never with bleach.
| Surface / spot | Best cleaner | Method | Avoid |
|---|---|---|---|
| Cement grout (white) | Diluted bleach | Spray, 10–15 min, stiff-brush, rinse, then seal | Acids near bleach |
| Coloured / epoxy grout | White vinegar or mild mould spray | Spray, dwell, soft-brush, rinse | Bleach (can lighten colour) |
| Ceramic / vitrified tile | Either | Spray, wipe, rinse, dry | Abrasive scourers |
| Painted wall / ceiling | Mould spray or diluted bleach | Wipe, dry fully, repaint anti-fungal | Over-wetting bare plaster |
| Marble / natural stone | pH-neutral cleaner only | Wipe gently, dry | Bleach AND vinegar (both etch) |
| Silicone sealant | See below — usually replace | — | Wasting time scrubbing rooted mould |
Scrubbing vs replacing mouldy silicone
This is the decision that trips up most people. Mould in grout almost always scrubs clean — grout is a surface the stain sits on, and once cleaned and sealed it stays clear. Mould in silicone is different: the colony grows into the flexible sealant, so the black staining is under the surface and no amount of scrubbing removes it.
- Try to clean first. For light, recent silicone mould, lay a strip of bleach-soaked tissue or cotton along the joint, cover with cling film, leave a few hours, then rinse. This deep-contact trick clears many joints.
- If the black is still there, cut it out and re-seal. Once mould is rooted, replacing the silicone is faster, cheaper and permanent. Slice the old bead out with a sharp blade or a silicone remover, clean and fully dry the joint, then run a fresh bead of good-quality anti-fungal / mould-resistant sanitary silicone (Dr. Fixit, GE, Wacker and others sell bathroom grades for a few hundred rupees a tube). Re-siliconing a bath or shower joint yourself costs well under ₹500; a handyman will do it for ₹500–₹1,500.
- Reseal the grout while you are at it. Cleaned grout that is left porous just re-absorbs water. A grout sealer denies mould the damp line it prefers — see the grout cleaning and sealing guide for India.
The root cause is moisture — so prevention is the real fix
You can strip every trace of mould in an afternoon and have it back before the month is out, because removal treats the symptom. The cause is a surface that stays wet. Three habits and one finish keep a bathroom dry enough that mould has nowhere to grow.
- Ventilate and run the fan on. The air is wettest in the minutes after the shower. Run the exhaust fan 15–20 minutes past your shower (a run-on timer makes it automatic), give the fan make-up air with a door undercut, and prop the door open after. The full sizing-and-ducting detail is in the bathroom ventilation guide for India.
- Wipe down. Thirty seconds with a squeegee on the glass and tiles, plus a wipe of the cistern and any ledge, removes the standing water mould needs. In hard-water cities it also stops the white scale mould loves to colonise.
- Repaint in anti-fungal bathroom paint. Distemper and cheap emulsion feed mould; a washable anti-fungal acrylic (Asian Paints, Berger, Dulux and Dr. Fixit all sell bathroom grades) resists it and wipes clean. Prime a previously mouldy wall with an anti-fungal primer so the colony does not bleed through.
- Seal the grout and separate the wet zone. Sealed grout and a shower enclosure or partition keep water in one corner and let the rest dry fast.
| How often | What to do | Why it stops mould |
|---|---|---|
| Every shower | Run fan 15–20 min after; squeegee glass and tiles; prop door open | Removes the standing water mould needs to start |
| Weekly | Wipe silicone joints and grout dry; spot-spray any early speckle | Kills colonies before they root in |
| Monthly | Scrub grout with a mould cleaner; check behind cistern and corners | Clears the porous and dead-air spots |
| Yearly / as needed | Re-seal grout; renew mouldy silicone; refresh anti-fungal paint | Denies mould a damp surface to live on |
Health note — this is not just a stain
Persistent bathroom mould degrades the indoor air quality of the whole home, because the bathroom shares air with the rest of the house every time the door opens. Spores and, in some species, irritant compounds can trigger or worsen allergies, asthma, a blocked nose, coughing and eye irritation — a genuine concern for children, older adults and anyone with a respiratory condition. That musty, earthy smell in a bathroom that looks clean is microbial activity in hidden damp, and it is a signal to investigate, not to spray more air freshener.
If mould keeps returning to the exact same patch within days of cleaning, stop scrubbing and start investigating. There is a water source there — a leak, failed waterproofing or a cold bridge — and until it is fixed, no cleaner will hold. That is a job for the bathroom condensation and mould prevention guide, and for large or recurring damp, a professional.
Your monsoon strategy
The monsoon is mould season: for weeks the outdoor air is near-saturated, so bathrooms never fully dry and colonies explode. Front-load the work.
1. Before the rains, do a full removal pass — scrub grout, renew mouldy silicone, and repaint walls and ceiling in anti-fungal paint so you enter the season clean.
2. Run the fan longer — humid make-up air is slow to dry the room, so extend the run-on and keep the door open.
3. Add a dehumidifier for the peak weeks in coastal and high-rainfall regions; keep relative humidity under about 60 percent and mould cannot establish. Calcium-chloride absorber pouches are a cheap stop-gap for a small closed bathroom.
4. Do a weekly speckle patrol — spray any early spots on silicone and corners the moment they appear, before they root.
Get the removal done once, properly, then keep the room dry — and even an Indian monsoon bathroom stays clear.
References
- National Building Code of India (NBC) 2016, Part 8 (Building Services), Section 1 — natural and mechanical ventilation and moisture-control requirements for bathrooms and wet areas.
- Bureau of Indian Standards (BIS) — standards for interior emulsion and washable/anti-fungal surface coatings relevant to mould-resistant bathroom paint.
- Manufacturer care and safety guidance — Asian Paints, Berger and Dulux anti-fungal bathroom paint instructions; Dr. Fixit and GE sanitary silicone application guidance; household bleach (sodium hypochlorite) label safety directions, including the warning never to mix with acid or ammonia cleaners.
- IGBC / GRIHA residential green building criteria — indoor environmental quality and moisture-management provisions for healthy homes.
- National Centre for Disease Control (NCDC) / general public-health guidance on damp and mould and its respiratory effects for sensitive groups.
Export this guide
Related Guides — Deep-dive reading
Bathroom Condensation and Mould India: Stop Damp, Black Mould & Musty Smell for Good
Why warm, wet shower air keeps fogging your tiles, ceiling and walls with black mould — and the full Indian playbook to stop it: exhaust run-on, anti-fungal paint, wet-dry separation, wiping down, a dehumidifier, and safely cleaning the mould you already have.
BathroomsHow to Clean Bathroom Tiles (India): Shine, Hard-Water Film & Soap Scum
A practical, India-first routine for cleaning bathroom tiles and keeping them glossy — the daily squeegee habit, weekly wash, monthly deep clean, and the safe cleaner for each tile type, including the golden rule that natural stone must never meet acid.
BathroomsEpoxy Grout vs Cement Grout for Tiles in India: Which to Specify (2026)
A plain-English guide to tile grouts for Indian homes: what grout does, how cementitious grout compares with epoxy grout on cost, stain and water resistance, hygiene and durability, and exactly where each one belongs - kitchens, bathrooms, pools, dry rooms and more.
Building MaterialsRelated Tools — Try Free
Cross-Ventilation Analyzer
Estimate airflow and air changes per hour (ACH) from room size, window areas, layout, and local wind — with NBC 2016 Part 8 compliance check.
Ventilation CalculatorBathroom Sealant Calculator
How many tubes of silicone sealant a bathroom needs and the cost — by joints to seal, lengths and bead size, with an anti-fungal note.
Bathroom CalculatorPainting Prep & Quality Checklist
Painting audit — 10 categories, 65+ checkpoints across surface prep, putty, primer, emulsion coats, enamel, external, ceilings, defects, final QC.
Painting QC