
Bathroom Leak Repair in India: Find & Fix Common Leaks (2026)
A practical, India-first guide to finding and fixing the everyday bathroom leaks — dripping taps, weeping traps and angle valves, a running cistern, failed silicone seals — plus how to tell a simple fixture leak from a waterproofing failure that needs a professional.
A leaking bathroom is rarely the disaster it feels like at 2 a.m. The overwhelming majority of household leaks are small, mechanical and cheap: a rubber washer that has hardened, a plastic trap nut that has worked loose, an angle valve whose spindle has given up, or a line of silicone that has shrunk and lost its grip. None of these needs a contractor. What they need is the right diagnosis — because the one leak that does need a professional, a genuine waterproofing failure, hides behind exactly the same first symptom as the trivial ones: a wet patch.
This guide is the repair-and-maintenance companion to construction waterproofing. If you are building or renovating and want the membrane done right, that is a different job — see the bathroom waterproofing failure guide for why membranes fail and how to inspect them. This page is about the leaks you can chase down and fix on a Sunday, and the clear line where you should stop and call for help. For everyday upkeep that prevents leaks in the first place, keep the bathroom cleaning and maintenance guide close, and for taps specifically, the faucet maintenance guide.
Water never leaks where it appears. It runs along the underside of a slab or the back of a cabinet and drips at the lowest point. Always trace the leak uphill to its source before you touch a spanner.
First: is it a fixture leak or a waterproofing leak?
This single question decides whether you reach for a spanner or a phone. A fixture leak comes from a specific object — a tap, a trap, a valve, a cistern, a seal — and it stops when you shut that fixture's supply or stop using it. A waterproofing leak comes from water passing through the floor or wall assembly, and it keeps going regardless of any single fixture. Spend ten minutes here before anything else.
- Dry the whole area, then watch. Wipe everything, lay a sheet of newspaper or tissue under each suspect, and come back in an hour. The paper that wets first sits under the source.
- Isolate by supply. Close the angle valve under the basin or WC. If the drip stops, it is that fixture's supply side. If it continues, it is drainage or waterproofing.
- Test wet vs dry. Keep the bathroom completely dry for a full day — no shower, no washing. If the ceiling patch below still grows, water is coming from the structure (a waterproofing or concealed-pipe failure), not from anything you use.
- Look at the pattern. A sharp, repeatable drip tracking one pipe is a fixture or joint. A slow, diffuse brown ring on the ceiling below that spreads over weeks is almost always a slab/membrane issue.
If the isolation test points to the structure, stop DIY here. A wet patch on the ceiling below that survives a dry day is a job for the bathroom waterproofing failure guide and likely a professional, not a washer.
The common leaks, and how to fix each
Once you have confirmed it is a fixture leak, the culprit is almost always one of five things. Here is what each looks like, what causes it, and the DIY fix.
| Leak | Where you see it | Usual cause | DIY fix |
|---|---|---|---|
| Dripping tap | Slow drip from the spout after closing | Perished rubber washer (pillar/pillar-cock taps) or worn ceramic cartridge (single-lever mixers) | Replace the washer (₹5–20) or the cartridge (₹150–600) |
| Leaking angle valve | Drip from the small wall valve feeding a tap/WC | Failed spindle seal, or hard-water scale on the ceramic disc | Tighten the gland nut; if it still weeps, swap the valve (₹120–400) |
| Weeping trap joint | Drip under the basin from the bottle-trap or P-trap | Loose slip-nut, dislodged rubber washer, or cross-threaded plastic | Hand-tighten the nut; reseat the washer; re-thread cleanly |
| Running / leaking cistern | Water trickling into the pan, or drip below the tank | Worn flush valve seal, float set too high, or perished inlet washer | Replace the flapper/flush seal kit (₹150–500); reset float level |
| Failed silicone seal | Water behind the WC, basin or tub edge | Silicone has shrunk, blackened or peeled off the joint | Rake out the old bead and re-caulk with sanitary silicone |
Whichever of the five you are fixing, the workflow is the same six steps. Learn it once and every repair below follows the same rhythm.
1. Dripping tap
Shut the angle valve below first, then open the tap to drain the line. For a traditional pillar tap, unscrew the bonnet, lift out the spindle, and you will find a small rubber washer at the base — hardened washers are the number-one cause of drips. Prise it off, take it to the hardware shop to match the size, and fit the new one. For a modern single-lever mixer, the drip usually means the ceramic cartridge has worn or scaled up; lever off the cap, undo the retaining screw or ring, pull the cartridge, and match a replacement. Smear a little silicone grease (never oil) on the new seals. India's hard water scales cartridges fast — a periodic soak of removed parts in white vinegar clears the deposits, and the faucet maintenance guide covers the descaling routine that keeps taps drip-free for years.
2. Leaking angle valve (angle cock)
The small quarter-turn valve on the wall is the unsung hero — and it fails quietly. If it weeps around the spindle, gently snug the gland nut behind the handle a quarter turn; often that alone stops it. If water seeps from the body or the valve will not shut fully, hard-water scale has scored the ceramic disc and it is time to replace it. Shut the main supply, unscrew the old valve, wrap the male thread with PTFE (Teflon) tape — about 6–8 turns, clockwise — and hand the new valve on. A ₹200 brass valve is cheap insurance under a ₹15,000 basin.
3. Weeping bottle-trap or P-trap joint
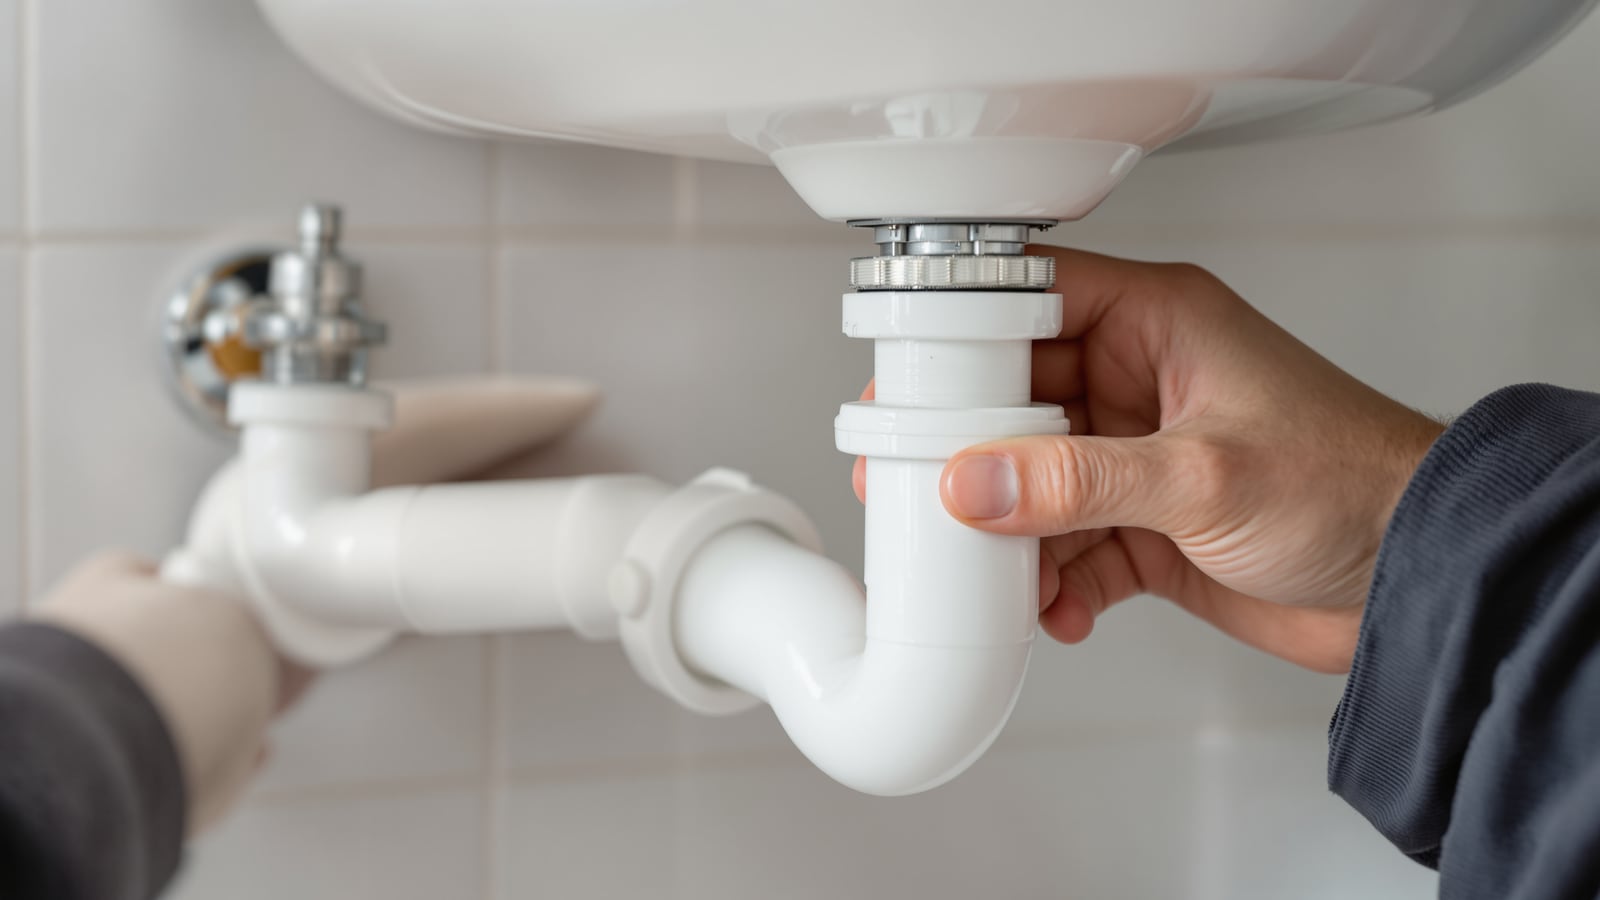
The trap under a basin or sink leaks at its slip-joint nuts, not through the plastic. Nine times out of ten the nut has simply loosened, or the conical rubber washer inside has slipped. Place a bucket, undo the nut, check the washer sits square with its taper facing the right way, then hand-tighten and give a gentle nudge with a wrench — plastic threads strip if you crank them. If a bottle-trap still weeps, a smear of silicone on the washer seals it. Never use a metal spanner at full force on plastic traps.
4. Running or leaking cistern
A cistern that trickles into the pan is wasting thousands of litres a month. Lift the lid: if water is spilling into the overflow tube, the inlet valve is not shutting — adjust the float down. If the pan fills without flushing, the flush valve seal (flapper) has perished — dye the tank water with a little food colour and if colour reaches the pan without flushing, that seal is the leak. Universal flush-valve and inlet-valve kits are widely available (₹150–500) and swap in without tools on most Indian dual-flush cisterns. A drip below the tank usually means the tank-to-pan doughnut washer or the inlet connection washer — both are cheap replacements.
5. Failed silicone seal
Silicone around the WC base, the basin-to-wall joint or the bathtub edge is a wear item; it shrinks, blackens with mould and lets water creep behind. This is not a leak through a pipe but a leak around a fixture, and it is the easiest fix of all. Rake out every scrap of the old bead with a plastic scraper or blade, clean the joint, let it dry completely, then run a fresh bead of sanitary (anti-fungal) silicone and tool it smooth with a wet finger. Do not use ordinary silicone or acrylic filler in a wet joint — only bathroom-grade sanitary silicone resists mould. Give it 24 hours to cure before wetting.
DIY or call a professional?
Knowing your limit saves money and prevents a small leak becoming a flooded flat. Use this line.
| Situation | Do it yourself | Call a professional |
|---|---|---|
| Dripping tap, worn washer or cartridge | Yes — under an hour | If the tap body itself is cracked |
| Loose or weeping trap nut | Yes | If the waste pipe in the wall is cracked |
| Angle valve weeping at spindle | Yes — tighten or swap | If the wall stub/thread is damaged |
| Running cistern, flush/inlet kit | Yes — universal kits fit most | Concealed-cistern internals behind tiling |
| Failed silicone seal | Yes — re-caulk | — |
| Wet patch on ceiling below, survives a dry day | No | Yes — waterproofing / concealed-pipe failure |
| Drop in water-meter reading with all taps off | No | Yes — concealed supply-line leak |
| Damp spreading up a wall, salt bloom, drummy tiles | No | Yes — membrane failure, needs re-tanking |
The rule of thumb: anything you can reach, isolate and unscrew is fair game. Anything buried in the floor, the wall or the slab is not — that is where you switch to the bathroom waterproofing failure guide and bring in a specialist. And if leaks keep appearing while you are away, a smart leak sensor that shuts the supply and alerts your phone is worth every rupee — see the smart leak detection guide. A ₹4,000 sensor is cheaper than one soaked ceiling.
A few honest cautions
- PTFE tape, not thread paste, for taps and valves — and always wrap in the direction the nut turns, or it unravels.
- Never over-tighten plastic. Trap nuts and cistern connectors seal on a washer, not on force. Cracked plastic is a worse leak than the one you started with.
- Shut the supply first, every time. The angle valve for one fixture, the main stopcock for anything bigger.
- Match parts before you buy. Take the old washer, cartridge or valve to the shop — "bathroom tap washer" spans a dozen sizes.
- If two dry days do not stop a ceiling patch, stop. You are looking at a structural leak, and more DIY only delays the real repair.
References
- Manufacturer care and spares guidance — Jaquar, Cera, Hindware, Kohler India and Grohe India installation and maintenance manuals for cartridge, washer and cistern spare-part specifications.
- National Building Code of India (NBC) 2016, Part 9 (Plumbing Services) — water supply and drainage practice for residential fixtures.
- IS 1172 — Code of basic requirements for water supply, drainage and sanitation.
- IS 8931 — Copper alloy fittings for taps and stop valves (angle valve and tap body standards).
- IS 774 / IS 2556 — Flushing cisterns and vitreous sanitary appliance standards relevant to WC and basin fittings.
- Bureau of Indian Standards (BIS) — product standards for sanitary silicone sealants and PTFE thread-sealing tape.
Export this guide
Related Guides — Deep-dive reading
Tap Maintenance India: How to Descale, Clean & Fix Bathroom Faucets (2026)
A practical upkeep guide for CP fittings and faucets in Indian bathrooms — descaling the aerator and spout when hard water weakens the flow, cleaning chrome, PVD and matte-black finishes safely, fixing a dripping tap, sealing a leaky base, freeing a stiff lever, and knowing when to swap the cartridge.
BathroomsToilet Maintenance India: Clean the Bowl, Fix a Running or Weak-Flush WC (2026)
The WC is the hardest-working fitting in an Indian bathroom and the quietest money-waster when it fails. This is the practical, do-it-yourself guide to keeping a toilet clean and working: scrubbing the bowl and under the rim, killing the hard-water limescale ring, and fixing the four things that actually go wrong — a running cistern, a weak flush, a leak, and a blockage.
BathroomsBathroom Leak Prevention India: Detailing the Junctions That Stop Water Reaching the Flat Below
Bathroom leaks almost never come from a broken pipe — they come from a badly detailed junction. Here is how to get the wall-floor corner, pipe penetrations, floor trap, nahani trap and door threshold right, plus the flood test that catches a leak before you tile.
BathroomsRelated Tools — Try Free
Bathroom Sealant Calculator
How many tubes of silicone sealant a bathroom needs and the cost — by joints to seal, lengths and bead size, with an anti-fungal note.
Bathroom CalculatorRainwater Tank Sizer
How big should your rainwater tank be? Computes annual harvest, recommended tank capacity in litres, water-bill savings, and payback — for 10 Indian cities.
RWH CalculatorPlumbing Pressure-Test & Leak Checklist
Pre-closure pressure and leak test — 9 categories, 60+ checkpoints across water supply, drainage, fixtures, waterproofing, hot water, tanks.
Pre-Closure Test