
Architectural & Interior Photography & Documentation: A Professional's Field Guide
Camera, light, angle and technique for built work that publishes and wins — plus documentation, drone rules, post-processing and the India rights you must get in writing.
Photography and Documentation Are Professional Skills, Not Afterthoughts
Most architecture and interior projects are seen far more often as photographs than in person. A house you design for one family in Pune will be visited by a few dozen people; a single strong image of it can be seen by tens of thousands on a journal page, an awards shortlist, an Instagram grid, or a client's WhatsApp forward. The photograph is the project, for almost everyone who encounters your work. That is an uncomfortable truth for a craft that prides itself on three-dimensional space, light, and material — but it is the truth, and the practices that take it seriously are the ones that get published, awarded, hired, and remembered.
This guide treats photography and documentation as two halves of one professional discipline. The first half is the craft: the camera, the light, the angle, and the technique that turn a built room into a compelling image. This is where most of the value is, and it is where this guide spends most of its words. The second half is the record: the systematic documentation, archiving, and rights management that turn a pile of files into an asset you can use for the life of your practice. Both matter. A studio that shoots beautifully but cannot find last year's files, or does not own the rights to its own portfolio, has only done half the job.
The good news is that this is learnable. The physics of perspective control, the rhythm of shooting a twilight exterior, the discipline of exposure blending, the law around who owns a commissioned photograph in India — none of it is mysterious. It rewards preparation and repetition. Whether you intend to shoot your own work, art-direct a hired specialist, or simply brief better and budget smarter, the chapters below give you the working knowledge of a practising architectural photographer, with the Indian conditions — the light, the gear you can actually buy, and the law you actually operate under — built in. Students approaching this for the first time should also read the companion photography & documentation for architecture students, which covers the foundations at a gentler pace.
The camera and the kit
Architectural photography asks a specific thing of a camera: it must hold detail in a blown-out window and in a dark corner of the same room, at the same time. That capability is called dynamic range, and it is the single most important reason to shoot architecture on a full-frame body rather than a phone or a small-sensor camera. A good full-frame sensor captures roughly 13 to 15 stops of dynamic range, enough that a single carefully exposed RAW file often holds both the bright Indian sky outside a window and the shadowed underside of a staircase inside. The larger sensor also gives you resolution for cropping, for revealing material texture, and for the large prints that exhibitions and high-end print journals demand. A 45-to-60-megapixel body is not vanity here; a façade printed two metres wide on a gallery wall will show every pixel you did or did not capture.
The tilt-shift lens — the architectural photographer's signature tool
If there is one piece of equipment that separates professional architectural images from competent amateur ones, it is the tilt-shift lens, also called a perspective-control or PC lens. Understand what its two movements do, because they solve two different problems.
The shift movement slides the lens elements up, down, or sideways relative to the sensor while keeping the sensor itself perfectly vertical and parallel to the building. The result is that vertical lines in the building stay vertical in the image. This is the fix for keystoning (also called converging verticals) — the effect where a tall building photographed with a tilted-up camera looks like it is falling backwards, its sides leaning in toward the top. With a normal lens you must tilt the camera up to fit a tall building in, and the verticals converge. With shift, you keep the camera level, then shift the lens upward to capture the top of the building — and the verticals stay parallel, in-camera, with no software correction and no loss of resolution.
The tilt movement does something entirely different: it tilts the plane of focus away from being parallel to the sensor (the Scheimpflug principle). This lets you place a wedge of sharp focus across a scene — for example, running sharpness from the foreground floor tile all the way to a distant wall — or, used the other way, to throw a plane deliberately out of focus. Tilt is about controlling depth of field by geometry rather than by aperture alone.

Real options you can buy and rent in India:
- Canon TS-E 17mm f/4L and Canon TS-E 24mm f/3.5L II — the 17mm is the classic ultra-wide for tight interiors and full façades; the 24mm is the most-used focal length for general exteriors and rooms.
- Nikon PC NIKKOR 19mm f/4E ED and PC-E NIKKOR 24mm f/3.5D ED — Nikon's equivalents, with the 19mm being the modern flagship.
- For mirrorless systems (Sony E, Canon RF, Nikon Z, L-mount), you can adapt these DSLR tilt-shift lenses, and there are native and third-party tilt-shift options and tilt-shift adapters. One critical caution: a plain mount adapter does not add shift. An adapter that merely lets a DSLR lens fit a mirrorless body gives you no perspective control unless it is specifically a tilt-shift adapter with its own movements. Do not assume "adapter" means "shift."
Other lenses, and avoiding distortion
You will not always have or need a tilt-shift. A high-quality wide-angle zoom (something in the 16–35mm full-frame range) covers most situations, and verticals can be corrected reasonably well in software. The discipline to learn is wide but not ultra-wide: very wide focal lengths exaggerate near-far relationships and stretch the edges of the frame, making rooms look cavernous and unnatural and bending straight lines near the edges. For most interiors, 24mm is a natural-looking wide; go to 17mm only when the room is genuinely too tight to back up.
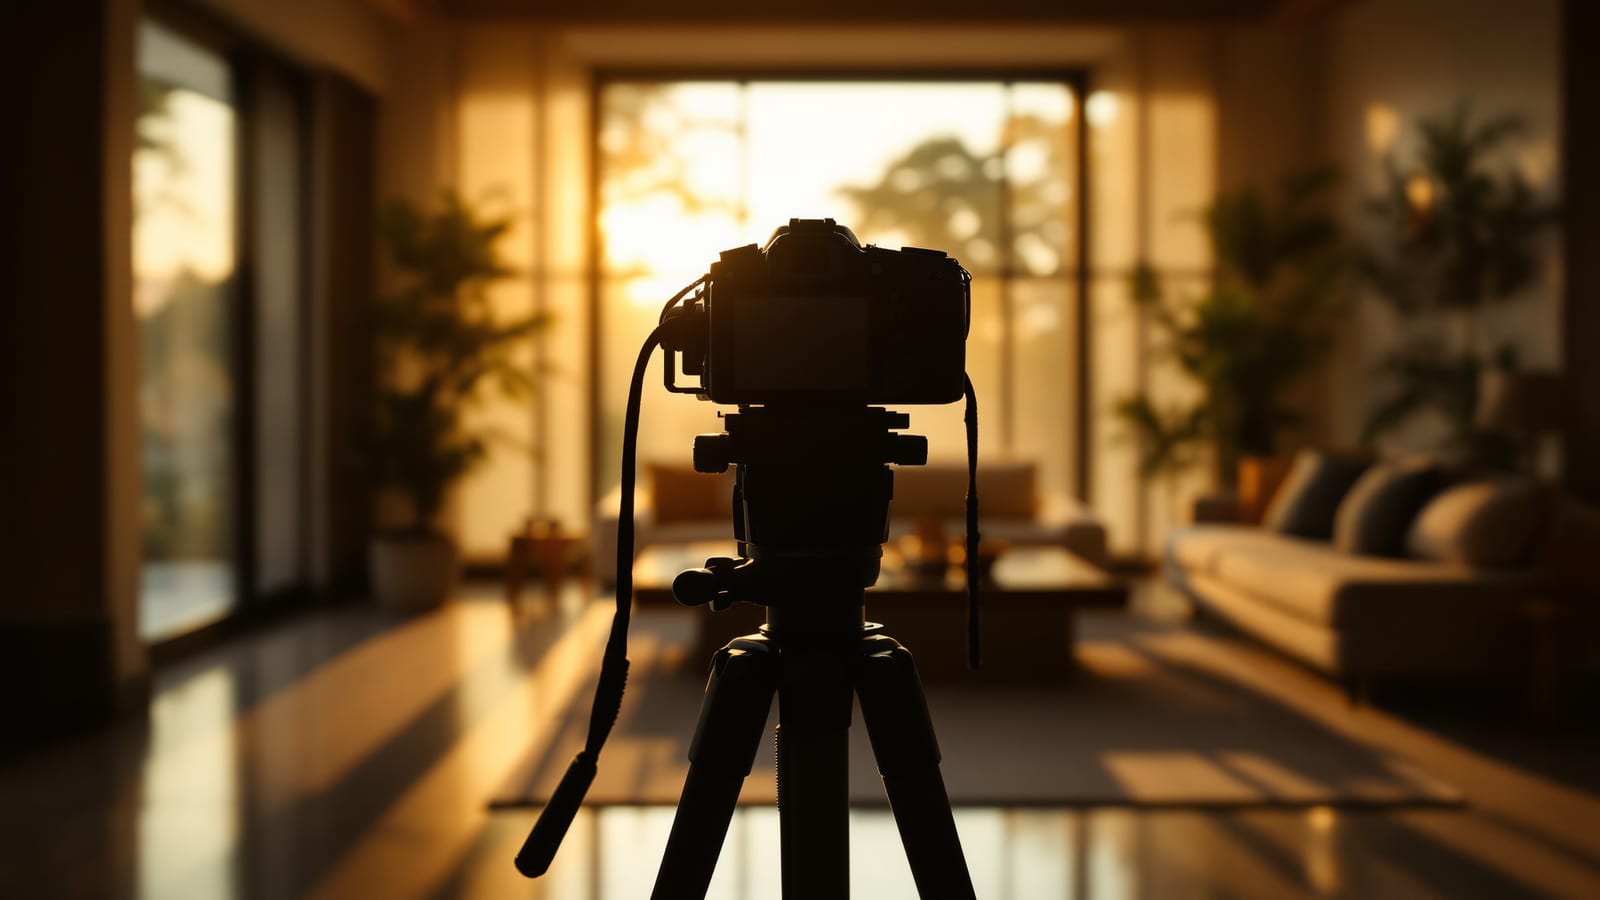
The support system
Architecture is shot from a tripod, almost always. A sturdy tripod lets you use long exposures and low ISO, gives you repeatable framing for exposure blends, and forces the slow, considered approach this work rewards.
- A sturdy tripod — carbon fibre if you carry it, but mass matters; a flimsy travel tripod will vibrate.
- A geared head — far better than a ball head for architecture, because it lets you make tiny, independent adjustments to level the camera precisely without the whole thing flopping.
- A bubble level or levelling base — and use the camera's electronic level too; getting the camera truly plumb and level is the foundation of keeping verticals vertical.
- A remote release or tethering cable so you never touch the camera during exposure; tethering to a laptop also lets you and the client review framing on a big screen.
Core capture settings
These are starting points, not dogma, but they are reliable:
- Low ISO (base ISO, usually 100) for maximum dynamic range and minimum noise — the tripod makes this painless.
- Aperture around f/8 to f/11 for the sharpest results across the frame; this is where most lenses perform best. Going past f/11 to f/16 or f/22 buys you depth of field at the cost of sharpness from diffraction, so use tilt or focus stacking instead when you need more front-to-back focus.
- RAW, always — you will be recovering highlights, lifting shadows, and correcting white balance, all of which need RAW's latitude.
- Manual exposure so your blend frames are consistent and nothing shifts between shots.
- Electronic shutter or mirror-up / electronic-first-curtain to eliminate the tiny vibration of the shutter mechanism on long exposures.
Reading and shaping light
Light is the single biggest differentiator between an ordinary image and a memorable one. Two photographers can stand in the same room with the same camera and produce wildly different results purely by when they choose to press the shutter and how they manage the light that is there. In India, where the sun is high and harsh for much of the day and the seasons swing from glare to monsoon overcast, reading light is not optional.
Natural light by time of day
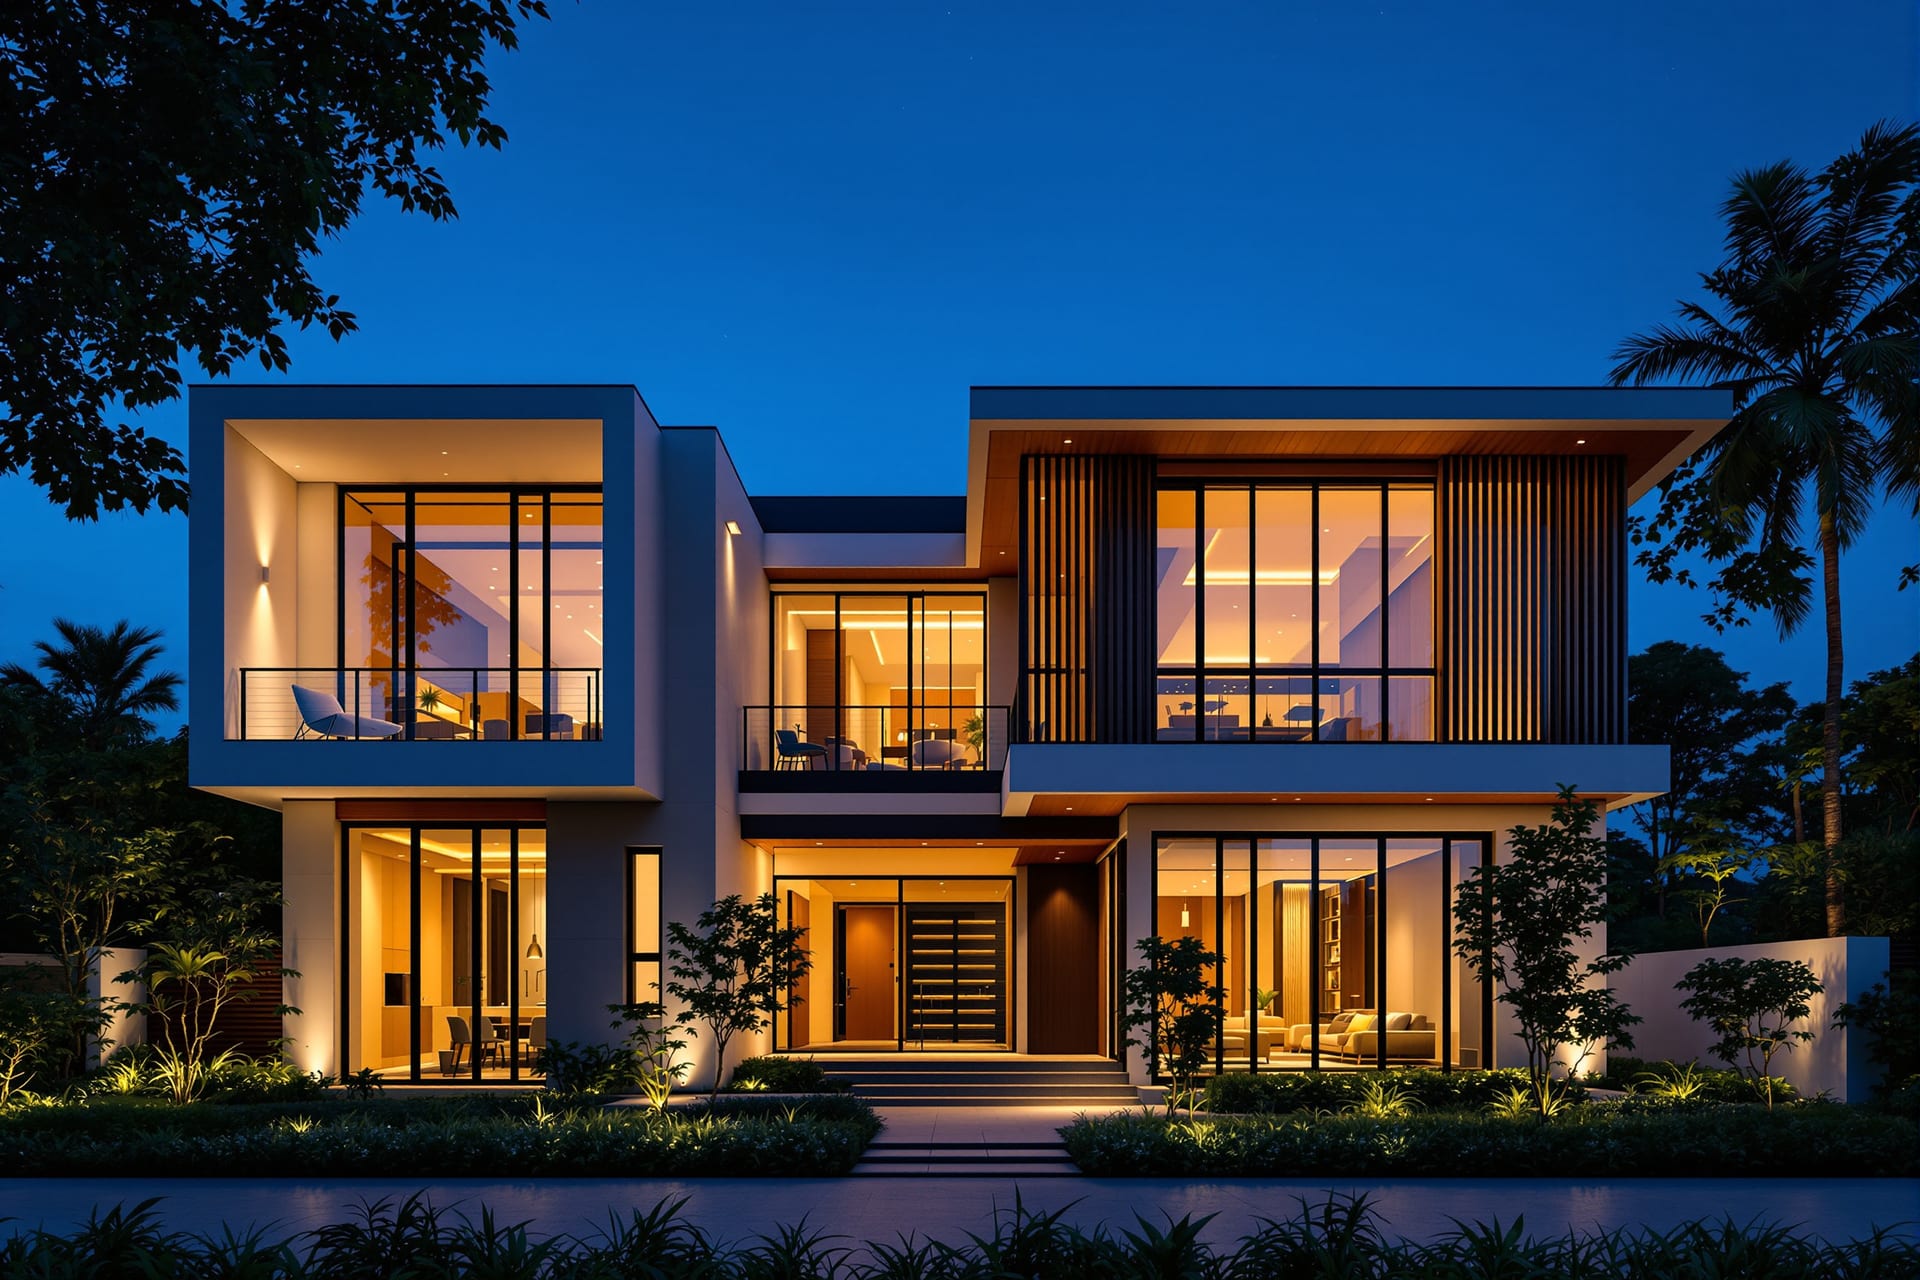
- Blue hour / twilight — the roughly 20-to-40-minute window just after sunset (or just before sunrise) when the sky is a deep, even blue rather than black. This is the hero window for exterior shots. The sky brightness drops close to the brightness of the building's interior lights, so you can capture a glowing, lit-from-within building against a rich blue sky with no blown-out windows and no black sky. Almost every iconic architectural exterior you admire was shot at twilight.
- Golden hour — the hour after sunrise and before sunset, when light is warm, low, and raking. It gives warmth and reveals texture across façades and landscapes, and long shadows add drama. Excellent for exteriors with strong material character (stone, brick, timber).
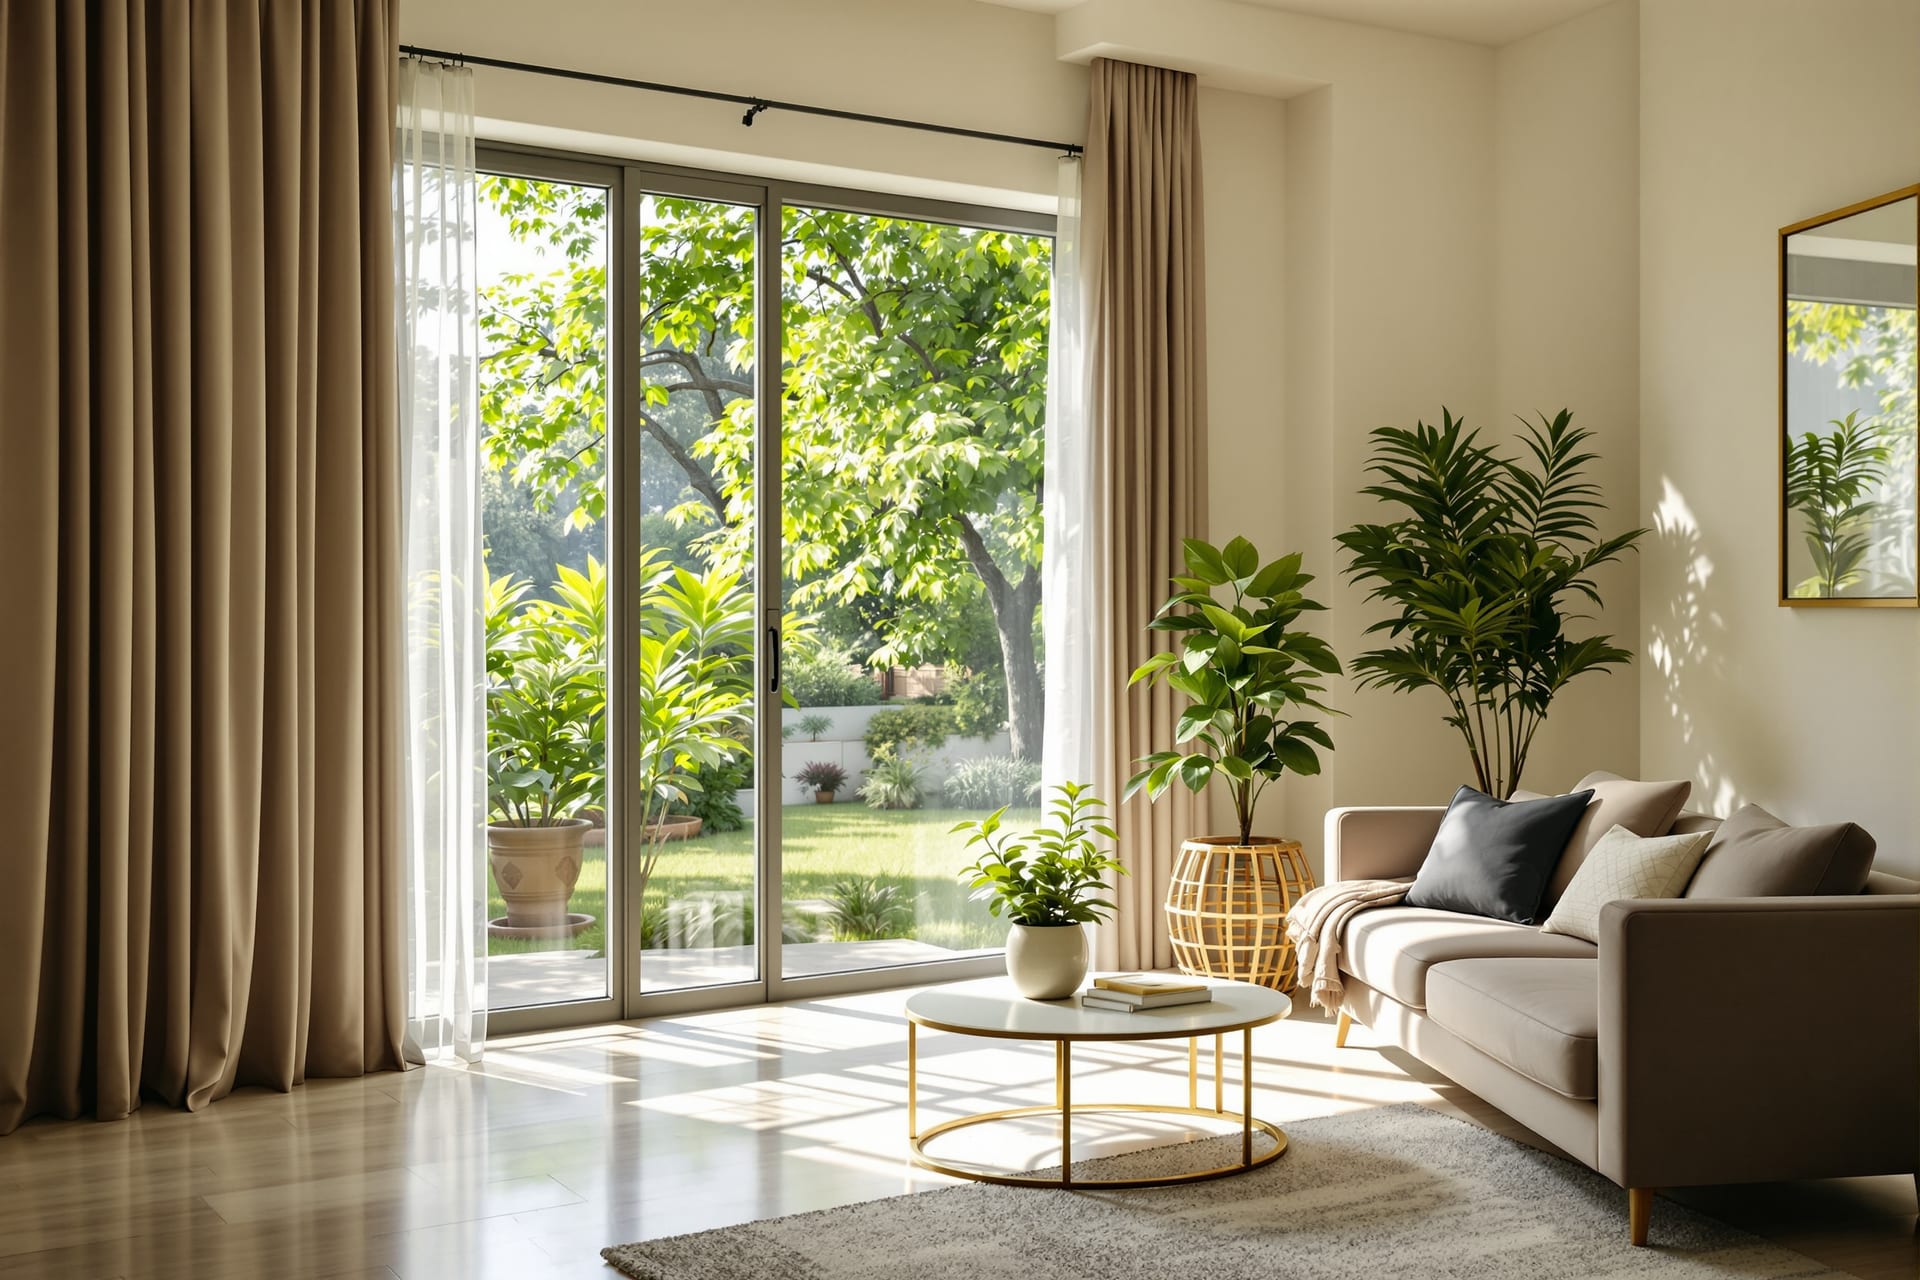
- Soft overcast — a bright but cloudy day is a giant softbox. For interiors, this is often ideal: even, shadowless light with a manageable difference between indoors and outdoors. The Indian monsoon, for all its inconvenience, hands you beautiful soft light for interior work.
- Harsh midday — the default Indian condition for much of the year, and the one to avoid for hero shots. High contrast, hard shadows, squinting glare on glass and stone. If you must shoot midday, work shaded elevations or close-up details, not the full sunlit façade.
The core interior problem: windows are too bright
Walk into almost any room with a window in daytime and your eye sees both the room and the view outside comfortably. The camera cannot. The window may be six to ten stops brighter than the room's shadows — beyond what a single exposure can hold even on a great sensor. You have three honest ways to handle it:
1. Expose for the highlights and lift the shadows — protect the bright window detail in capture, then raise the shadows in RAW. Works when the difference is within the sensor's range.
2. Blend exposures — shoot a bracketed sequence (one frame exposed for the window, one for the room, more if needed) and combine them. This is the workhorse technique for difficult interiors, covered under techniques below.
3. Shoot at a time when the difference is smaller — early morning, late evening, or overcast, when the outdoor and indoor brightness are closer together, so a single exposure copes.

Ambient versus added light, and mixing colour temperatures
The cheapest, most authentic light source in any interior is the building's own lighting. Turn it all on — pendants, cove LEDs, lamps, under-counter strips — and let it add warmth and depth, especially toward dusk. The architect chose that lighting; let it speak.
The complication is mixed colour temperature. A single room may contain cool daylight from the windows (around 5500–6500K), warm tungsten or warm-white LED from lamps (around 2700–3200K), and neutral or greenish-tinted general LEDs. Left unmanaged, this gives you blue window light and orange lamp light fighting in the same frame. To manage it:
- Set a deliberate white balance in RAW and accept that one source will look slightly warm or cool — usually you let interior lights stay pleasantly warm while keeping the window light from going too blue.
- Where you control the space, swap bulbs so all the practical lights in shot share a colour temperature.
- For demanding work, shoot separate exposures lit by each source and blend them, white-balancing each region independently — this is how the cleanest magazine interiors are made.
The twilight exterior technique
For a hero exterior at twilight, the method is to shoot a sequence as the sky darkens. Set up on the tripod well before sunset, lock your framing, and from the moment the sun is down begin taking frames every minute or two as the sky's blue deepens and the interior lights grow relatively brighter. The "perfect" balance between sky and building lasts only a few minutes and you cannot predict the exact frame in advance, so you capture the whole arc and choose the best balance later — or blend the best sky with the best building from different moments in the sequence.
Angles, height and composition
Camera height
The default camera height for architecture and interiors is roughly eye level, about 1.2 to 1.5 m off the floor. This matters more than beginners expect. Too high and floors yawn open and furniture looks like a doll's house seen from above; too low and ceilings loom and the space feels oppressive. Eye level renders the space the way a person standing in it actually experiences it, which is the whole point. There are reasons to break this rule — a low angle to emphasise a soaring ceiling, a high angle to show a floor pattern or a plan-like layout — but break it deliberately, not by accident.
Keep verticals truly vertical
Whatever the height, keep the camera level, so vertical lines (door frames, wall corners, columns) stay vertical and parallel in the frame. A level camera plus a shift lens, or a level camera plus careful post-correction, is the look of professional architectural work. Tilted verticals read instantly as amateur.
One-point versus two-point perspective
- One-point perspective — the camera square-on to a wall, dead-centre and symmetrical, with lines receding to a single vanishing point. It is formal, calm, and architectural, ideal for symmetrical façades, corridors, and rooms with a strong central axis. It feels composed and serious.
- Two-point perspective — the camera at a three-quarter angle so you see two faces of a building, or two walls of a room, with lines receding to two vanishing points. It is dynamic and natural, the way you see a building as you approach it. Most "hero" exteriors are two-point.

Making a room feel larger, and other composition tools
- Shoot into the corner of a room. Pointing the camera at a corner rather than flat at one wall captures two walls and the diagonal across the floor, which makes the space read as larger and more three-dimensional than a flat wall-on shot.
- Leading lines — use floor joints, a runner of tiles, a beam, a path, or a handrail to draw the eye into and through the image.
- Foreground layering — place an object, an archway, or a piece of furniture in the near field so the image has depth and a sense of being inside the space rather than looking at a flat picture of it.
- Framing — shoot through a doorway, an arch, or a window so the architecture frames the architecture.
- The three-quarter "hero" exterior — the classic establishing shot: two faces of the building visible, at twilight or golden hour, verticals plumb, foreground giving scale. If you take one image of a project, take this one.
- Declutter the frame — the single biggest improvement most shots can have. Remove bins, wires, switch-board clutter, the photographer's bag, a stray slipper. The camera sees everything; the eye forgives, the lens does not.
Techniques that lift a shot
- Exposure bracketing and blending / tasteful HDR. Shoot a sequence of exposures (for example −2, 0, +2 stops, or more for extreme interiors) and combine them so the final image holds both the bright window and the dark corner. Blend by hand in Photoshop with luminosity masks for a natural result, or use HDR merging — but keep it subtle. Garish, over-cooked HDR with halos and unnatural local contrast is the fastest way to make expensive work look cheap. The aim is an image that looks like the room felt, not a video-game still.
- Focus stacking for front-to-back sharpness. When you need a detail in the immediate foreground and a wall at the back both razor sharp, and tilt or aperture cannot do it alone, shoot several frames focused at increasing distances and merge the sharp parts. Essential for detail-rich foregrounds.
- Long exposures. A multi-second exposure smooths a streaky monsoon sky into soft drama, turns a fountain or water feature silky, and makes moving people in a public lobby vanish or blur into ghosts — useful when you cannot clear a busy space. The tripod makes all of this possible.
- In-camera perspective control versus fixing in post. Getting verticals right with a shift lens in capture preserves every pixel and avoids the stretching that software correction introduces. Correcting in post is acceptable and often necessary, but it crops and stretches the image, so frame loosely if you know you will correct later.
- Panoramas and stitching. When a space is too wide for even a 17mm without distortion, shoot overlapping frames (ideally with a shift lens or a nodal-point setup) and stitch them for a wide, high-resolution image with controlled perspective.
- Flash, strobe and light-painting. A single off-camera flash or strobe can fill a dark corner, lift the underside of a counter, or balance a window. Light-painting — making a long exposure while walking through the frame popping a flash or sweeping a continuous light at different surfaces — lets you build up perfect, controlled lighting across a large interior, one area at a time, then blend the frames.
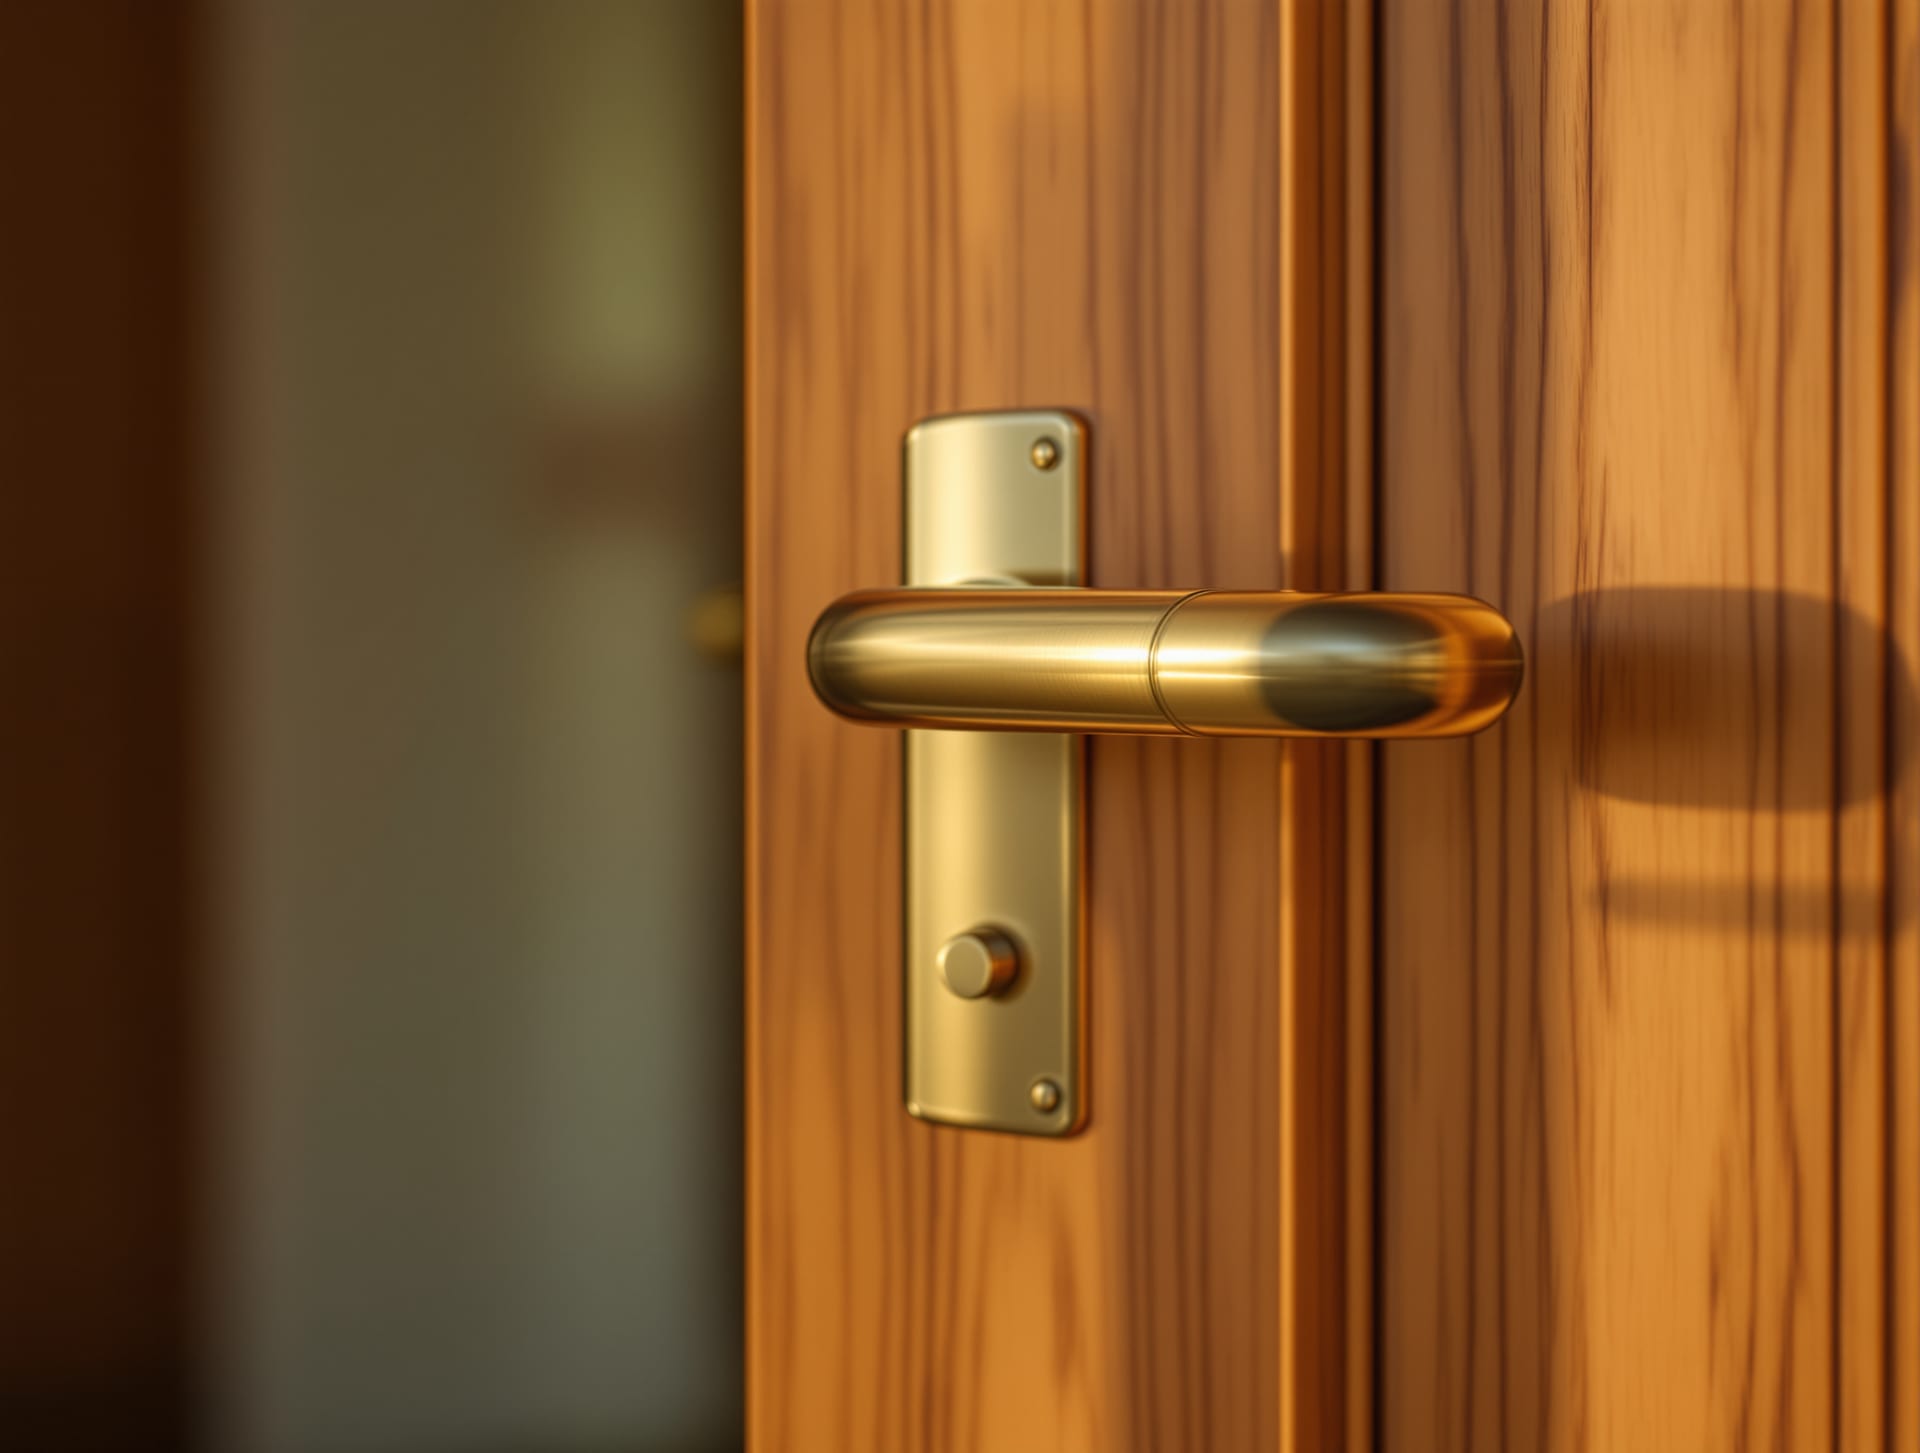
- Detail and texture shots. Every project deserves close-ups: a joinery junction, a stone edge, a brass handle, the grain of a veneer, a shadow line. These carry the material story that wide shots cannot, and editors love them.
- A person for scale and life. A single figure — still or gently blurred — gives a space scale and warmth and tells the viewer the building is inhabited, not a showroom. Use sparingly and intentionally.
- The dusk composite hero. The signature deliverable: combine the best twilight sky, the best interior-light glow, and the cleanest foreground from a twilight sequence into one hero exterior. Done honestly — same camera position, same evening — it is the crown of an architectural shoot.
Aerial and drone work in India
Aerial photography earns its place when the ground-level view cannot tell the story: a building in its context (how it sits in the neighbourhood, the landscape, the coastline), a roofscape (courtyards, terraces, solar arrays, the fifth elevation that nobody sees from the street), or a site in its early or whole-plot condition. It is not a default for every project, but for the right project it is unmatched.
In India, drones are governed by the Drone Rules 2021 and operated through the Digital Sky online platform. You must understand the framework before you fly, because a paid architectural shoot is, by definition, a commercial operation.
Weight categories
Drones are classified by all-up weight:
- Nano — up to and including 250 g
- Micro — greater than 250 g and up to 2 kg
- Small — greater than 2 kg and up to 25 kg
- Medium — greater than 25 kg and up to 150 kg
- Large — greater than 150 kg
Registration and pilot certification
- A UIN (Unique Identification Number) — registration of the drone on Digital Sky — is required.
- A Remote Pilot Certificate (RPC) is required for any commercial operation, and this is the point most people get wrong: because a paid architectural shoot is commercial, you need an RPC even to fly a micro drone for it. The exemptions from RPC are narrow — nano drones, and micro drones flown non-commercially. The moment money changes hands for the footage, the operation is commercial and the RPC requirement applies. Do not assume a small popular consumer drone is exempt because it is small; it is only exempt if you are not being paid.
Airspace zones
The Digital Sky map divides Indian airspace into colour-coded zones:
- Green — fly without prior flight permission, generally up to 400 ft (120 m); in the 8–12 km band from an airport the green-zone ceiling drops to 200 ft (60 m).
- Yellow — controlled airspace where you need permission from air traffic control before flying. This includes the 5–8 km band around an airport at all altitudes.
- Red — flight only with Central Government permission.

NPNT, import rules, and the standing advice
- No-Permission-No-Takeoff (NPNT) — drones are required to obtain a digital permission before each flight; a compliant drone will not arm without it.
- Note the 2022 import restriction on complete foreign drones, which restricts importing fully built drones from abroad (components and exceptions aside) and shapes what hardware you can legally buy and operate in India.
- Rules, zones, and fees change. Check the live Digital Sky airspace map before every single flight and verify the current registration, certification, and permission requirements at source before you commit to an aerial deliverable. Treat the categories above as accurate to this framework, but treat any specific permission or fee as something to confirm fresh.
Styling and preparing the space
A technically perfect photograph of a cluttered, unstyled room is still a bad photograph. The hours before the shutter clicks matter as much as the gear.
- Declutter ruthlessly. Clear surfaces. Remove the visual noise — chargers, remotes, dustbins, drying clothes, fridge magnets, the tangle of cables behind the TV. Empty rooms photograph better than busy ones almost every time.
- Prop and style. Add back a few intentional objects: a bowl of fruit, fresh flowers, a stack of good books, a throw on a sofa, two cushions angled just so. The goal is "lived-in but composed," not "showroom" and not "moving day."
- The pre-shoot walk-through. Visit (or video-call through) the space before the shoot day. Note where the light falls and when, which rooms work in the morning versus evening, what needs cleaning, repairing, or removing, and where you will place the camera.
- Build a shot list. Decide your hero exterior, your key interiors, your detail shots, and the angles for each, with the best time of day noted against each one. A shot list keeps a one-day shoot from becoming a missed-the-light disaster.
- Coordinate with the client. Tell the homeowner or facility manager exactly what you need: lights working, rooms cleaned, access arranged, pets and people managed, and time blocked for the twilight window. Surprises on the day cost you the best light.
- Work with a stylist on high-end interior shoots. A professional interior stylist is worth their fee on a magazine-grade shoot; they bring props, fix the small things you stop seeing, and make rooms look effortless.
- Honest staging versus misrepresentation. Styling a space well is legitimate and expected. Adding furniture and finishes the project does not have, photoshopping in views that do not exist, or presenting a staged set as the delivered project is misrepresentation — and as the post-processing section explains, it can get an otherwise strong project disqualified from awards and damage your credibility. Make it look its best; do not make it look like something it is not.
Post-processing with restraint
- Work from RAW. Set white balance, recover highlights, lift shadows, and set contrast in a RAW developer (Lightroom, Capture One, DxO PhotoLab) where you have the most latitude and a non-destructive history.
- Lens correction first. Apply the lens profile to remove distortion, vignetting, and chromatic aberration before you correct perspective, so the geometry tools work on clean lines.
- Perspective and keystone tools. When you did not (or could not) shoot with a shift lens, correct converging verticals with Lightroom Transform, Capture One Keystone, DxO ViewPoint, or PTLens. Correct only as far as looks natural — fully "corrected" tall buildings can start to look unnaturally squat, so a slight residual convergence sometimes reads better than a forced-perfect vertical.
- Exposure blending in Photoshop. Combine your bracketed frames with luminosity masks or careful hand-masking for the cleanest window-to-room balance; this beats one-click HDR for control.
- Colour and white-balance discipline. Keep whites neutral, keep skin and material colours true, and resist the urge to push saturation and clarity. Architecture and interior photography is judged in part on fidelity — does the marble look like that marble, is the wall that colour.
- The honesty rule. Award programmes are explicit about this. Dezeen, for example, requires submitted images to be "unadulterated and genuine," and there has been a case of a built project being disqualified for submitting CGI renders as photographs. The line is bright: enhance the photograph, do not fabricate the building. Cleaning a dust speck, blending exposures, correcting verticals — fine. Adding elements that were not there, or passing off a render as a photo — disqualifying.
- Colour space and output. Export sRGB for screen, web, and award submissions (the safest universal space). For print, supply CMYK at 300 dpi as TIFF when a publisher requests it, and follow each publication's exact spec. Keep your master in a wide-gamut space and convert on export rather than working in CMYK throughout.
Documentation beyond the hero shot
The hero images are the visible tip of a much larger record that a professional practice should keep. Documentation is what lets you defend a claim, settle a dispute, hand over a building, win the next award, and find an image three years from now.
- Shot lists, kept. The same shot list that organised the shoot becomes part of the record — it tells future-you what was and was not captured.
- Construction and progress documentation. Photograph the build at each stage: foundations, services before they are concealed, structure, finishes. These images are gold for the project record, for resolving "where is the conduit" questions years later, and for telling the project's story. The companion to this on the drawing side is the Construction Drawings Masterclass — the photographs document what the drawings specified.
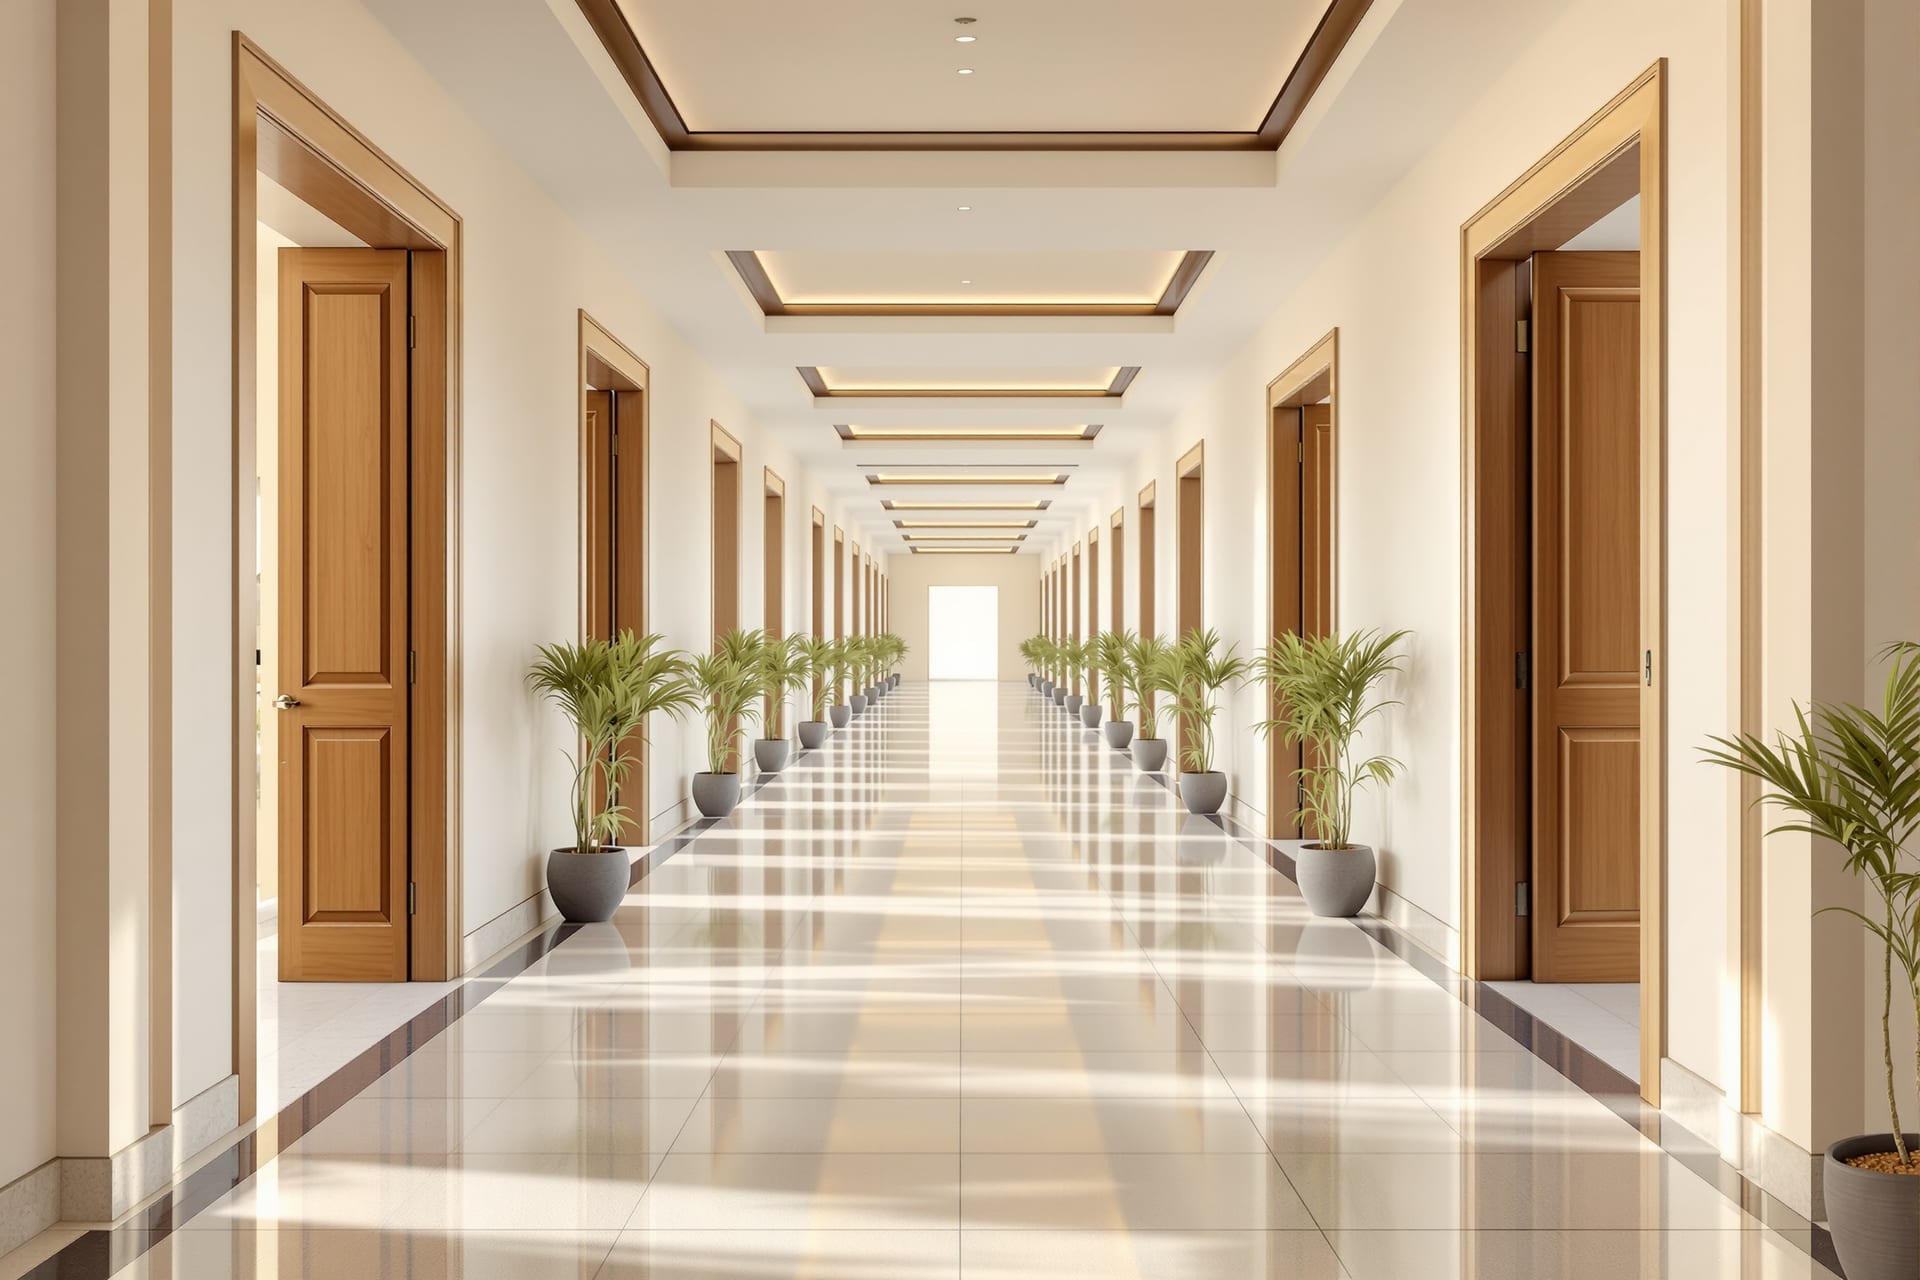
- As-built and record photography. Systematic, even, uncreative coverage of the finished building as it actually was handed over — every room, every elevation. This is documentation, not art, and it is invaluable for handover and future work.
- Consistent file naming and metadata. Adopt a naming convention (project code, date, location, sequence) and apply it from camera to archive. Embed metadata — project, client, date, photographer, usage rights — in the files themselves so the information travels with the image.
- Archiving and backup — the 3-2-1 strategy. Keep 3 copies of everything, on 2 different media, with 1 copy off-site (cloud or a drive in another location). A single drive of irreplaceable project images is a disaster waiting to happen; monsoon humidity, theft, and drive failure are all real in Indian conditions.
- A simple digital-asset library. Even a well-organised folder structure plus a catalogue (Lightroom, or a dedicated DAM for larger practices) means you can retrieve any project's images in minutes, not hours.
- Photographing for BIM and handover. Where you work in BIM, link key photographs to the model and the handover documents, so the visual record sits alongside the as-built data the client receives.
Who owns the photos — rights, releases and publishing in India
This section can save you from an expensive, embarrassing mistake. The Indian rules differ from the US and UK assumptions you may have absorbed from international advice.
The commissioned-photograph ownership trap
Under the Copyright Act 1957, Section 17(b), where a photograph is taken for valuable consideration — that is, a commissioned, paid shoot — the person who commissioned it is the first owner of the copyright, unless there is an agreement to the contrary. Read that again, because it is the reverse of the common assumption. In many countries the photographer owns the image by default and the client licenses it. In India, for a paid commission, the commissioner (the architect or the client who paid for the shoot) owns it by default, not the photographer.
The practical consequences:
- If you are the architect commissioning a photographer, you may well own the resulting images by default — but do not rely on a default; put it in writing.
- If you are the photographer, the default is against you; if you want to retain rights, you must agree that in the contract before you shoot.
- Either way, put ownership and licence in writing. A proper assignment of copyright must comply with Section 19: it must be in writing, signed by the assignor, and specify the scope, term/duration, and territory of the rights assigned. Vague verbal understandings are how friendships and businesses end.
Freedom of panorama
India has a relatively generous freedom of panorama. Under Section 52(1)(s), you may make and publish photographs, paintings, or drawings of a building or structure without infringing the architect's copyright in the building — this applies broadly to buildings. The narrower Section 52(1)(t) covers sculptures and other artistic works, which are exempt only when permanently situated in a public place or premises open to the public. So photographing a building's exterior and publishing it is generally fine on the copyright front; a sculpture is freely shootable only if it is permanently in a public place.
The important caveat: freedom of panorama addresses copyright only. On private property, what limits you is trespass, contract, and privacy — not building copyright. You still need permission to be on the property and to publish, regardless of the panorama exception.
Licensing models
- Rights-managed — licensed for a specified use, term, territory, and medium; priced accordingly; tightest control.
- Royalty-free — one fee for broad, repeated use within a licence's terms (not the same as free).
- One-time buyout / full assignment — the commissioner acquires all rights; cleanest for an architect who wants unfettered portfolio and marketing use, and the most expensive for the same reason.
Releases, privacy and NDAs
- Property and people releases. For private homes and recognisable people, get written property releases and model/people releases. These are governed by norms and contract rather than a single statute, but they protect everyone and are standard professional practice — especially for stock, advertising, and editorial use.
- NDAs for private homes. Many private clients, particularly high-net-worth homeowners, will require a non-disclosure agreement governing when and where their home may be shown. Honour it.
- The privacy backdrop. The right to privacy is a fundamental right after Puttaswamy (2017), and the Digital Personal Data Protection Act, 2023 (DPDP Act) governs consent around personal data. These form the backdrop to releases and to publishing images of people and homes; when in doubt, get clear, documented consent.
ASI-protected monuments
If you shoot at a centrally protected monument under the Archaeological Survey of India:
- Stills for personal use are usually free to take.
- Tripods, additional lighting, and any commercial filming or photography need advance written permission. The process runs through an application (Form IX), typically required around three months ahead, with a fee, processed via the SAHMAT portal.
- A few interiors ban photography entirely — including the Taj Mahal main tomb chamber, the Ajanta caves, and Leh Palace — so check the specific monument's rules.
- Fees, forms, and timelines change; verify current ASI requirements and fees at source before planning a monument shoot.
Publication and award photo specs
Journals and awards have hard requirements: real photographs, not renders; minimum resolutions and specified file formats; and photographer credit as a condition of use. Build credit and usage terms into your photographer agreement so you can satisfy these without a last-minute scramble. For who accepts what and at what spec, see the awards atlas. And as everywhere in this section, verify current fees and rules at source — programmes update their terms each cycle.
Hiring versus shooting it yourself
Not every project warrants a specialist, and not every studio should try to shoot everything in-house. Decide deliberately.
Invest in a specialist architectural photographer when the project is a flagship you will submit for awards or pitch to journals; when the building demands twilight composites, careful exposure blending, or aerial work; when a print exhibition or a monograph is the goal; or when the stakes (a marquee client, a competition portfolio) justify the cost. A good architectural photographer brings not just gear but an eye trained on exactly this — and the difference shows.
How to brief and budget. Give the photographer the drawings, a mood reference of the look you want, your shot-list priorities, and the intended uses (web, print, awards) up front, because usage drives both the licence and the price. Agree the deliverables, the number of final images, the licence terms and ownership (per the rights section above), and who handles styling. Budget for the twilight window, possible reshoots if weather kills the light, and any drone or stylist add-ons.
What a practice can do well in-house. Progress and construction documentation, as-built record shots, quick social-media images, and detail studies are all well within a studio's reach with a full-frame body, a 24mm tilt-shift or a good wide zoom, a tripod, and the discipline in this guide. Reserve the specialist for the hero deliverables and shoot the rest yourself. For the broader toolkit a practice can build around this, see the pro tools hub.
Where Studio Matrx fits
If you are planning a shoot, DesignAI can help you visualise and refine a space before the camera ever comes out, so what you photograph is already resolved; the pro tools hub gathers the practice-side resources — from documentation discipline to rights — in one place; and clients looking for the talent behind award-worthy work can find an architect on the platform. Students approaching this craft for the first time should start with the gentler companion guide, photography & documentation for architecture students, and graduate to this field guide as their work — and their portfolio — grows up.
Export this guide
Related Guides — Deep-dive reading
From Space to Place: Turning Empty Rooms into a Home
How to transform a bare builder flat into a warm, lived-in home — through scale, zones, layering, retreat corners and flow
Design EducationAngles, Curves and Breaking the Pattern Intentionally
Why an Indian home should mostly stay a grid of right angles — and how a single deliberate curve, angle or arch, placed where it eases circulation, resolves an awkward plot or breaks a rhythm, becomes the most powerful move in the room.
Design PrinciplesDesigning Adaptable & Universal-Design Homes
Accessibility, Aging-in-Place, and the Multi-Stage Family — Code, Anthropometrics, and Plan-Stage Discipline for Indian Residential Architects
Room PlanningRelated Tools — Try Free
Cross-Ventilation Analyzer
Estimate airflow and air changes per hour (ACH) from room size, window areas, layout, and local wind — with NBC 2016 Part 8 compliance check.
Ventilation CalculatorInterior Layout Planner — Printable Graph Grid
Printable graph grid to sketch room layouts to scale before committing to furniture placement.
Layout ToolClient Brief Generator
8-section questionnaire that produces a professional design brief PDF with signature lines.
Brief Generator