
Interactive Worksheet · 2026
Room Measurement Worksheet
Record walls, ceilings, windows, doors, electrical and plumbing points for every room. Download a branded PDF worksheet — one section per room, with a sketch area.
Project Details
Worksheet Snapshot
Live area roll-up + completeness check, derived from Wall A × Wall B per room.
Total Carpet Area
0 sq.ft
Quick-fill scenarios
Pre-fills standard apartment dimensions (in mm) for Wall A/B/C/D + ceiling. Edit any value after loading.
0%
Completeness
0 / 1 room
Enter Wall A & Wall B for each room, or pick a scenario above to see the area breakdown chart.
Area assumes rectangular rooms (Wall A × Wall B). For L-shaped or irregular plans, use the sketch area in the PDF for the true outline.
Wall Measurements
| Wall | Length (mm) | Notes |
|---|---|---|
| Wall A | ||
| Wall B | ||
| Wall C | ||
| Wall D |
Ceiling Height Measurements
| Location | Height (mm) | Notes |
|---|---|---|
| Corner 1 | ||
| Corner 2 | ||
| Corner 3 | ||
| Corner 4 |
Window Measurements
| Window | Width (mm) | Height (mm) | Sill Ht (mm) | Notes |
|---|---|---|---|---|
| Window 1 | ||||
| Window 2 | ||||
| Window 3 |
Door Measurements
| Door | Width (mm) | Height (mm) | Dist. from Corner | Swing Direction |
|---|---|---|---|---|
| Door 1 | ||||
| Door 2 |
Electrical Points
| ID | Dist. from Corner (mm) | Ht. from Floor (mm) | Type | Notes |
|---|---|---|---|---|
| E1 | ||||
| E2 | ||||
| E3 | ||||
| E4 |
Plumbing Points
| ID | Dist. from Corner (mm) | Height (mm) | Type | Notes |
|---|---|---|---|---|
| P1 | ||||
| P2 | ||||
| P3 |
Download PDF Worksheet
All 1 room are included — one section per room with a grid sketch area.
Disclaimer: This Room Measurement Worksheet is provided by Studio Matrx – DesignAI for planning and documentation purposes only. All measurements are based on user inputs and are not verified by Studio Matrx. Always confirm measurements on-site with a licensed professional before proceeding with design or construction. Studio Matrx is not liable for errors in measurements or decisions made based on this worksheet. Governed by the laws of India — Courts of Karnataka.
Measurement on Indian sites
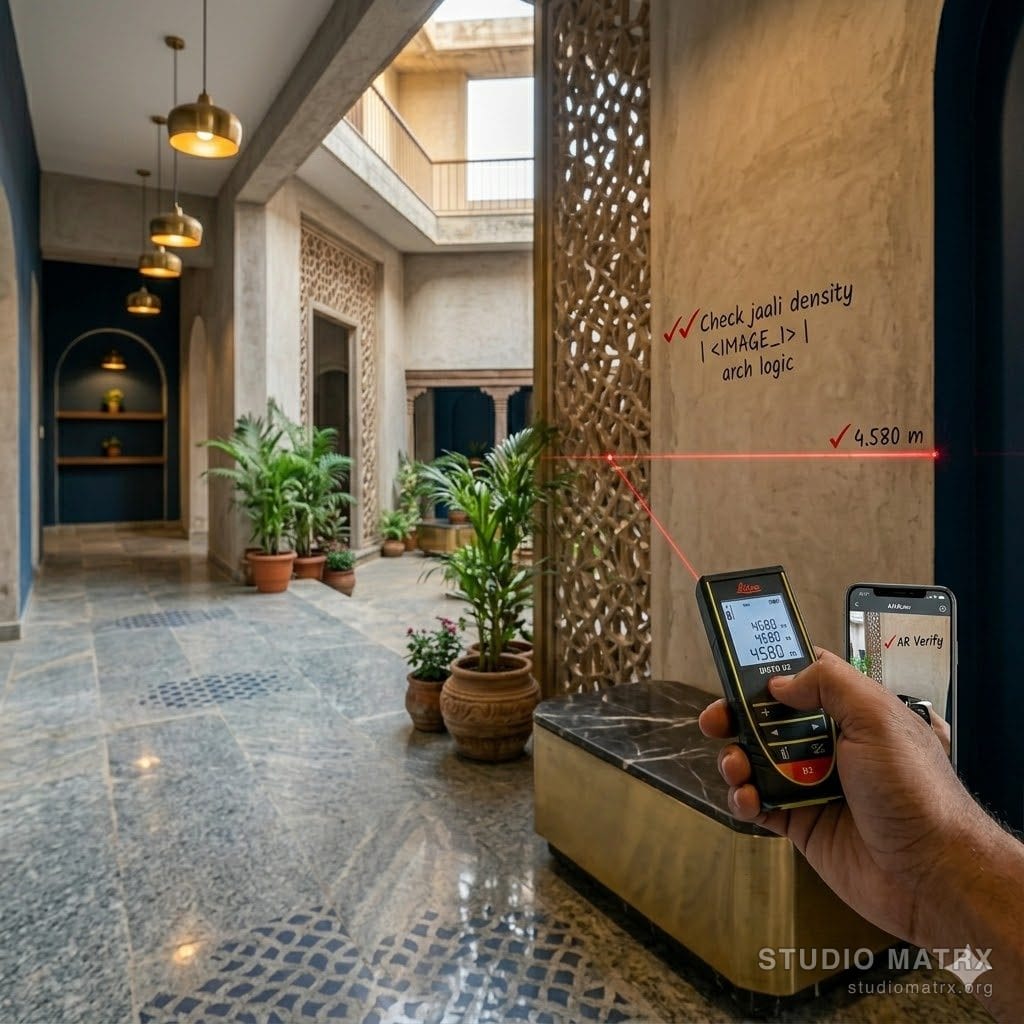
Laser distance meter
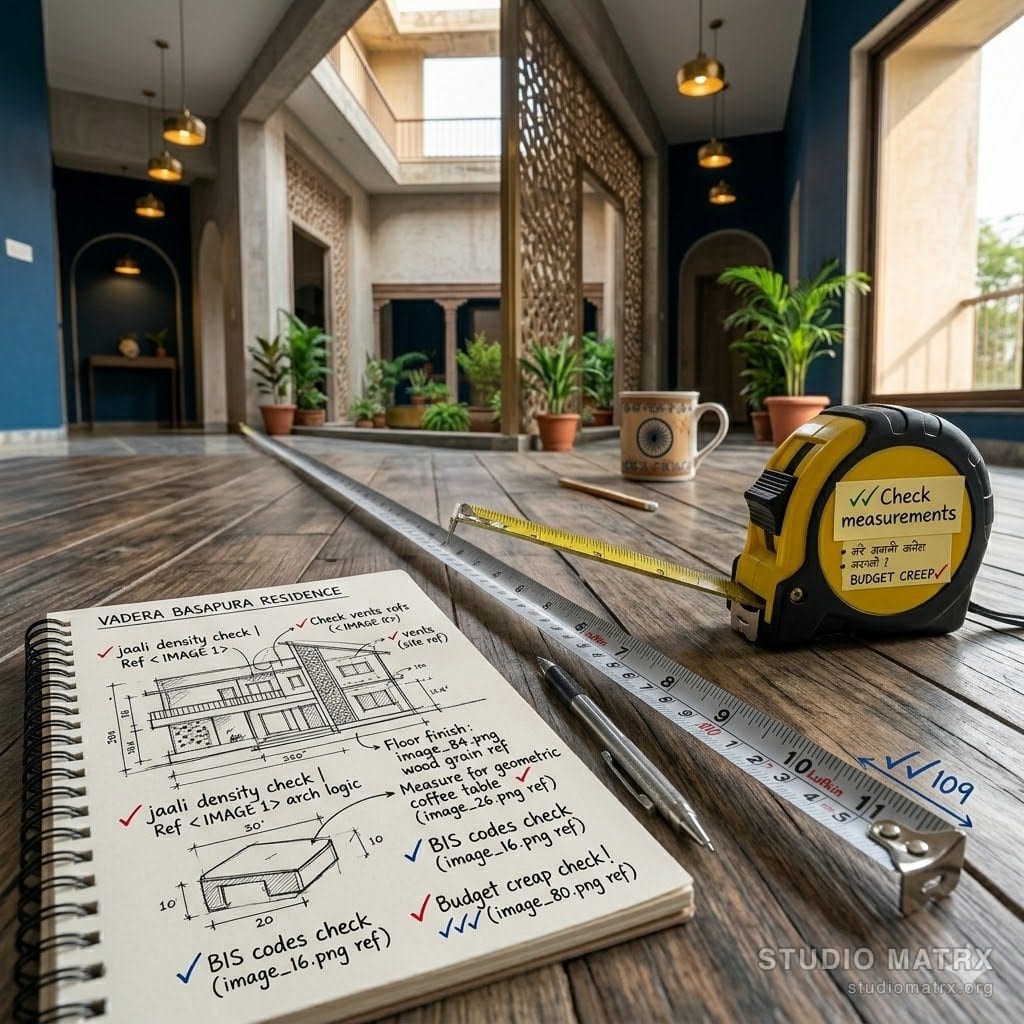
Tape · backup
Hand sketch
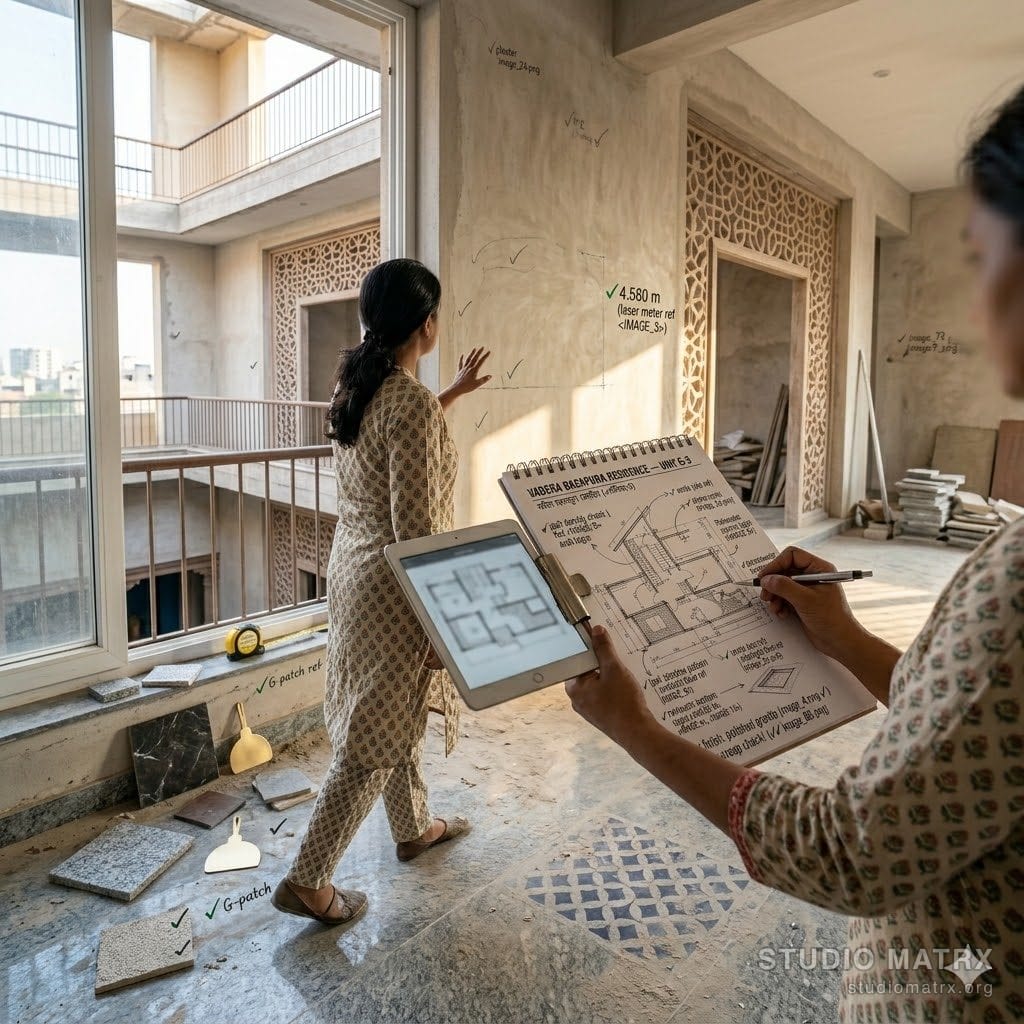
Site walkthrough
Measurements → design concepts
DesignAI uses your room measurements to generate accurate room concepts.
How to Measure a Room — A Working Reference
Most renovation overruns trace back to incomplete or sloppy measurement. A wardrobe that's 5 mm too tall to fit. A modular kitchen ordered to a wall length that turns out to be 30 mm shorter than recorded. A skirting tile order that's 8 m short because the diagonal corner was missed. The cost of an extra hour with a tape measure is far smaller than the cost of fixing a sized-to-spec mistake on site. The worksheet above structures the survey; this reference covers the survey discipline that fills it in correctly.
The Three-Point Check
Indian apartments routinely have walls that are 10-30 mm out of square or out of plumb. Designing to a single dimension in such a room produces visible gaps after install — at the wardrobe top, the cabinet edge, the tile course. The fix is to take three readings of every dimension and use the smallest when sizing built-ins.

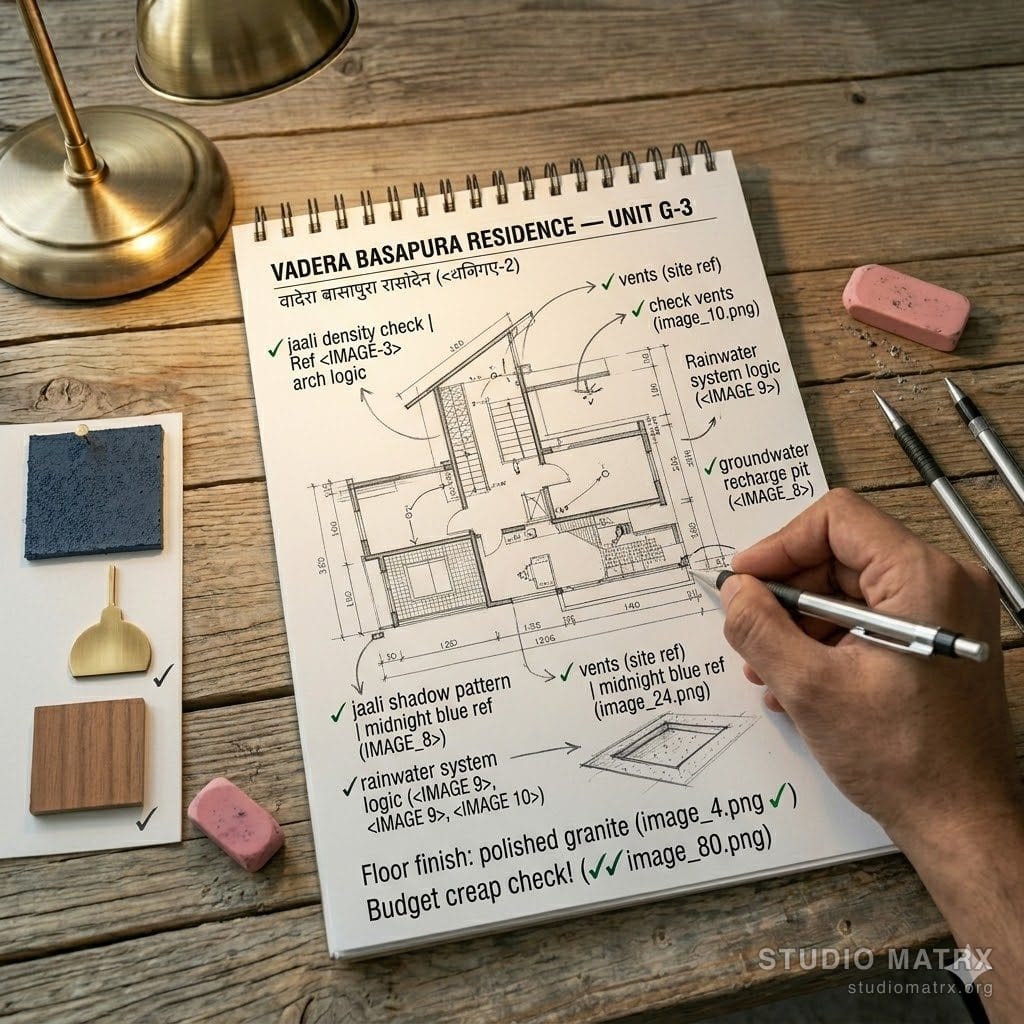
What to Capture for Every Room
Beyond walls, a useful survey captures openings, electrical points, plumbing, existing fixtures, and site conditions. Anything you don't capture, the designer or contractor will guess at — and their guesses are the source of most surprises on site. The annotated bedroom plan below shows what a complete room survey looks like.

Common Measurement Mistakes
Four mistakes show up again and again — measuring above the skirting (gives a false "wall height"), forgetting the door swing arc (collides with bed or storage placement), recording a single end-to-end dimension without diagonals (misses out-of-square walls), and skipping electrical/plumbing points (the most expensive items to relocate). The diagram below pairs each mistake with the corrected approach.

A Working Set of Habits
- Sketch first, measure second. Draw the room plan freehand on the worksheet's grid before you pull out the tape. Locating each dimension in the sketch is what makes it usable later.
- Photograph every wall. Stand at each corner and shoot toward the opposite corner; capture switchboards, outlets, AC units, and any existing fixtures. Photos are evidence if anything is contested mid-project.
- Use one tape, one person. Different tapes have different zero points and different stretch behaviours. The same tape used by the same person produces the most consistent readings.
- Note out-of-plumb and out-of-square explicitly. Write "wall A tilts in 15 mm at the top" rather than just recording two different numbers. The designer needs to know it's deliberate, not a typo.
- Record service-point heights from finished floor level. If the existing floor is being replaced, also note slab-level. Switches at 1.10 m FFL become 1.07 m if the new floor is 30 mm thicker.
Cross-References
- Furniture Layout Designer — uses the dimensions you capture here
- Site Inspection Checklist — broader pre-renovation survey
- Handover Punch List — verify built dimensions match design
- Pre-Renovation Checklist — measurement is one item; this covers the rest
Disclaimer: This worksheet is for planning purposes. For load-bearing decisions (beam relocation, wall removal, slab penetration), always engage a structural engineer with on-site verification. This page is for informational purposes only.
Related Guides — Deep-dive reading
Construction Drawing Review Checklist
Before the concrete — a homeowner's printable, room-by-room and sheet-by-sheet checklist for reviewing your drawing set, the questions to ask, the red flags to catch, and when to call your architect.
Construction DrawingsUsing Focal Points to Make Any Room Feel Intentional
Why every room needs one thing the eye lands on first — and how to choose, create and frame a focal point, from the mandir and the jharokha view to the television problem in Indian living rooms.
Design PrinciplesApartment Lighting Planning Guide
How to light a deep, dark apartment floor plate in layers — before the wiring is chased into the walls
Apartment LivingRelated Tools — You may also find these useful
Handover Punch List
Room-by-room defect tracker for final handover with severity, owner, and close-out date.
Punch ListAccess Control Cost Estimator
Estimate per-door and whole-building access-control cost in India, with the full component breakdown and GST.
Cost EstimatorAccess Control ROI Calculator
Compare automated access control against guard and manual costs to find the saving and payback.
ROI Calculator