
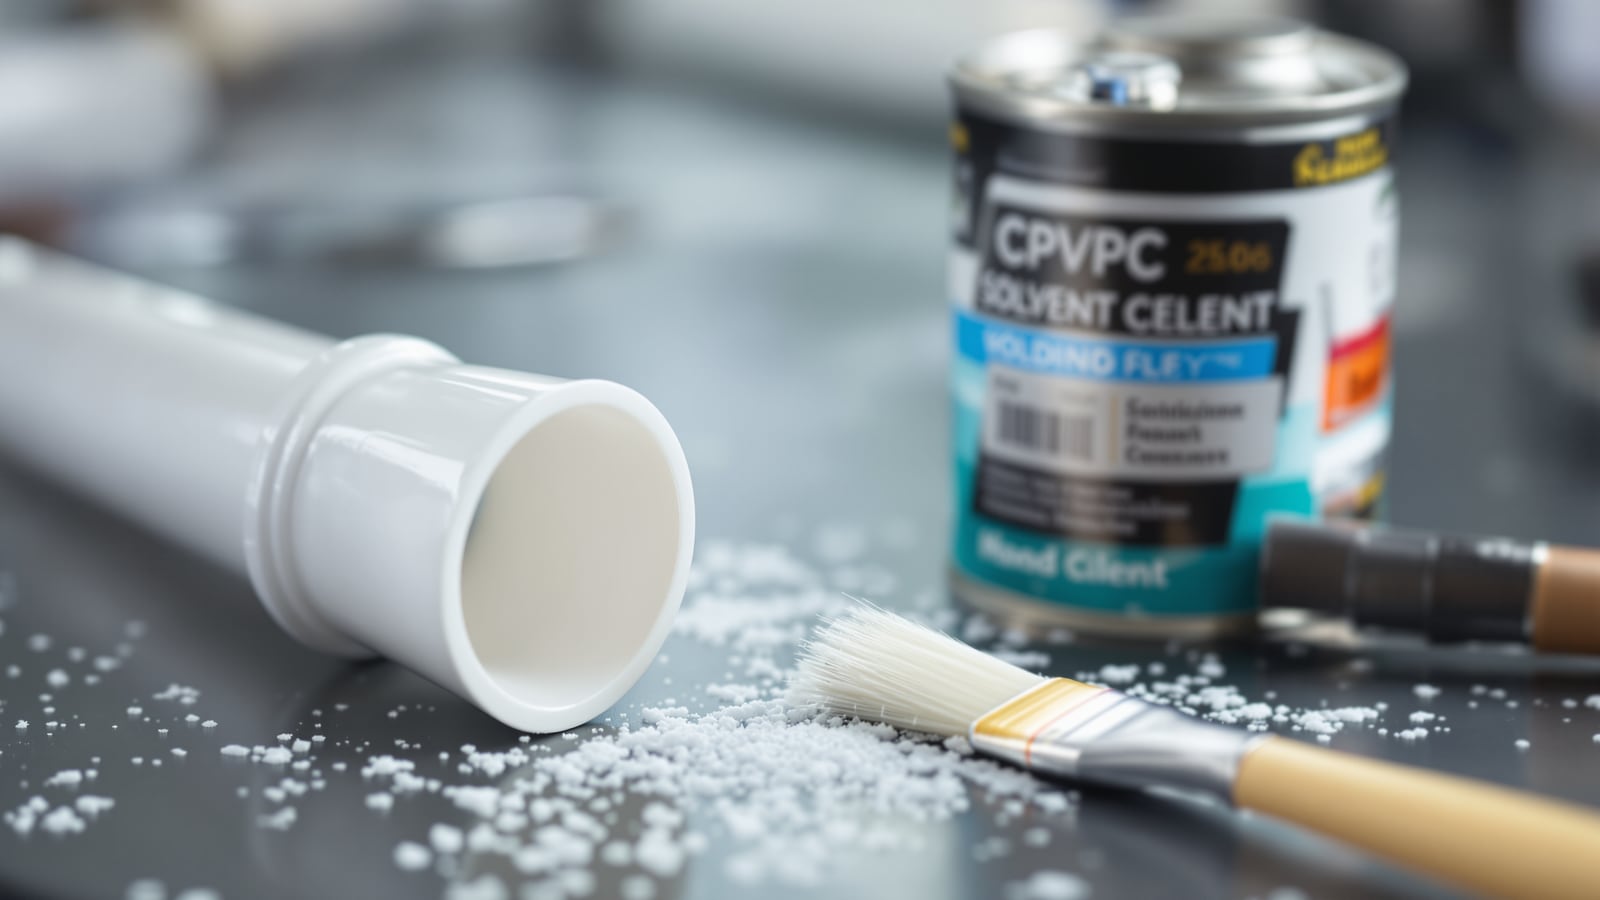
Solvent Cement for Pipes: How PVC & CPVC Joints Are Welded, Not Glued
The milky 'glue' in the little tin is not glue at all — it chemically fuses two plastic pipes into one. Here is what solvent cement and primer actually do, the correct step-by-step for PVC, CPVC and uPVC, the CPVC vs PVC differences, the mistakes that cause weeping joints, and how to read the tin's set and cure times.
Open any plumber's bag on an Indian site and you will find a small tin of milky liquid with a brush stuck through the lid. Everyone calls it "glue" or "gum." It is neither. Solvent cement does not stick two pipes together the way adhesive sticks paper — it softens and dissolves the surface of both the pipe and the fitting so they flow into each other and set as a single, continuous piece of plastic. Done right, the joint is stronger than the pipe itself. Done wrong, it weeps for years inside your wall.
This guide is about the consumable and the technique — how the joint is made and sealed. The pipe materials themselves live in their own guides: PVC, CPVC and uPVC. For the wider family of ways pipes are joined — threaded, push-fit, compression, flanged — see the pipe jointing methods overview.
Why it is a weld, not a glue
Adhesive works by forming a thin film between two surfaces. Solvent cement works differently, and the difference matters for every step that follows.
- The solvent in the cement attacks the plastic and turns the top layer of both surfaces soft and gel-like.
- When you push the softened pipe into the softened fitting, the two molten layers intermingle — the polymer chains of pipe and fitting cross into each other.
- As the solvent evaporates, the plastic re-hardens. The two pieces are now fused into one continuous wall with no seam and no film between them.
This is why the industry word is "solvent welding," not gluing. There is no glue line to peel or fail — there is just one piece of PVC or CPVC where there used to be two. It also means the reaction is one-way: once it sets, you cannot un-join it. Cut it out and start again.
Because it is a chemical reaction, temperature and time are part of the recipe, not optional extras — which is exactly why the tin prints set and cure times.

Cement and primer — what each does
Two tins often travel together, and people skip the second one to save five minutes. That is a mistake on CPVC.
- Solvent cement is the milky, slightly thick fluid that does the actual welding. It carries the solvent plus a little dissolved resin that fills the small gap between pipe and socket.
- Primer is a thin, usually purple-dyed liquid used before the cement. It aggressively cleans and pre-softens the surface so the cement can bite instantly and evenly. The purple dye is deliberate — an inspector can see at a glance that the joint was primed.
For CPVC hot-and-cold supply, many systems are sold as a matched one-step cement that does not need a separate primer — but only if the tin says so. Read the tin. If it does not declare itself one-step, prime first. For rigid PVC/uPVC pressure lines, primer is the norm on anything carrying pressure. Never treat primer as optional guesswork.
The correct step-by-step
The technique is the same in shape for PVC, CPVC and uPVC; only the specific cement changes. Work one joint at a time and keep everything clean and dry.
| Step | What you do | Why it matters |
|---|---|---|
| 1. Cut square | Cut the pipe at a clean right angle with a pipe cutter or fine saw | A slanted cut only welds on one side |
| 2. Deburr & bevel | File off the inner and outer burr; put a slight bevel on the pipe end | A burr scrapes the cement off as you insert |
| 3. Dry-fit | Push pipe into fitting without cement to check depth and alignment | Confirms the pipe seats about a third to two-thirds in |
| 4. Clean & dry | Wipe both mating surfaces free of dust, water, oil and mud | Cement will not weld through grime or moisture |
| 5. Prime (where required) | Apply primer to socket and pipe end — always on CPVC unless one-step | Opens the surface so cement bites evenly |
| 6. Apply cement | Coat the pipe end fully, then a lighter coat inside the socket | The pipe end needs the heavier coat |
| 7. Insert with a quarter turn | Push home firmly and give a 90° twist to spread the cement | Spreads cement and clears dry spots |
| 8. Hold | Hold together without moving for the tin's stated hold time | The softened plastic can push the joint back out |
| 9. Wipe the bead | Wipe the ring of squeezed-out cement off the outside | A full, even bead is the sign of enough cement |
| 10. Cure before pressure | Leave undisturbed, then test — per the tin's set and cure times | Pressure on a green joint blows it apart |
Safety notes: solvent cement and primer are flammable and give off strong fumes. Keep the tins away from flame, work in a ventilated space, keep the lid on between joints so it does not thicken, and avoid skin and eye contact. On potable water lines use only cement rated for drinking water and flush the line before use.

CPVC cement is not PVC cement
They look almost identical in the tin, but they are formulated for different plastics and are not interchangeable.
| Property | PVC / uPVC cement | CPVC cement |
|---|---|---|
| Made for | PVC and uPVC pipe & fittings | CPVC hot-and-cold pipe |
| Typical service | Cold water, drainage, casing | Pressurised hot + cold supply |
| Heat tolerance of joint | Lower | Handles geyser-hot water |
| Primer | Usually separate primer | Often a matched one-step cement |
| Colour on site | Often clear or grey | Often yellow/orange, purple if primed |
The rule is simple: use the cement the pipe maker specifies for that pipe. PVC cement on a CPVC hot line can soften and let go the first time hot geyser water runs through it. When in doubt, match the brand system end to end.
The mistakes that cause weeping joints
Most failed solvent joints fail for a handful of avoidable reasons.
- Too little cement — dry, starved patches leave gaps the water finds. You want a full, even bead squeezing out all around.
- Too much cement — a heavy pool inside the socket can dam the bore, and excess solvent softens the wall too far. Coat fully, not sloppily.
- Disturbing the joint before it sets — the softened plastic wants to push the pipe back out; move it and you break the fresh weld. Hold it, then leave it alone.
- Skipping cleaning or working on a wet pipe — cement cannot weld through mud, oil or water. Monsoon damp is a real enemy here.
- Wrong cement for the pipe — see the table above.
- Rushing the cure — the single most common site failure. Pressurising a "green" joint too early blows it apart inside the wall.
Because these joints are usually buried, a leak is expensive to find and open up. If your pipes run inside walls or floors, read the concealed plumbing guide before you close the chase — a joint you cannot reach is a joint you must get right the first time.
Set time vs cure time — read the tin
Two different waits matter, and people confuse them.
- Set (hold/handling) time is the short wait after insertion before the joint can be handled or the next joint made. In warm Indian weather it is short; in cold weather it is longer.
- Cure time is the much longer wait before the joint can take working pressure and be turned on. It depends on pipe size, pressure and temperature — bigger pipe, higher pressure and colder air all mean wait longer.
There is no single universal number here, and any figure quoted without the tin in front of you is a guess. Trust the printed instructions on the specific solvent cement you are using, and add time in cold weather and before pressurising. When in doubt, wait longer — an extra hour is free; opening a wall is not.
Buy solvent cement and primer that carry the standard mark and are declared safe for potable water, keep the lid tight so the cement does not thicken, and never thin it down. For the wider picture of when solvent welding is the right choice versus threaded, push-fit or compression joints, return to the pipe jointing methods guide. This is Studio Matrx's field-tested take: the cheapest insurance against a leaking wall is a square cut, a clean surface, the right cement, and the patience to let it cure.
Export this guide
Related Guides — Deep-dive reading
Pipe Jointing Methods in India: Solvent, Threaded, Fusion, Soldered & Push-Fit
How every plumbing pipe material is actually joined — solvent cement for PVC/CPVC/uPVC, threaded joints for GI and metal, heat fusion for PPR and HDPE, soldering and brazing for copper, compression and push-fit for quick work, flanged connections for large bore, and rubber-ring socket-and-spigot for drains. Which method suits which material, how reliable each is, and the skill it demands.
PlumbingConcealed Plumbing in India: Chasing, Fixing & Pressure-Testing In-Wall Pipes
How in-wall concealed plumbing is really done in Indian homes — chasing pipes into walls and floors without cutting structure, fixing and spacing them in the chase, the pressure test you must never skip, and marking routes so you can find them again.
PlumbingPlumbing Pipes Guide: Every Material & How to Choose (India)
The section pillar for plumbing pipe materials in India — the full family of thermoplastics, metals, iron, concrete and clay, which pipe belongs on hot supply, cold supply, drainage, underground and sewer duty, a comparison-at-a-glance table, sizing basics, jointing methods, and a plain-language method for choosing.
PlumbingRelated Tools — Try Free
Plumbing Pressure-Test & Leak Checklist
Pre-closure pressure and leak test — 9 categories, 60+ checkpoints across water supply, drainage, fixtures, waterproofing, hot water, tanks.
Pre-Closure TestMonsoon-Readiness Checklist
Pre-rain home audit across 9 categories — terrace, drains, waterproofing, electrical, HVAC, pest, vehicles, documents.
Seasonal AuditBefore & After Studio
Generate AI before-and-after renders to preview how your redesign could look.
DesignAI