
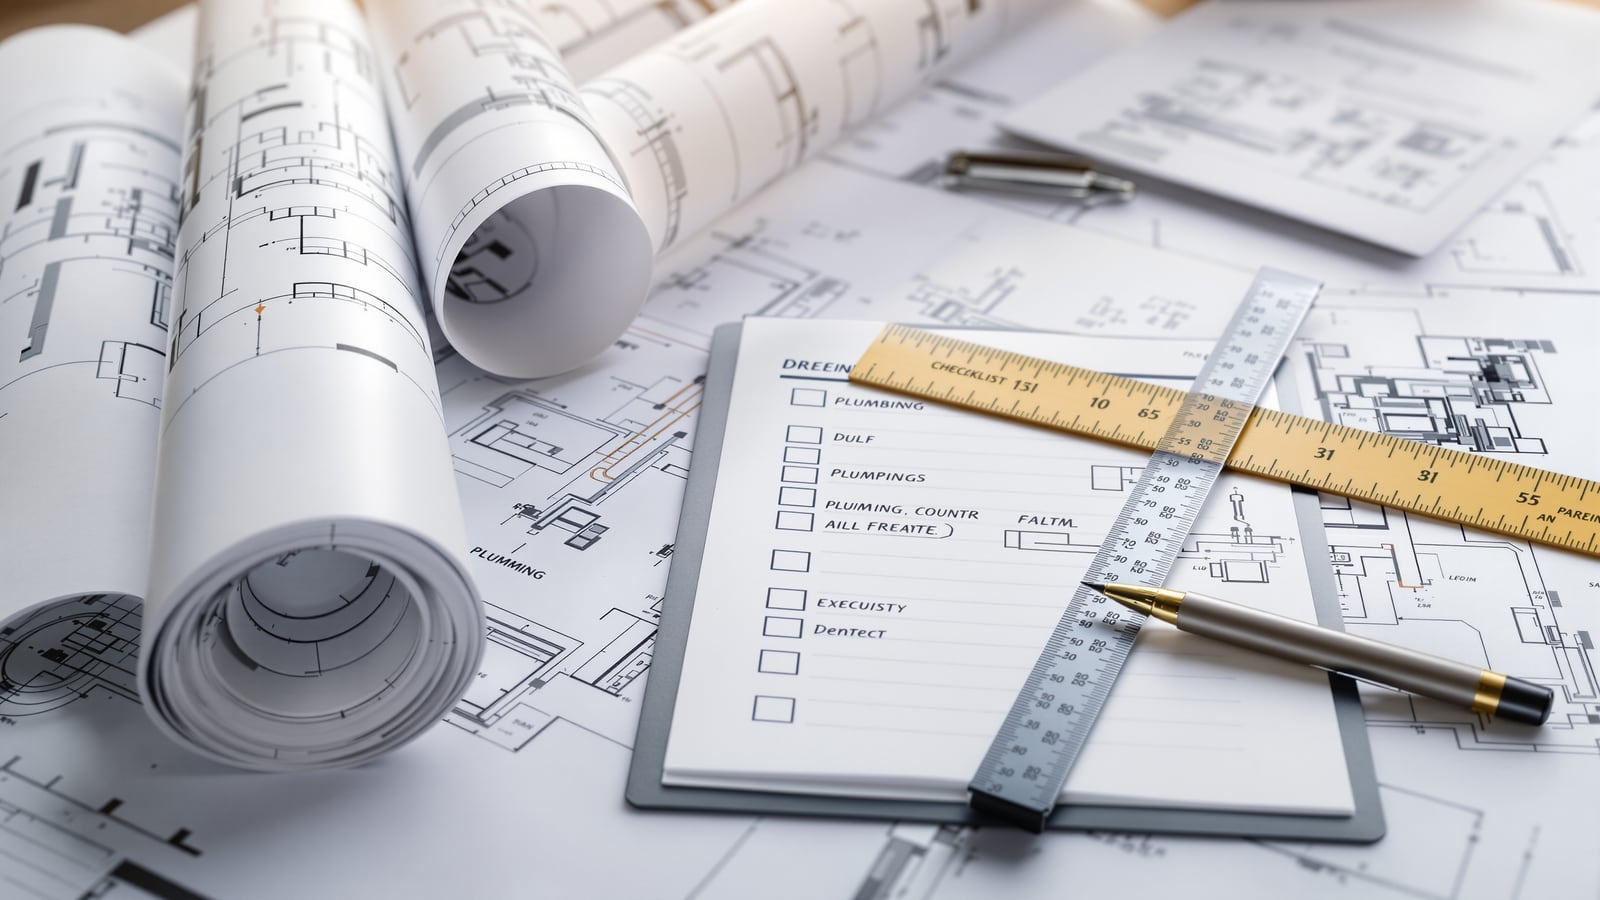
Plumbing Design Checklist for Indian Buildings (Stage-by-Stage)
A practitioner's stage-by-stage plumbing design checklist — from water demand and storage sizing to distribution, drainage, rainwater harvesting, structural coordination and compliance sign-off.
A good plumbing design is not one big decision — it is a sequence of small ones, each of which unlocks the next. Estimate demand before you size a tank; size the tank before you pick a pump; fix the pump and pressure strategy before you route pipes; and coordinate every shaft and sunk slab with structure before a single sleeve is cast. This plumbing design checklist walks through those stages in the order a working designer actually meets them, and ends with a copyable table you can drop straight onto a project. It is a process aid, not a code — always design against the current NBC 2016 Part 9, your local bye-laws, and the approved project specification.
For the underlying "how it works" of each system, this guide leans on the technical pillars rather than repeating them: see the water supply systems guide, the drainage systems guide, and the overall building plumbing systems guide. This checklist is about the sequence and the sign-offs.
The design sequence at a glance
Plumbing design flows in one direction: each stage produces a number or a decision that the next stage depends on. Skip a stage and you inherit a rework loop later.
Stage 1 — Brief, site data and design basis
Before any calculation, pin down the inputs. Getting these wrong invalidates everything downstream.
- Occupancy and use — residential, commercial, mixed; number of units, expected population, and peak-use pattern.
- Water source — municipal connection, borewell, tanker, or a combination; confirmed pressure and hours of supply.
- Site data — plot levels, water table, soil percolation, and the municipal sewer or septic invert level you must drain to.
- Design basis note — write down the per-capita demand, diversity and peak factors you will use, each cited to NBC 2016 Part 9 or the approved project specification — verify. Do not carry numbers in your head; record them so reviewers can check them.
Stage 2 — Water demand estimation
Demand is the first real number. It sets storage, pipe sizes, pump duty and even the drainage load.
- Estimate population per NBC occupancy norms or the client brief.
- Apply the per-capita daily demand (LPCD) from NBC 2016 Part 9 or the project spec — verify; split domestic, flushing and any process or landscape demand.
- Add fire storage where the building height or occupancy triggers it (per local fire norms).
- Convert average daily demand into peak flow using the appropriate peak factor for sizing distribution.
Use a worksheet like the one below so the calculation is auditable — fill the rate column only from NBC 2016 Part 9 or the approved spec, verify each entry, and never hard-code a number without its source.
| Demand component | Basis | Rate (per spec — verify) | Sub-total |
|---|---|---|---|
| Domestic (drinking, bathing) | Population x LPCD | per NBC / spec | litres/day |
| Flushing | Population x flushing LPCD | per NBC / spec | litres/day |
| Landscape / process | Area or load based | per project brief | litres/day |
| Fire reserve | Height / occupancy trigger | per local fire norms | litres (storage) |
| Total daily demand | Sum of above | — | litres/day |
| Peak instantaneous flow | Daily x peak factor | per spec | litres/second |
Keep two demand figures separate throughout: daily volume (drives storage) and peak instantaneous flow (drives pipe and pump sizing). Confusing them is the most common early error.
Stage 3 — Source and storage sizing
- Confirm the underground tank (UGT) capacity — commonly holding a full day's demand plus fire reserve, per spec — verify.
- Size overhead tanks (OHT) for the daily domestic and flushing split, and check the head they provide to the topmost floors.
- Decide domestic versus flushing segregation, and whether treated greywater or harvested rainwater feeds flushing.
- Fix tank materials, compartments, and overflow, scour and level-indication requirements.
Stage 4 — Distribution, zoning and pressure strategy
This is where demand becomes geometry. The technical selection of pipes and valves lives in the water supply systems guide; here you decide the strategy.
- Choose the supply logic: gravity-fed from OHT, pumped hydro-pneumatic, or a hybrid by zone.
- Zone tall buildings for pressure so upper floors get flow without over-pressurising lower floors (pressure-reducing valves where needed).
- Set the residual pressure target at the worst outlet per spec — verify — and size mains, risers and branches to hold it at peak flow.
- Fix riser locations, isolation valve philosophy, and metering points.
Stage 5 — Pumps and hot-water strategy
- Select pump duty from peak flow and total head; specify duty plus standby, and the control mode (level, pressure, or variable speed).
- Coordinate pump room size, ventilation, drainage and vibration isolation.
- Decide the hot-water approach: point-of-use geysers, centralised with a ring main, or solar with electric backup — driven by usage pattern and client brief.
- Provide for expansion, insulation and safe temperature in the hot-water design.
Stage 6 — Drainage and venting layout
Drainage is gravity-driven, so it is designed from the outlet backwards. The full mechanics are in the drainage systems guide.
- Fix the connection point (municipal sewer, STP inlet, or septic tank) and its invert level first.
- Segregate soil, waste, rainwater and, where relevant, kitchen or trade effluent.
- Set stack locations, slopes and the venting system so traps stay sealed; confirm every fixture has a trap and adequate vent.
- Check inspection chambers, cleanouts and the drain-down gradient to the outfall.
Stage 7 — Rainwater harvesting
- Compute harvestable yield from roof and paved area against local rainfall.
- Decide the route: recharge (pits, trenches, borewell recharge) or storage-and-reuse, or both.
- Coordinate first-flush, filtration and overflow to the storm drain.
- Confirm the scheme meets the local RWH mandate — many Indian ULBs make it a plan-approval condition — verify.
Stage 8 — Coordination with structure and architecture
More plumbing gets damaged by poor coordination than by poor sizing. This stage is where you protect the whole design.
- Fix plumbing shafts — one per stack cluster — sized for pipes plus maintenance access, and stacked vertically through floors.
- Mark sunk slabs for toilets and utility areas, with depth agreed against trap and slope requirements.
- Issue a sleeve, cutout and insert schedule to the structural engineer before slabs are cast — retro-cutting an RCC slab is costly and weakening.
- Coordinate pump room, tank, STP and RWH locations with architecture early; these are hard to move later.
Stage 9 — Compliance and sign-off
- Cross-check the design against NBC 2016 Part 9 and local building bye-laws.
- Confirm RWH, STP and metering conditions attached to plan approval are satisfied.
- Verify water and sewerage connection approvals with the utility (see building water connection approvals if applicable to your project stage).
- Assemble the calculation set, drawings, specifications and BOQ as one coordinated tender package.
The copyable checklist by design stage
Lift this table straight onto a project. Fill the "Output / decision" column as you close each stage — an unfilled cell is an open risk.
| Stage | Check / decision | Output / decision | Verify against |
|---|---|---|---|
| 1. Brief and basis | Occupancy, source, site levels, LPCD and factors recorded | Design basis note | NBC 2016 Part 9 / spec |
| 2. Water demand | Population, LPCD, fire storage, peak factor | Daily volume + peak flow | NBC 2016 Part 9 / spec |
| 3. Source and storage | UGT and OHT capacities, domestic/flush split | Tank schedule | Spec / local norms |
| 4. Distribution and pressure | Gravity vs pumped, zoning, residual pressure | Riser and main sizing | Spec |
| 5. Pumps and hot water | Duty + standby, control mode, hot-water route | Pump and geyser schedule | Spec / manufacturer |
| 6. Drainage and venting | Outfall invert, stack layout, vents, traps, slopes | Drainage layout | NBC 2016 Part 9 / spec |
| 7. Rainwater harvesting | Yield, recharge vs reuse, first-flush, overflow | RWH scheme | Local RWH mandate |
| 8. Structural coordination | Shafts, sunk slabs, sleeve/cutout schedule | Coordination drawings | Structural + architect |
| 9. Compliance sign-off | NBC, bye-laws, approvals, tender package | Signed-off drawing set | Local authority |
How to use this checklist on site
The value of a design checklist is that it survives the project. Keep it live: as site conditions change — a shifted sewer invert, a revised architectural layout, a substituted pump — walk the affected stages again, because a change at one stage ripples downstream. Circulate the completed table at each design review so structure, architecture and MEP sign the same version. For where this design work sits in the wider new-build process, see plumbing planning for new homes, and for more practitioner templates and toolkits, the plumbing professional resources hub.
None of the numbers implied above are yours to assume. Every LPCD figure, factor, residual pressure and storage multiple must come from NBC 2016 Part 9 or the approved project specification — verify each one before it enters a calculation sheet.
Copy-ready design sign-off recap
- Stage 1 — Design basis note written and cited.
- Stage 2 — Daily volume and peak flow both computed and separated.
- Stage 3 — UGT and OHT sized; domestic and flushing segregated.
- Stage 4 — Supply logic, zoning and residual pressure fixed; risers sized.
- Stage 5 — Pump duty plus standby set; hot-water strategy chosen.
- Stage 6 — Outfall invert confirmed; stacks, vents, traps and slopes designed.
- Stage 7 — RWH yield, route and overflow coordinated to the local mandate.
- Stage 8 — Shafts, sunk slabs and the sleeve/cutout schedule issued before casting.
- Stage 9 — NBC, bye-laws and utility approvals cleared; tender set coordinated and signed.
Work the stages in order, record every decision, and re-run the affected stages whenever an input changes. That discipline — not any single clever calculation — is what makes a plumbing design build cleanly and pass inspection.
Export this guide
Related Guides — Deep-dive reading
Complete Guide to Residential Plumbing in India: Supply, Drainage, Pumps & Storage
The homeowner-and-architect deep dive into a house's plumbing — how water enters, how cold and hot water reach every tap, how waste and rain leave, and how pumps and tanks tie it all together, sized in real Indian numbers.
PlumbingBuilding Plumbing Services Guide (India): MEP-Grade Water, Drainage & Riser Design
A professional, India-first reference to plumbing engineering for larger and commercial buildings — integrated design with MEP, multi-storey water distribution, and drainage and venting stacks.
PlumbingWater Supply Systems in India: How Water Reaches Every Tap in Your Home
The complete map of how water gets into an Indian home and out to every fixture — the sources it comes from, the sump-pump-overhead-tank storage model that buffers intermittent supply, how gravity and pressurised distribution differ, and the demand figures that size the whole thing.
PlumbingRelated Tools — Try Free
Rainwater Tank Sizer
How big should your rainwater tank be? Computes annual harvest, recommended tank capacity in litres, water-bill savings, and payback — for 10 Indian cities.
RWH CalculatorCross-Ventilation Analyzer
Estimate airflow and air changes per hour (ACH) from room size, window areas, layout, and local wind — with NBC 2016 Part 8 compliance check.
Ventilation CalculatorPeak Flow Calculator
Work out the peak design flow rate for sizing supply pipes and pumps using the peak-factor method, in L/min and L/s.
Plumbing Calculator