
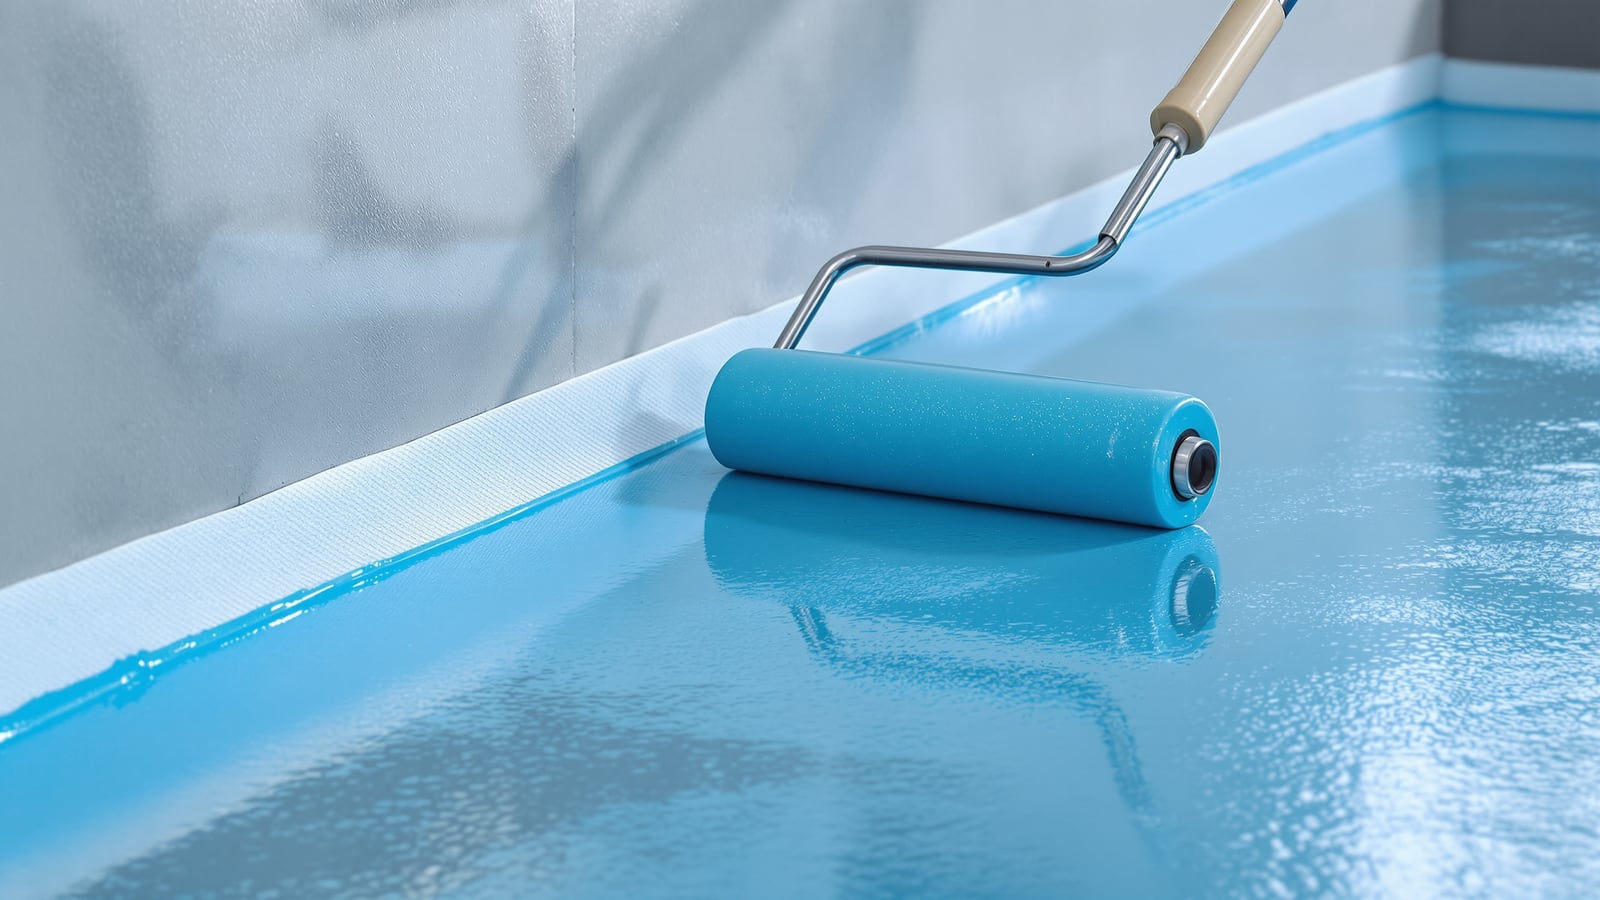
Liquid Waterproofing Membrane India: Acrylic & Elastomeric Coatings for Bathrooms
How liquid-applied acrylic and elastomeric membranes waterproof an Indian bathroom — the seamless brush/roller coat, coats and dry film thickness, reinforcing fabric at every junction, drying times, ₹ costs, and where they beat cementitious and sheet systems.
A liquid waterproofing membrane is exactly what it sounds like: a thick, paint-like coating you brush, roll or spray over the bathroom substrate, which then cures into a single continuous rubbery skin with no joints anywhere. That seamlessness is the whole point. Water fails a bathroom at joints — at the floor-to-wall corner, around the floor trap, at the pipe collars — and a liquid membrane is the one system that flows into every one of those corners and cures as one piece. For most Indian bathroom floors and wet-zone walls, a well-applied liquid membrane is the sweet spot between cost, forgiveness and performance.
This guide sits under the Studio Matrx complete bathroom waterproofing guide for India — read that first for the full logic of why bathrooms leak and where to waterproof. Here we go deep on just the liquid-applied family: how it works, how it is put down correctly, what it costs, and when to pick it over the alternatives.
A liquid membrane is only as good as its thickness and its fabric. Two thin coats that fall short of the specified dry film thickness, or a corner without reinforcing tape, will leak no matter how premium the product on the tin.
What "liquid-applied" actually means
Liquid membranes arrive as a fluid — either a single-component water-based acrylic, or a two-component polymer-modified system where a liquid is mixed with a cement-based powder on site. You apply them wet, in two or three coats, and each coat cures before the next. The cured film is elastic: it stretches to bridge fine cracks and shrinkage movement in the slab instead of tearing. That flexibility, measured as elongation at break, is what separates a good membrane from a brittle one.
The two families you will meet in India:
- Acrylic (water-based) membranes — the everyday choice. Easy to apply, low odour, breathable, good UV resistance. Elongation is moderate (roughly 100–300%). Perfect for internal bathroom floors and wet walls.
- Elastomeric / polymer-modified membranes — tougher, far more flexible (elongation often 300–800%+), and more crack-bridging. These are the ones marketed for terraces, sunken slabs and structures that flex. In a bathroom, use them where movement or standing water is a real risk.
Both are distinct from cementitious systems (rigid, mineral, breathable — covered in our cementitious waterproofing guide) and from high-end polyurethane (PU) liquid membranes, which are also liquid-applied but chemically in a class of their own — see the polyurethane waterproofing guide. For a map of every option side by side, read waterproofing membrane types in India.
The build-up: coats, fabric and thickness
The order of operations decides success. A correct bathroom floor build-up is:
1. Prepare the substrate. The slab must be structurally sound, free of laitance, oil and dust, with no ponding. Round off sharp corners; fill honeycombs. A slightly damp (SSD) surface suits water-based and cementitious-modified membranes.
2. Prime. Most systems want a primer or a diluted first coat to lock down dust and stop the substrate drinking the membrane.
3. Coat 1. Apply the first full coat by brush or roller, working it into corners.
4. Reinforce every junction. While coat 1 is still wet, embed reinforcing fabric or fleece tape (polyester or fibreglass) into all floor-wall corners, around the floor trap, and around every pipe penetration. This is non-negotiable — it is where movement concentrates.
5. Coat 2, then Coat 3. Apply subsequent coats at right angles to the previous one so pinholes cannot line up. Respect the recoat window on the datasheet.
6. Turn up the walls. Continue the membrane at least 150 mm up all walls, and 1.8 m (full height) in the shower and health-faucet zone.
7. Cure, then flood-test. Let it fully cure, then hold water for 24–48 hours before screeding and tiling.
How many coats, and how thick?
Coats are a means to an end — the real target is dry film thickness (DFT). Manufacturers specify a finished DFT, and you reach it by controlling coverage per coat.
| Parameter | Typical bathroom target | Notes |
|---|---|---|
| Number of coats | 2–3 | 3 for sunken slabs & shower walls |
| Wet consumption | 1.2–1.8 kg/m² total | Split across coats |
| Dry film thickness (DFT) | 1.0–1.5 mm | The number that actually matters |
| Wall turn-up (general) | ≥ 150 mm | Above finished floor |
| Wall coverage (shower zone) | Full height / 1.8 m | Health-faucet & shower walls |
| Recoat interval | 4–8 hours | Product & humidity dependent |
| Reinforcing fabric | All junctions | Corners, trap, pipe collars |
A membrane that is too thin is the single most common failure. Measure consumption per square metre against the datasheet rather than trusting the eye.
Drying, curing and the flood test
Do not confuse touch-dry with cured. A coat may feel dry in a couple of hours but the membrane needs its full cure — typically 48–72 hours for water-based acrylics, longer in cold or humid weather — before it develops full elongation and water resistance. In monsoon humidity, everything slows down; build in extra time rather than tiling early over an under-cured film.
Once cured, run a flood test: plug the trap, fill the sunken area with 25–50 mm of water, mark the level, and leave it for 24–48 hours. A drop in level, or damp appearing on the ceiling below, means fix now — not after the tiles are down. This one test saves the entire cost of a re-do.
Where liquid membranes shine — and where they don't
Pros of liquid membranes
- Truly seamless — no laps or joints, so no engineered weak point.
- Excellent at complex geometry — traps, pipe collars, tight corners, steps and niches are its home ground.
- Flexible / crack-bridging — elastomeric grades bridge fine substrate cracks.
- Thin and light — adds almost no dead load or floor height, unlike a screed-heavy system.
- Tileable — most accept tile adhesive directly once cured.
Cons and cautions
- Thickness depends on the applicator. Human error in coverage is the biggest risk; a lazy coat is a thin coat.
- Weather-sensitive during application — rain or high humidity within the cure window can ruin a coat.
- Needs a clean, dry-ish, sound substrate — it will not save a crumbling slab.
- Water-based acrylics are not for permanent immersion (e.g. water-tank interiors) — use the right grade for the exposure.
Quick comparison and costs
| System | Flexibility | Best bathroom use | Indicative ₹/m² (material) |
|---|---|---|---|
| Acrylic liquid | Moderate | Floors & wet walls | ₹90–₹180 |
| Elastomeric / PMC liquid | High | Sunken slabs, showers | ₹150–₹300 |
| Cementitious (rigid) | Low | Budget floors, tanks | ₹60–₹130 |
| PU liquid membrane | Very high | Premium, heavy-flex | ₹350–₹700 |
| Self-adhesive sheet (APP/HDPE) | Medium | Large flat decks | ₹120–₹250 |
Material is only part of the story — applied cost including primer, fabric and labour for a bathroom liquid membrane typically lands around ₹120–₹350 per m², and a standard 35–45 sq ft (≈3.5–4.2 m²) bathroom sunken slab and wet walls comes to roughly ₹4,000–₹9,000 done properly. Against the ₹1–2 lakh cost of chasing a leak through a finished flat below, it is the cheapest insurance in the building.
Do and don't
| Do | Don't |
|---|---|
| Reach the specified DFT — measure consumption | Rely on "it looks covered" |
| Embed fabric at every corner, trap and pipe | Skip corners because they are fiddly |
| Cross-lay coats at right angles | Recoat before the previous coat is ready |
| Turn up walls 150 mm min, full height in showers | Stop the membrane at the floor edge |
| Flood-test before screed and tiles | Tile over an uncured or untested film |
| Match the grade to the exposure | Use interior acrylic in a permanently submerged tank |
Get the fundamentals right and a liquid membrane will quietly outlive the tiles above it. For the wider picture — substrate prep, slopes, traps and the decision logic across all systems — return to the bathroom waterproofing pillar guide, and see the waterproofing membrane types comparison to place liquid membranes against every alternative.
References
- NBC 2016 (National Building Code of India), Part 9 — Plumbing services; damp-proofing and waterproofing provisions for wet areas.
- IS 2645 : 2003 — Integral cement waterproofing compounds — specification (context for cementitious/PMC systems).
- IS 1609 — Code of practice for laying damp-proofing treatment using bitumen felts (comparison baseline for membranes).
- IS 3067 — Code of practice for general design details and preparatory work for damp-proofing and waterproofing of buildings.
- CPWD Specifications & CPHEEO Manual — Government of India guidance on waterproofing workmanship, coats and testing for buildings.
- BIS (Bureau of Indian Standards) — Refer to current editions and manufacturer datasheets for product-specific DFT, coverage and cure data.
Export this guide
Related Guides — Deep-dive reading
Cementitious Waterproofing India: Coatings, Coats & Cost (2026)
How cement-based waterproofing coatings work in Indian bathrooms — one- vs two-component, polymer-modified slurries, surface prep, number of coats, curing, where they suit sunken slabs and wet areas, and where their low flexibility lets you down, with rupee costs.
BathroomsBathroom Waterproofing Failure in India: Causes, Diagnosis & Fixes (2026)
Why bathroom waterproofing fails in Indian homes — poor surface prep, thin coats, missed junctions, no membrane turn-up, damage during tiling — how to read the symptoms, and whether a surface fix or a full redo is the right remedy.
BathroomsBathroom Waterproofing India: The Complete Guide to Membranes, Detailing, Testing & Cost
Why and where bathrooms leak, the full waterproofing system layer by layer, how the membrane types compare, the critical junction detailing, the flood test, warranties, and honest ₹ per sq ft costs for an Indian home.
BathroomsRelated Tools — Try Free
Monsoon-Readiness Checklist
Pre-rain home audit across 9 categories — terrace, drains, waterproofing, electrical, HVAC, pest, vehicles, documents.
Seasonal AuditBathroom Waterproofing Calculator
Work out waterproofing material (kg/L) and cost for a bathroom by area, wall band, system type and coats — cementitious, acrylic, PU or SBR.
Bathroom CalculatorMaterial Comparison Sheet
India's interior material cheatsheet — plywood, finishes, hardware, countertops, paints, waterproofing.
Reference Guide