
How to Remove Wallpaper: A Step-by-Step Guide
Identify the type, pick the right method, and strip it cleanly — the peel test, three removal methods, the step-by-step process, prepping the bare wall, and the mistakes to avoid.
Removing wallpaper has a fearsome reputation, but most of the horror stories come from one mistake: using the wrong method for the type of paper, and then forcing it. Done right — identify the wallpaper first, match the method, and be patient — it is a satisfying weekend job that leaves a clean wall ready for its next finish. This step-by-step guide walks through the whole process, from the two-minute test that tells you which method to use, to prepping the bare wall so your new paint or paper goes on flawlessly.
It sits under the wallpaper guide and the master wall-finishes guide.
First, identify your wallpaper
The single decision that makes this easy or hard is knowing what you are dealing with — so start with a quick test.

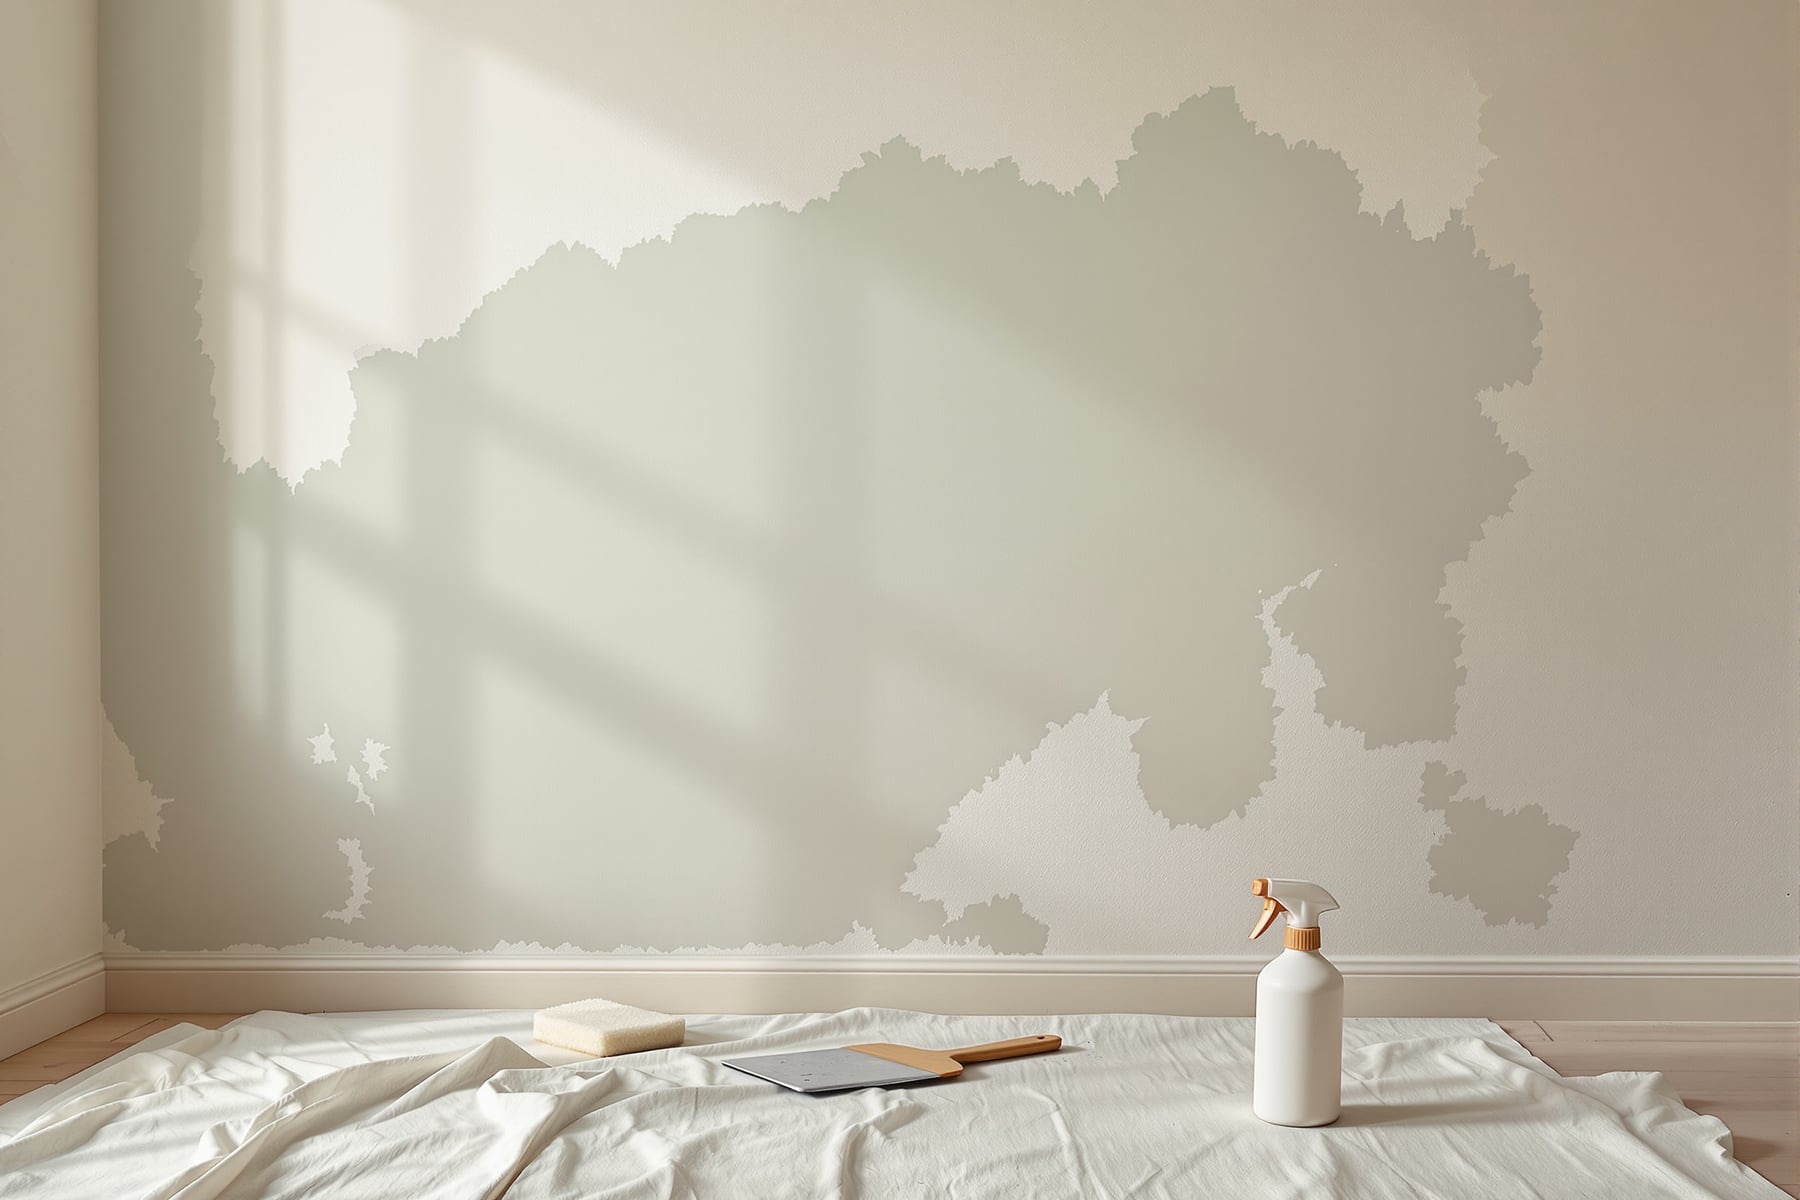
Wallpaper falls into four camps: strippable/peelable (peels off dry in whole sheets — the easiest), non-woven (usually dry-strippable, the modern paste-the-wall type), traditional paper or vinyl-on-paper (needs soaking or steaming to release the paste), and painted-over or old glued paper (the hardest — score, soak or steam, and be patient). Do the peel test: lift a corner with a scraper and pull gently. If it comes off dry and clean, it is strippable; if it tears or leaves a paper backing, it needs soaking or steaming. Test before you commit to a method.
Three removal methods
There are only three ways to get wallpaper off, and the type you identified tells you which to use.

Dry-strip/peel — simply pull from a lifted corner, no water; for strippable and non-woven papers. Soak and scrape — score the surface, wet it with warm water plus a wallpaper-remover solution (or mild vinegar), let it soak 10–15 minutes, then scrape; for traditional paper. Steam — a wallpaper steamer (rentable) softens old, stubborn paste as you scrape; for painted-over or multi-layer paper. Gather your tools first: a scoring tool, a wide putty scraper, a spray bottle or sponge, remover solution or vinegar, a steamer if needed, drop sheets and gloves.
Step by step
With the method chosen, the process is the same rhythm: soften, then lift.

Work through it in order: prep the room (clear and cover furniture, drop sheets down, switch off and tape over sockets, protect the skirting); score the surface so water or steam gets behind the paper (especially vinyl); soak or steam and let it work; scrape by lifting from a seam with a wide scraper held at a low angle so you do not gouge the wall; remove any paper backing left behind by re-wetting and scraping; clean off all adhesive with warm soapy water; and let the wall dry fully before any repair or new finish. Patience beats force — soak or steam enough that it comes off in sheets.
Prep the bare wall for its next finish
The job is not done when the paper is off — the wall underneath needs a little work before it is ready for paint or new paper.

Four steps: remove all glue (leftover paste shows through paint and stops new paper sticking — wash with warm soapy water or vinegar until the wall feels clean, not slippery); repair damage (fill gouges, torn plaster and holes with putty or filler, then sand smooth); sand and clean (a light sand, then wipe off the dust); and prime (a coat of primer seals the wall and gives the next finish a clean, even base). The wall under old wallpaper is rarely paint-ready — clean, repair and prime it, or the new finish will look patchy. See the primer & putty guide for that step.
Tips and mistakes to avoid
A few disciplines separate a clean strip from a damaged wall.

Do: test a hidden corner first, protect floors and sockets, keep the scraper at a low angle, re-wet stubborn spots rather than forcing them, work top-down, and let the wall dry before repairing. Don't: rip dry paper off drywall (it tears the paper facing of the board), over-soak near electrical sockets, gouge the plaster, paint over leftover glue, or rush the drying. On plasterboard especially, patience is everything — soften first, then lift gently.
Strip wallpaper the right way — test, match the method, soften, and be patient — and you are left with a clean, sound wall ready for whatever comes next. For choosing that next finish, return to the wallpaper guide or the master wall-finishes guide.
Export this guide
Related Guides — Deep-dive reading
Interior Wall Paint: The Complete Guide for Indian Homes
Everything under the colour — the layers beneath the paint, the five types to choose from, why sheen matters more than you think, how much you actually need, and the order of work that separates a job that lasts from one that peels.
Wall FinishesFix a Water-Damaged Door: Repair Guide (India 2026)
Dry it, assess swelling vs delamination vs rot, sand and fill, re-glue veneer, seal every edge, and know when to switch to WPC or uPVC.
Home Doors & EntrancesHow to Fill Door Holes and Dents: DIY (India 2026)
Patch screw holes, dents and punched hollow-core damage with filler or epoxy, then sand, prime and paint so it disappears.
Home Doors & EntrancesRelated Tools — Try Free
Before & After Studio
Generate AI before-and-after renders to preview how your redesign could look.
DesignAIMain Door Design Selector
Answer a few questions and get a main-door style — traditional, contemporary, luxury or budget-smart — plus material.
Design SelectorMaterial Schedule Generator
Generate a room-wise finish schedule — walls, floors, ceilings, trim, and joinery by location.
Material Schedule