
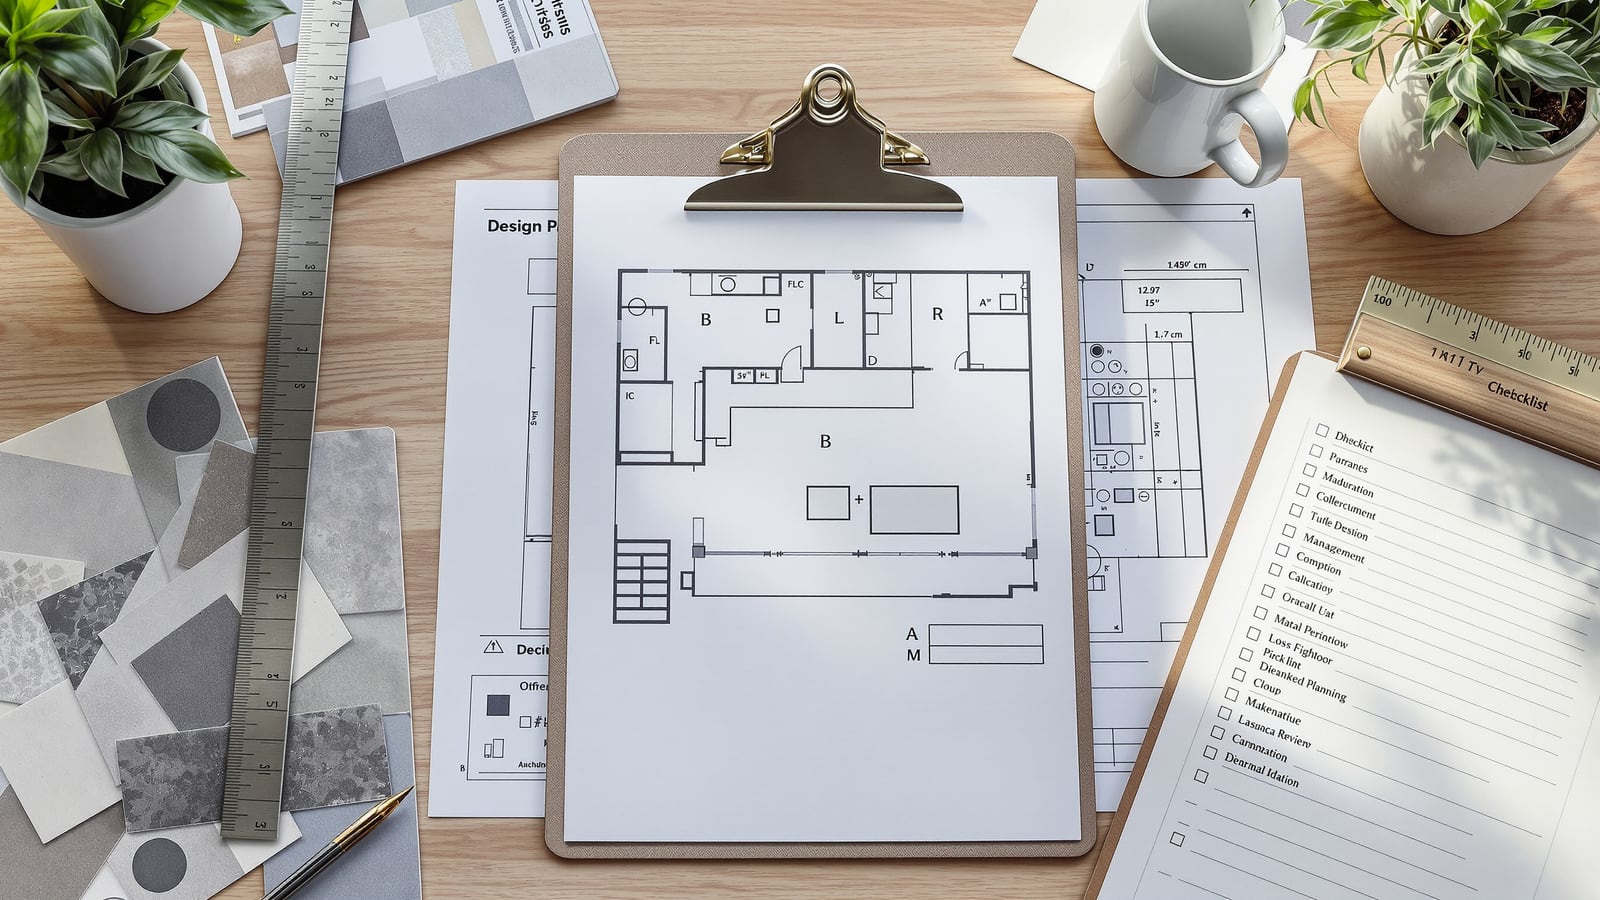
Bathroom Design Checklist (India): Stage-by-Stage Master Checklist for Every Project
The pillar working document for the whole bathroom — a stage-wise master checklist that runs a project from brief and survey through layout, waterproofing and services, finishes and fittings, to snagging and handover, with a RACI responsibility table and an essentials-not-to-forget list. Copy it into your project file and adapt the rows.
Most bathroom problems are not design failures — they are omissions. A missed floor fall, a forgotten geyser point, an exhaust route no one drew, a grab-bar with no blocking behind the tile. This document is the single master checklist that catches those omissions by running the whole project stage by stage: brief and survey, layout and zoning, waterproofing and services, finishes and fittings, and finally snagging and handover. It is the pillar of Studio Matrx's professional bathroom resources; the deeper working documents — the BOQ, the snag list, the handover sheet, the waterproofing checklist — hang off the stages below.
This is a working document, not an essay. The value is in the tables. Copy them into your own project file, delete the rows that do not apply, and add the ones your site does. Treat every unchecked box as an open risk that must be closed before the next stage starts.
A bathroom is signed off by what you cannot see — the fall, the membrane, the concealed pipework. Check those with the same discipline you give the tiles, because they are the things you cannot fix later without breaking everything you can see.
How to use this document
- Run it top to bottom, once per bathroom. Each stage is a gate. Do not pour screed until layout and services are signed off; do not tile until waterproofing has passed its flood test.
- Assign every row an owner. Use the RACI table further down so no item falls between the architect, the site engineer, the plumber and the contractor.
- Date and initial each closed item. A checklist with no signature is a wish list. On site, the person who checked it writes their initials and the date against the row.
- Keep the ₹ figures as your own. Any rates shown are indicative and vary by city, spec and season — replace them with your project's actual BOQ rates before you rely on them.
- Verify against the real project. This template is a starting point. Cross-check it against the contract scope, the sanctioned drawings, local municipal bye-laws and the National Building Code (NBC 2016), and involve a licensed structural or plumbing professional where the item calls for one.
The master checklist — stage by stage
This is the core deliverable. Each stage lists the concrete items to check; the deeper working documents (linked at the end) expand the stages that need their own template.
| Stage | Check item | Concrete detail for India | Done? |
|---|---|---|---|
| 1 Brief & survey | Users & use | Elderly/child use? Bucket-bath vs shower? Health-faucet at every WC assumed | ☐ |
| Budget band | Set a realistic ₹ per bathroom, e.g. ₹1,20,000–₹2,50,000 finished, excl. civil | ☐ | |
| Measured survey | Room size, slab-to-slab height, existing shaft/riser positions, door swing | ☐ | |
| Water & drainage | Overhead vs pressure pump, hard-water hardness, existing waste/soil stack | ☐ | |
| 2 Layout & zoning | Wet/dry split | Shower + WC wet zone, basin dry zone; glass partition or kerb line drawn | ☐ |
| Clearances (NBC 2016) | ≥200 mm each side of WC, ≥600 mm clear in front of each fixture | ☐ | |
| Door & opening | Leaf does not foul WC/basin; outward or sliding for small rooms | ☐ | |
| Falls set out | 1:80 to 1:100 fall to floor drain; shower area drops toward its own trap | ☐ | |
| 3 Waterproofing & services | Concealed plumbing | CPVC hot/cold, UPVC waste; pressure-tested before covering; hangers fixed | ☐ |
| Membrane + upstand | Membrane turned up ≥300 mm on walls, ≥1800 mm in shower; corners taped | ☐ | |
| Flood test | 24–48 hr ponding test, level marked, ceiling below checked dry | ☐ | |
| Electrical points | Geyser point (dedicated MCB), exhaust, mirror light, shaver socket in IP zones | ☐ | |
| Slopes & drains | Floor traps de-choke tested; anti-siphon on WC; no reverse fall to door | ☐ | |
| 4 Finishes & fittings | Tiling & grout | Anti-skid floor (R10+), epoxy grout in wet zone, tile levels lippage checked | ☐ |
| CP fittings | Diverter/mixer height 1000–1100 mm; health faucet by every WC; aerators fitted | ☐ | |
| Sanitaryware | WC, basin, cistern IS 2556 / dual-flush IS 774; fixings into blocking not tile | ☐ | |
| Niche + blocking | Shower niche waterproofed; grab-bar/geyser blocking behind tile marked on drawing | ☐ | |
| Glass & mirror | Toughened shower glass, anti-fog mirror, silicone lines neat and mould-free | ☐ | |
| 5 Snag & handover | Snag walk | Room-by-room snag list raised, photographed, dated, owner assigned | ☐ |
| Function test | Every tap, flush, geyser, drain, exhaust run and observed | ☐ | |
| Documents | Warranties, brand list, valve/shut-off map, as-built handed over | ☐ | |
| Final sign-off | Client + PM sign the handover sheet; defects-liability period recorded | ☐ |
Who is responsible, and when
A checklist only works if every row has an owner. Use this RACI-style table (Responsible does the work, Accountable owns the sign-off, Consulted advises, Informed is kept in the loop) and adapt the roles to your team.
| Activity | Architect / Designer | Site Engineer / PM | Plumber / Electrician | Contractor |
|---|---|---|---|---|
| Brief & measured survey | A | R | C | I |
| Layout, clearances & falls | A / R | C | C | I |
| Concealed services & pressure test | C | A | R | I |
| Waterproofing & flood test | C | A | C | R |
| Tiling, CP fittings & sanitaryware | C | A | R | R |
| Snagging & defect closure | C | A | R | R |
| Handover & documents | I | A / R | C | C |
Essentials you must never forget
These are the items that are invisible once the tiles are on, cost a fortune to retrofit, and cause the majority of callbacks. Confirm each one is on a drawing and checked on site before it is covered.
| Essential | What good looks like | Why it bites if missed |
|---|---|---|
| Slopes to drain | 1:80–1:100 fall, water reaches trap with no ponding | Standing water, slip risk, staining, mould |
| Waterproofing upstand | Membrane up ≥300 mm (≥1800 mm in shower), taped corners | Water tracks up walls and into adjacent rooms |
| Exhaust ventilation | Ducted fan (min ~6 air changes/hr) vented outside, not into ceiling void | Persistent damp, peeling paint, black mould |
| Geyser point | Dedicated MCB, correctly rated cable, above splash zone | Overloaded circuit, unsafe retrofit wiring |
| Shower niche | Formed and waterproofed before tiling, gentle drain fall | Leaks behind wall; ugly surface-mounted caddy |
| Grab-bar blocking | Ply/steel blocking behind tile at 700–900 mm, marked on drawing | Bar pulls out of tile; unsafe for elderly |
| IP electrical zones | No sockets in zone 0/1; IP-rated fittings near shower | Shock risk, non-compliance with electrical code |
Common mistakes this checklist prevents
- Freezing tiles before services. Choosing finishes first and forcing the plumbing to follow strands the WC or basin against the falls. Freeze layout and services first.
- Skipping the flood test. Tiling over an untested membrane hides the one defect you cannot see until the ceiling below stains. Always ponding-test 24–48 hours and record it.
- No blocking for grab-bars or heavy fittings. Deciding on accessibility after tiling means bars anchored into tile that pull out. Mark blocking on the drawing at stage 2.
- Exhaust dumped into the ceiling void. A fan that vents into the false ceiling just relocates the damp. Duct it to outside air.
- Handing over with an open snag list. "We'll close it during defects-liability" quietly becomes never. Close and sign the list before handover.
Related resources & guides
- Bathroom BOQ template (India) — turn the stages above into priced line items.
- Bathroom snag list (India) — the room-by-room defect sheet for stage 5.
- Bathroom handover checklist (India) — the sign-off and documents pack.
- Bathroom waterproofing checklist (India) — the deep dive on stage 3.
- Bathroom design guide (India) — the design pillar behind every decision in this checklist.
Export this guide
Related Guides — Deep-dive reading
Bathroom Plumbing Schedule (India): Point-by-Point Rough-In Heights & Pipe Sizes
A working bathroom plumbing schedule for Indian projects — every water inlet and outlet point with its rough-in height from finished floor level, CPVC/UPVC pipe size and site notes, so your plumber roughs-in the wall correctly the first time and no fixture lands at the wrong height.
BathroomsBathroom Planning for New Homes in India: Get It Right Before You Build
The bathroom decisions you cannot undo once the slab is cast — location and stacking, sunken vs non-sunken slabs, waterproofing, and the plumbing, electrical and ventilation you must coordinate with the civil work, stage by stage.
BathroomsBathroom Waterproofing Checklist (India): Stage-Wise Site Sign-Off Sheet
A copy-and-use waterproofing inspection checklist for Indian sites — the stage-wise hold points a site engineer signs off before, during and after membrane application, with concrete check items, acceptance criteria, a flood-test record table and the common defects to catch before tiling.
BathroomsRelated Tools — Try Free
Plumbing Pressure-Test & Leak Checklist
Pre-closure pressure and leak test — 9 categories, 60+ checkpoints across water supply, drainage, fixtures, waterproofing, hot water, tanks.
Pre-Closure TestFalse Ceiling Cost Estimator
Live ₹/sqft across 8 ceiling types — POP, gypsum, designer, metal, PVC, wooden — with cove and spot lighting for 20 Indian cities.
Cost CalculatorClient Brief Generator
8-section questionnaire that produces a professional design brief PDF with signature lines.
Brief Generator