
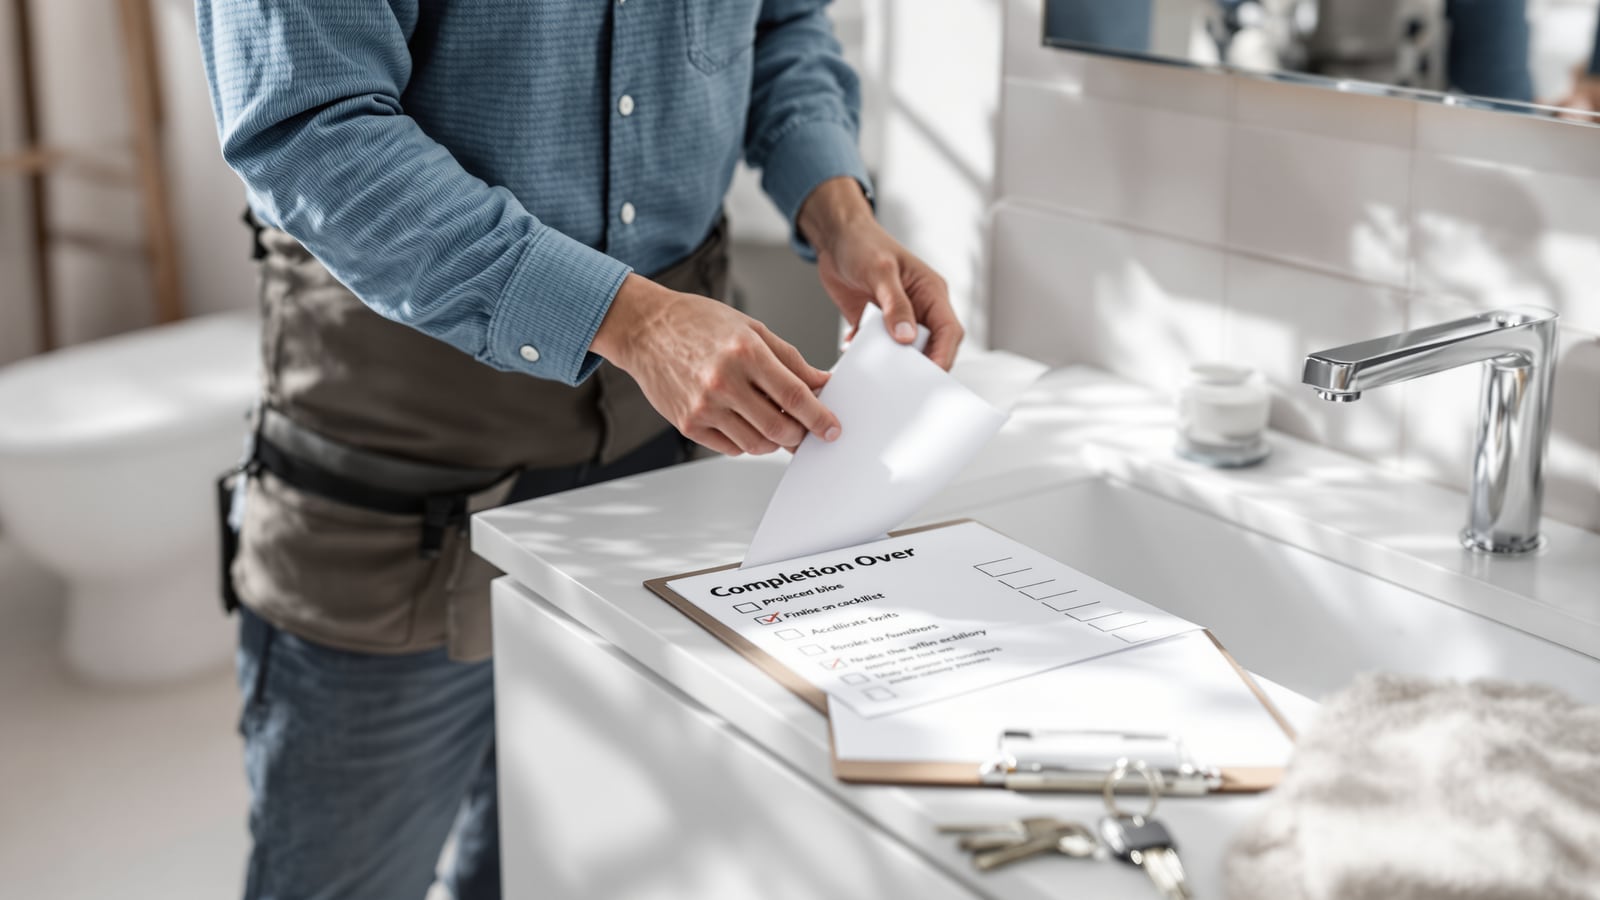
Bathroom Handover Checklist (India): Final Sign-Off, Documents & Client Demonstration Template
A copy-and-use completion checklist for handing a finished bathroom to the client or owner in India — functional tests, finish quality, cleaning and snag closure, the handover document pack, and a client-demonstration sign-off sheet, with a note on the defects liability period.
The handover is the moment a bathroom stops being a construction site and becomes the owner's room. It is a formal, documented close-out — not a casual "it's done, you can move in." A disciplined handover protects both sides: the client gets a working, clean, defect-free bathroom plus the papers to maintain and warranty it, and the contractor or designer gets a signed record that fixes the scope of any later claim and starts the defects liability clock.
This document is the completion and handover template for the Studio Matrx bathroom cluster. Copy the tables below into your own project close-out file and adapt the rows to the actual scope, fittings and contract. It sits at the very end of the build — after the snag list has been raised and cleared — and pairs with the Bathroom Design Checklist (India) that governs the start of the job.
Templates are a starting point, not a legal instrument. Verify every item against the actual contract, the approved drawings, the manufacturer warranties and local codes, and have a licensed professional confirm anything you are unsure of before you sign.
How to use this document
- When: at practical completion, once tiling, plumbing, electrical, waterproofing and finishing are all done and the Bathroom Snag List (India) has been closed out.
- Who fills it in: the site engineer or project manager walks it with the client (or their representative). The contractor demonstrates; the client witnesses and signs.
- How: work top to bottom. Mark each row Pass / Fail against the acceptance criterion. Anything that fails becomes a punch-list item — it does not get signed off until fixed and re-checked.
- Output: three signed artefacts — the completion checklist, the handover document register, and the demonstration sign-off sheet. Keep a copy each for client and contractor.
Where handover sits in the project
1. Completion checklist
This is the core inspection. Walk each fixture and finish and test it live in front of the client. The acceptance criterion is the pass/fail rule — keep it objective. Any "Fail" row stays open on the punch list.
| # | Category / item | Test or check | Acceptance criterion (indicative) |
|---|---|---|---|
| 1 | WC flush | Flush dual-flush 3-4 times | Full clearance, no overflow, cistern refills and cuts off; no run-on |
| 2 | Hot water at all points | Run geyser to basin, shower, health faucet | Hot within ~30-60 s at every outlet; stable temperature; no air-lock |
| 3 | Cold + mixer function | Operate every tap, diverter and mixer | Smooth operation, correct hot/cold sides, full flow, clean shut-off |
| 4 | Floor drainage | Pour a bucket at each floor trap; flood test | Water clears fully within seconds; positive slope to trap; no ponding >3 mm |
| 5 | Shower / area drain | Run shower 5 min | Drains as fast as it fills; no backflow at WC or floor trap |
| 6 | Exhaust fan | Switch on; tissue-hold test at grille | Fan pulls tissue to grille; audible extraction; ducts to outside, not ceiling void |
| 7 | Leak check (visible) | Inspect under basin, WC connector, angle valves | No drips, seepage or damp patches after 10 min running |
| 8 | Leak check (concealed) | Confirm 24-48 h ponding/pressure test record | Waterproofing/pressure test passed and documented before tiling |
| 9 | Electrical safety | Test each point, RCCB trip test | RCCB/ELCB trips on test; geyser, lights, exhaust, shaver socket all live and earthed |
| 10 | Hardware & accessories | Operate door, latch, towel rail, grab bar, shelf | Firmly anchored, level, correct height; door swings clear of fittings |
Finish quality
| # | Finish item | Check | Acceptance criterion (indicative) |
|---|---|---|---|
| 11 | Tile alignment | Sight lines across floor and walls | Joints straight and uniform; grout lines consistent width (2-3 mm typical) |
| 12 | Tile lippage & hollowness | Straightedge + tap test | No sharp lippage; no hollow/drummy tiles indicating debonding |
| 13 | Grout & silicone | Inspect all joints and wet-area corners | Grout full and even; flexible silicone (not grout) at all wall-floor and fixture junctions |
| 14 | Fixture level & plumb | Spirit level on basin, WC, mirror, cabinet | All level/plumb; consistent gaps to wall; no rocking WC |
| 15 | Paint & false ceiling | Inspect ceiling, coving, painted areas | Even coat, no roller marks, moisture-resistant paint; ceiling panels flush and clip-secured |
| 16 | Chrome & glass | Inspect CP fittings, shower glass, mirror | No scratches, tool marks or adhesive residue; protective film removed |
Cleaning & snag closure
| # | Item | Check | Acceptance criterion (indicative) |
|---|---|---|---|
| 17 | Builder's clean | Full deep clean | No grout haze, cement smears, paint spots, sticker glue or debris in traps |
| 18 | Fittings polished | Wipe-down check | Chrome and glass smear-free; WC and basin stain-free |
| 19 | Snag list closed | Reconcile against snag sheet | Every raised snag marked closed and re-verified; nil open items |
| 20 | Consumables set | Confirm handover kit | Spare tiles, grout, keys, aerator tool and manuals staged for handover |
2. Handover document pack
The physical bathroom is only half the handover. The document register below is what lets the owner claim warranties, maintain the room and prove compliance later. Assemble it as a labelled folder (and a shared digital copy). Tick each row as received.
| Document | Source / responsibility | Why it matters at handover |
|---|---|---|
| Warranty cards — WC & cistern | Sanitaryware brand / contractor | Registers warranty; needed for any ceramic or flush-valve claim |
| Warranty cards — faucets & CP fittings | Faucet brand | Often 5-10 yr on cartridge/finish; register in owner's name |
| Warranty card — geyser / water heater | Appliance brand | Tank + heating element warranty; note install date and capacity |
| Waterproofing warranty | Waterproofing applicator/contractor | The single most important paper; states system, area and years covered |
| As-built plumbing drawing | Contractor / plumber | Shows concealed CPVC/UPVC runs and valve positions for future repair |
| Electrical as-built / point layout | Electrician | Circuit, RCCB rating and concealed conduit routes |
| Fixture & finish schedule | Designer / contractor | Model numbers, tile codes, grout shade for exact re-order/repair |
| Maintenance guide | Designer / contractor | Cleaning do's and don'ts; links to the cleaning routine |
| Spare tiles & grout | Contractor (from supply) | 2-5% spare tiles + matching grout sachet for future patch repairs |
| Test certificates | Contractor | Pressure/ponding test and RCCB test records |
| Completion / sign-off sheet | Both parties | The signed record that scopes later claims |
3. Client demonstration & sign-off
Do not just hand over a folder — demonstrate the room. Walk the client through operating and maintaining each system so there is no ambiguity later about "it was never explained." Record each demonstration as witnessed.
| Demonstration item | What to show the client | Witnessed / signed |
|---|---|---|
| Geyser operation | On/off, thermostat setting, safe temperature, MCB location | Client initials |
| Main + fixture shut-offs | Location of angle valves and main stopcock to isolate for repairs | Client initials |
| Dual-flush WC | Half vs full flush; cistern inlet isolation valve | Client initials |
| Mixer & diverter use | Correct hot/cold operation; shower/spout diverter | Client initials |
| Drainage & traps | How to lift and clean the floor-trap grating | Client initials |
| Electrical safety | RCCB test button; monthly trip-test habit | Client initials |
| Cleaning routine | Approved cleaners; what NOT to use on stone/CP — see cleaning guide | Client initials |
| Document folder | Hand over the register; confirm all rows received | Client signature |
| Final acceptance | Client accepts subject to listed punch items (if any) | Both signatures + date |
The defects liability period
Handover starts, but does not end, the contractor's responsibility. Most Indian residential contracts carry a defects liability period (DLP) — commonly 6 to 12 months from the handover date, sometimes longer for waterproofing — during which the contractor must rectify at their own cost any latent defect that appears in normal use: a seeping joint, a hollow tile that lets go, silicone that fails, a slow leak behind the wall. Keep a retention (often around 5% of the contract value) released only at the end of the DLP as leverage. Record the DLP start date and expiry clearly on the signed completion sheet, and note that manufacturer warranties (geyser, faucets, waterproofing membrane) run independently and usually much longer.
Common mistakes
- Signing off with open snags "to be done later." Once signed, leverage is gone. Close snags first, then hand over.
- Handing over a folder without demonstrating. Undemonstrated systems generate avoidable service calls and disputes.
- No spare tiles or grout shade. A discontinued tile batch makes even a small future repair visible for years.
- Skipping the flood/ponding test record. Without documented waterproofing and pressure tests, a later leak becomes a costly argument about cause.
- Forgetting the DLP start date. An undated handover makes the liability window and retention release ambiguous.
- Testing hot water at only one outlet. Air-locks and cross-connections show up at the farthest point, not the first tap.
Related resources & guides
- Bathroom Design Checklist (India) — the front-end checklist that this handover closes out.
- Bathroom Snag List (India) — raise and clear these before you reach handover.
- Bathroom Quality Inspection Checklist (India) — the mid-build quality gate feeding into completion.
- Bathroom Cleaning Guide (India) — the approved cleaning routine to hand to the owner.
Export this guide
Related Guides — Deep-dive reading
Bathroom Plumbing Schedule (India): Point-by-Point Rough-In Heights & Pipe Sizes
A working bathroom plumbing schedule for Indian projects — every water inlet and outlet point with its rough-in height from finished floor level, CPVC/UPVC pipe size and site notes, so your plumber roughs-in the wall correctly the first time and no fixture lands at the wrong height.
BathroomsBathroom Quality Inspection Checklist (India): Stage-Wise ITP with Hold Points & Tolerances
A copy-and-use Inspection & Test Plan (ITP) for Indian bathroom construction — the checks, acceptance criteria, hold and witness points and sign-offs at every stage from rough plumbing to final finish, plus a tolerances sheet and a defect-rating table your site engineer can lift straight into a snag sheet.
BathroomsBathroom Waterproofing Checklist (India): Stage-Wise Site Sign-Off Sheet
A copy-and-use waterproofing inspection checklist for Indian sites — the stage-wise hold points a site engineer signs off before, during and after membrane application, with concrete check items, acceptance criteria, a flood-test record table and the common defects to catch before tiling.
BathroomsRelated Tools — Try Free
Plumbing Pressure-Test & Leak Checklist
Pre-closure pressure and leak test — 9 categories, 60+ checkpoints across water supply, drainage, fixtures, waterproofing, hot water, tanks.
Pre-Closure TestFalse Ceiling Cost Estimator
Live ₹/sqft across 8 ceiling types — POP, gypsum, designer, metal, PVC, wooden — with cove and spot lighting for 20 Indian cities.
Cost CalculatorElectrical Safety & Load Audit
Home electrical audit — 10 categories, 65+ checkpoints across earthing, RCCB, MCB, wiring, switchboards, appliance circuits, DG/inverter backup.
Safety Audit