
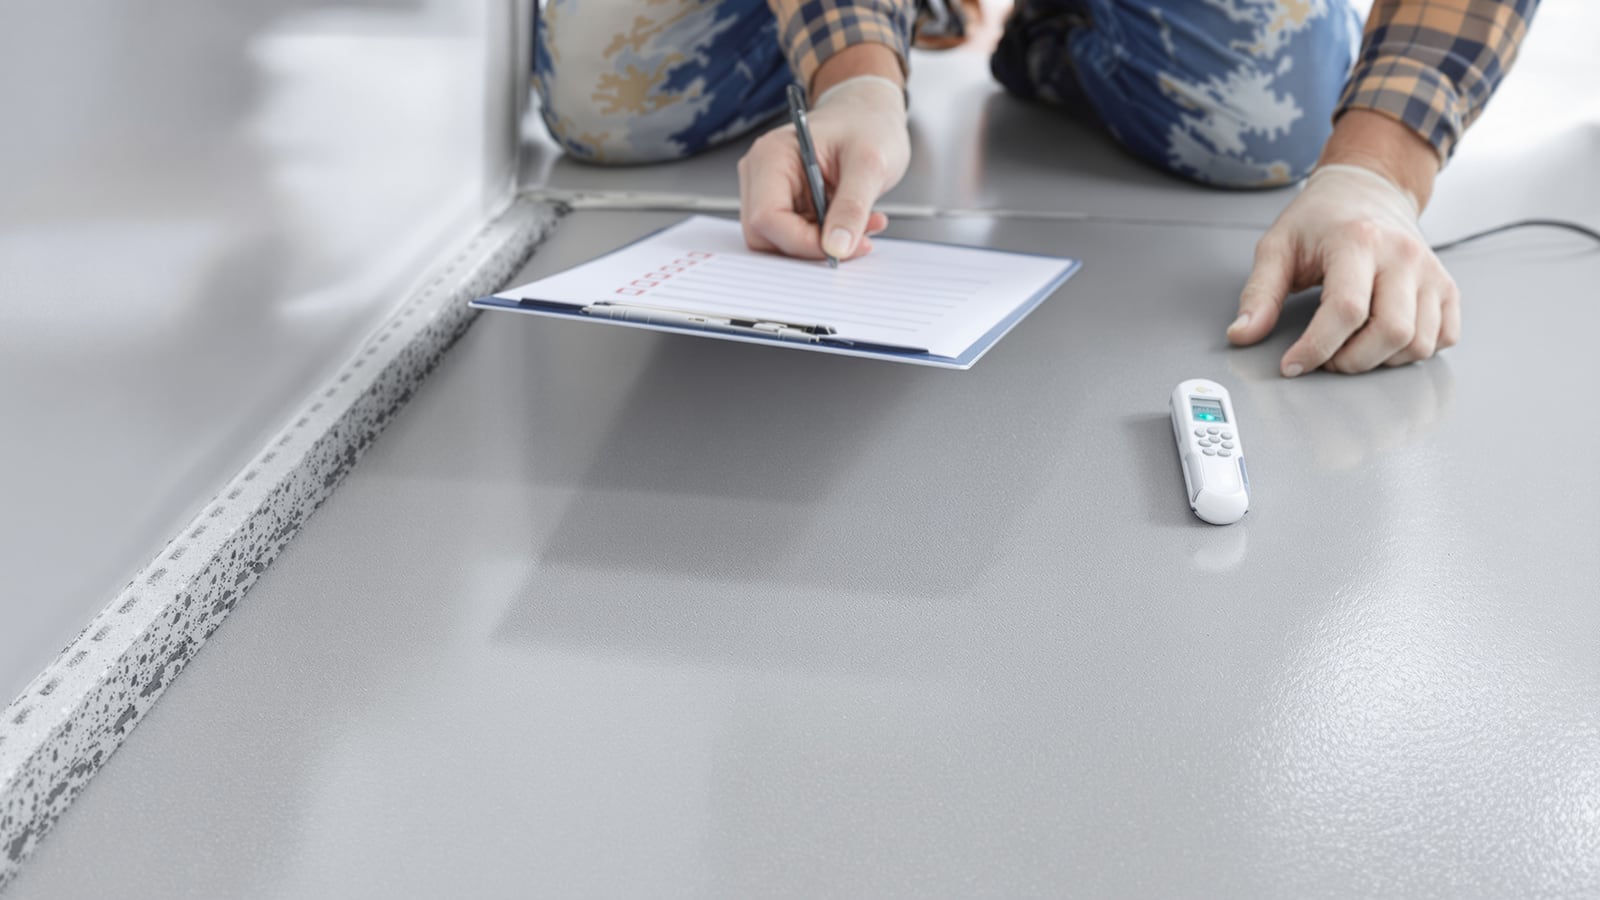
Bathroom Waterproofing Checklist (India): Stage-Wise Site Sign-Off Sheet
A copy-and-use waterproofing inspection checklist for Indian sites — the stage-wise hold points a site engineer signs off before, during and after membrane application, with concrete check items, acceptance criteria, a flood-test record table and the common defects to catch before tiling.
This is a working sign-off sheet, not an essay. It sits in the Studio Matrx bathroom hub as the document a site engineer, PMC or contractor's QC lead physically carries into a wet area and initials at each stage before the next trade is allowed to start. Waterproofing is a covered-up layer: once the protection screed and tiles go over it, a defect is invisible until it leaks into the flat below and costs ten times the original work to trace and repair. The checklist below turns that risk into a paper trail of witnessed hold points.
Copy the tables straight into your project QA/QC file or snag sheet and adapt the rows to your specification, membrane system and city. For the how-and-why of systems, coats and products, read the complete bathroom waterproofing guide for India alongside this sheet.
Treat every stage as a hold point. No trade proceeds — and no tile is laid — until the row above is signed, dated and photographed. A verbal "it's done" is not a sign-off.
How to use this document
- Who fills it in: the site engineer or QC inspector, witnessed by the waterproofing applicator's supervisor. On larger projects the PMC counter-signs the flood-test row.
- When: each block is checked at its stage — substrate before priming, fillets before the membrane, the membrane before flooding, the flood test before the protection screed, and the screed before tiling. Do not batch them at the end.
- What you carry: this sheet, a measuring tape, a wet-film comb gauge, a moisture meter, a pencil for marking the flood level, and a phone for dated photos of each signed stage.
- The output: an initialled, dated checklist plus a flood-test record and photos, filed with the material datasheets and the applicator's warranty. This packet is what protects you if a leak appears in the defect-liability period.
Print it, or paste it into your BOQ workbook. Every row is a decision: Pass and move on, or Fail and rectify-and-retest before anyone touches the next layer.
The stage-wise waterproofing checklist
This is the main deliverable. Six blocks follow the physical sequence of the work. Each row has a concrete check and an acceptance criterion you can defend on site. Values are indicative — always reconcile them against your project specification, the membrane datasheet and NBC / IS references before signing.
| Stage | Check item | Acceptance criterion | Sign |
|---|---|---|---|
| 1. Substrate prep | Surface clean, no laitance, oil, curing compound | Sound, dust-free, mechanically wire-brushed | ☐ |
| Cracks, honeycombs, tie-holes filled | Cut, filled with polymer-modified mortar, cured | ☐ | |
| Floor slope to trap | 1:80 to 1:100, water pour drains fully, no ponding | ☐ | |
| Substrate moisture | Within datasheet limit (often < 5% for cementitious) | ☐ | |
| Sunken slab / trap depth adequate | Screed + membrane + finish fit without raising FFL | ☐ | |
| 2. Corners & fillets | Wall-floor junctions coved | 20-40 mm fillet in polymer mortar, all internal angles | ☐ |
| Reinforcing fabric / tape at junctions | Bedded in first coat at every corner and joint | ☐ | |
| Extra local coat at drains and pipes | Reinforcing patch before general coats | ☐ | |
| 3. Membrane application | Priming (if system needs it) | Applied, tack-dry per datasheet before coat 1 | ☐ |
| Number of coats | Minimum 2, laid at right angles | ☐ | |
| Coat contrast / coverage | Contrasting shades, no misses, no pinholes | ☐ | |
| Dry-film thickness (DFT) | Per datasheet (~1.0-1.5 mm), verify by consumption | ☐ | |
| Recoat / overcoat window respected | Coat 2 within the datasheet interval | ☐ | |
| 4. Upstands & penetrations | Turn-up at general walls | Minimum 150 mm above finished floor | ☐ |
| Turn-up at shower / spray walls | 1,800 mm or full height | ☐ | |
| Door threshold | Membrane turns up and out over the sill | ☐ | |
| Pipe / drain collars sealed | Collar or sleeve dressed and sealed into membrane | ☐ | |
| Loading / hacking bolts, niches, drain body | Sealed; no bare substrate at any penetration | ☐ | |
| 5. Ponding (flood) test | Membrane cured before flooding | Full cure per datasheet (often 24-72 hr) | ☐ |
| Drain plugged, water filled | 25-50 mm standing depth, start level marked | ☐ | |
| Held for duration | Minimum 24 hr, 48 hr preferred | ☐ | |
| No drop / no damp below | Level steady (allow evaporation); flat below dry | ☐ | |
| 6. Protection screed | Screed laid over cured membrane | Only after flood-test PASS is signed | ☐ |
| Slope preserved in screed | 1:80-1:100 maintained to trap | ☐ | |
| No membrane puncture during screeding | Visual + care; no aggregate driven through | ☐ |
The flood (ponding) test record
The flood test is the true acceptance gate — every check above is a proxy for this one. Fill in a record row per bathroom and file it with a dated photo of the ponded water and the marked level. A drop beyond what evaporation explains, or any damp below, is a FAIL: trace, repair and retest before the screed goes on.
| Field | Bathroom A (master) | Bathroom B (common) | Notes |
|---|---|---|---|
| Date / time filled | 12-07-2026, 10:00 | 12-07-2026, 10:30 | Dated photo taken |
| Fill depth | 40 mm | 35 mm | Cover full floor + toe of turn-up |
| Start level marked | Yes | Yes | Pencil line on wall |
| Hold duration | 48 hr | 48 hr | Minimum 24 hr; 48 hr preferred |
| End level | 37 mm | 32 mm | ~3 mm drop = evaporation |
| Ceiling / flat below | Dry | Dry | Checked at 24 hr and 48 hr |
| Adjacent dry areas | Dry | Dry | No efflorescence on outer walls |
| Result | PASS | PASS | Signed by engineer + applicator |
Roles and responsibilities
Keep the sign-off honest by separating who does the work from who accepts it. Adapt this RACI to your team.
| Task | Applicator | Site engineer | PMC / consultant |
|---|---|---|---|
| Substrate prep and slope | Responsible | Verify + sign | Informed |
| Fillets and reinforcement | Responsible | Verify + sign | Informed |
| Membrane coats and DFT | Responsible | Verify + sign | Informed |
| Flood test conduct | Assist | Conduct + sign | Witness / counter-sign |
| Protection screed release | Assist | Authorise | Approve |
| Warranty and datasheet handover | Responsible | Collect + file | Approve |
Common defects to catch
Most waterproofing failures are not exotic — they are the same handful of misses, caught late. Scan for these at each stage and reject the work before it is covered.
| Defect | Where it hides | Catch it by |
|---|---|---|
| No fillet at wall-floor junction | Sharp 90° internal corners | Reject any un-coved corner before coat 1 |
| Single thick coat instead of two | Uniform colour, no contrast | Demand contrasting coats, right-angle passes |
| Turn-up too low | Membrane stops at floor level | Tape-measure: 150 mm general, 1,800 mm shower |
| Bare substrate at drain / pipe | Around collars and sleeves | Insist on local reinforcing patch + sealed collar |
| Pinholes and misses | Thin patches, changes of plane | Raking light + wet-film comb on last coat |
| Flooding a green membrane | Test run too early | Enforce full cure per datasheet before test |
| Membrane punctured by screed | Under the protection screed | Watch screeding; no aggregate driven through |
| Skipping the flood test | "No time / no water" | Hold point — no screed without signed PASS |
Common mistakes
- Batching sign-offs at the end. Once the screed is on, you cannot inspect fillets or turn-ups. Sign each stage at its stage.
- Accepting a verbal pass. If it is not initialled, dated and photographed, it did not happen.
- Testing before cure. Flooding a half-cured membrane damages it and gives a false fail — then a false-confident recoat.
- Ignoring the flat below. The most reliable leak evidence is a damp ceiling downstairs, not the water level upstairs. Check both.
- Losing the paperwork. File the signed checklist, flood record, photos, datasheets and warranty together — it is your defence in the defect-liability period.
This template is a starting point. Verify every value against your actual specification, the membrane manufacturer's datasheet, the contract, and local codes — and involve a licensed professional for anything load-bearing or code-critical.
Related resources & guides
- Complete bathroom waterproofing guide (India) — the systems, coats and products behind this checklist.
- Bathroom design checklist (India) — the pillar design sign-off this sheet feeds into.
- Bathroom quality inspection checklist (India) — the full-fit-out QC sheet.
- Bathroom snag list (India) — the room-by-room handover snag template.
Export this guide
Related Guides — Deep-dive reading
Bathroom Waterproofing Inspection India: Stage-Wise QC Checklist & Flood Test
How a homeowner or site engineer inspects and signs off bathroom waterproofing in India — the stage-wise QC checklist for surface prep, coats and dry-film thickness, junction reinforcement and membrane turn-up height, plus the 24-48 hour ponding test procedure, acceptance criteria and warranty paperwork to demand before a single tile is laid.
BathroomsBathroom Leak Prevention India: Detailing the Junctions That Stop Water Reaching the Flat Below
Bathroom leaks almost never come from a broken pipe — they come from a badly detailed junction. Here is how to get the wall-floor corner, pipe penetrations, floor trap, nahani trap and door threshold right, plus the flood test that catches a leak before you tile.
BathroomsBathroom Waterproofing Failure in India: Causes, Diagnosis & Fixes (2026)
Why bathroom waterproofing fails in Indian homes — poor surface prep, thin coats, missed junctions, no membrane turn-up, damage during tiling — how to read the symptoms, and whether a surface fix or a full redo is the right remedy.
BathroomsRelated Tools — Try Free
Interior Red Flag Checklist — Before Signing
54 red flags across 8 categories with a live risk score and personalised PDF.
Red Flag ChecklistBathroom Waterproofing Calculator
Work out waterproofing material (kg/L) and cost for a bathroom by area, wall band, system type and coats — cementitious, acrylic, PU or SBR.
Bathroom CalculatorMaterial Schedule Generator
Generate a room-wise finish schedule — walls, floors, ceilings, trim, and joinery by location.
Material Schedule