
B.Arch CurriculumFree, forever
A tribute to Amogh N P
Model Making
A model is a way of thinking, not just a way of showing. Where Interior Graphics draws space on paper and Computer Studio builds it on screen, this hands-on course reintroduces the one thing a designer's body actually inhabits — three real dimensions, at a controlled reduction. You rotate a model in the hand, look into it, hold it to a window and watch a real shadow fall. You learn why the physical model matters and its types (from quick massing blocks to the interior designer's signature sectional cutaway); scale, and how to read a plan and section into flat cutting templates; the model-maker's materials and tools, taught with uncompromising knife safety; the techniques of accurate cutting, joining, forming and finishing; and a capstone sectional interior-room model at 1:20, from measured drawings to a finished, base-mounted, furnished model — closing with an awareness of how laser cutting and 3D printing now work hand in hand with the craft.
Course byAmogh N P· Architect & interior designer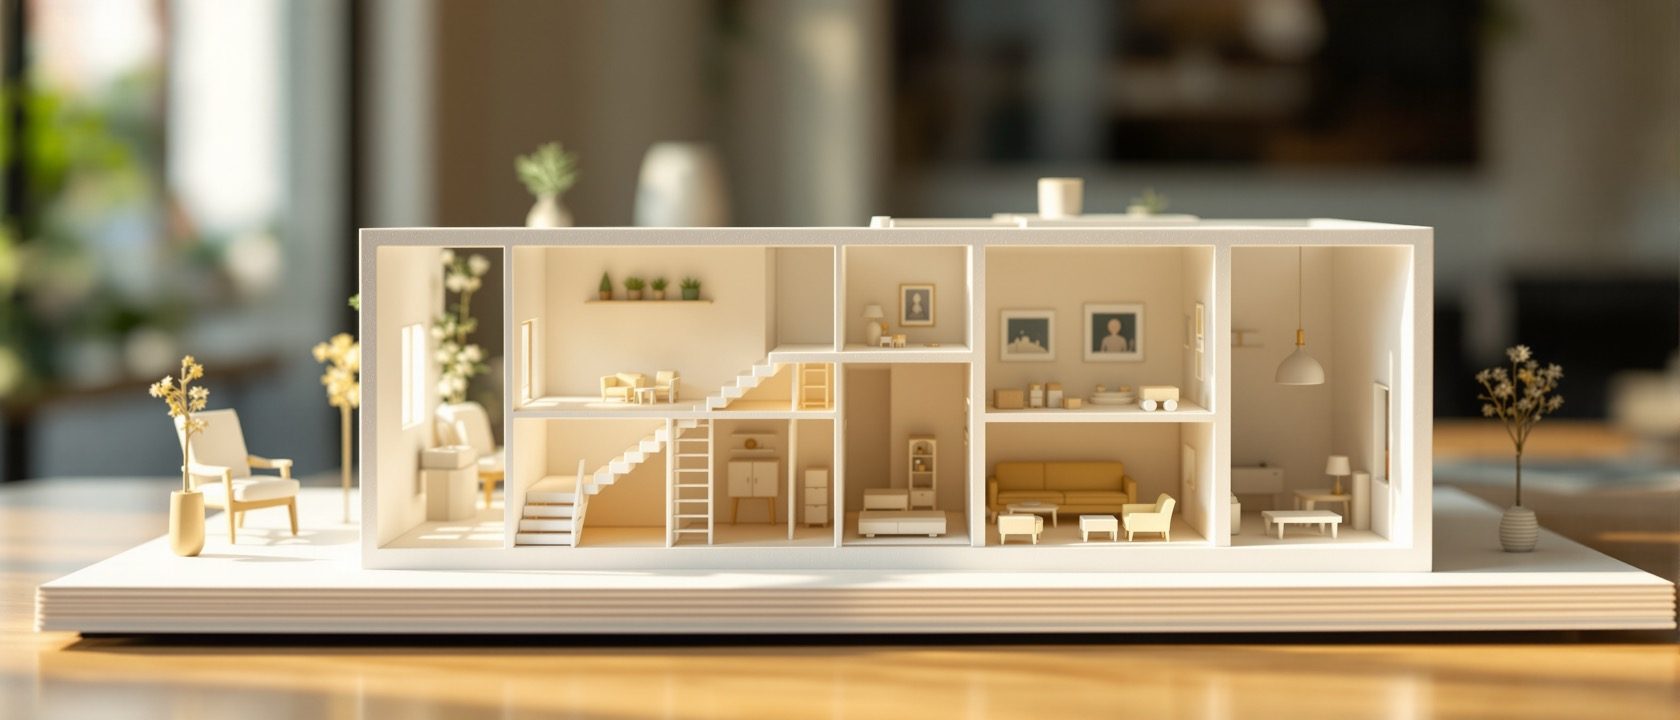
The syllabus
5 units · 5 liveA hands-on craft studio that owns the tactile, three-dimensional model. All 5 units are live as full interactive lessons, each with original zoomable diagrams, a self-assessment quiz and a making task.
Unit 1 — Why Models & Their Types
LiveThe physical model as a design instrument, not merely an output — a way of thinking in three dimensions that tests proportion, real light and shadow, spatial sequence and enclosure, and communicates to non-designers what a drawing or render cannot. The two governing distinctions — study/process models (fast, rough, cheap, built to think) versus presentation/finished models (refined, judged on craft) — and the taxonomy of model types: massing/block, study/working, concept, sectional/cutaway (the interior designer's signature), detail, presentation, and context/site. Why the sectional model, which cuts the envelope to reveal the inside, is the heart of an interiors course.
Unit 2 — Scale & Templates
LiveScale is the single most important concept — the ratio between a model dimension and the real dimension it represents (1:20 means the model is one-twentieth of full size). Converting real to model dimensions; the scale rule; and choosing a scale for the purpose, with the rule that detail must be earned by scale (a 1:100 massing model shows form, a 1:20 room model shows furniture and materials). Reading orthographic plans, sections and elevations and 'unfolding' them into flat cutting templates (nets); grain direction; and the two precision issues that separate a good model from a sloppy one — grain, and accounting for material thickness at joints (the board-thickness problem).
Unit 3 — Materials & Tools
LiveThe model-maker's palette as a design decision — sheet and board materials (foamboard, sunboard, mount and museum board, greyboard, corrugated card), wood (balsa, the premium basswood, MDF/plywood for bases), plastics and glazing (acrylic/Perspex, acetate film), massing media (blue foam, thermocol, plaster, clay), and linear and found materials plus scale figures and entourage — with which material suits which scale and model type. The tools — the steel rule, self-healing cutting mat, scalpel and snap-off knife, set squares, fine saw, files, tweezers, pin vice and hot-wire cutter. And uncompromising SAFETY, taught as workshop law: a sharp blade is safer than a blunt one, cut away from the body, cut against steel, ventilation and first aid.
Unit 4 — Cutting, Joining & Finishing
LiveThe techniques that turn material into a model. Accurate cutting — multiple light passes never one deep cut, score-and-snap, keeping the blade vertical, cutting curves and cutting openings in the flat before assembly. Joining — butt, mitre and tab-and-slot joints, the board-thickness problem again, and dry-fitting square before gluing. Adhesives — which for which material and their pitfalls (PVA is foam-safe; solvent glue melts foam; superglue fogs clear acrylic; too much PVA warps card). Building floors, walls, removable ceilings, stairs and simple furniture at scale; forming curves; the designed base board; surface finishing and texture (suggest, don't replicate; matte over gloss); lighting; and photographing the model at eye level.
Unit 5 — The Interior Model & Digital Fabrication
LiveThe capstone — building a sectional/cutaway interior model of a room at 1:20, from measured drawings through choosing the cut, converting to model dimensions, drawing templates, cutting, dry-fitting, assembling, furnishing, finishing, base-mounting and photographing; the craftsmanship and presentation standards it is graded against, and the common failures and how to avoid them. Then digital-fabrication awareness (not a CAD tutorial — cross-linked to Computer Studio): laser cutting (from vector files — never PVC), 3D printing (FDM and resin), CNC routing, and the key message that contemporary practice is a hybrid in which the machine removes tedious repetition so the maker's judgement goes into composition, assembly and finish — with Indian material and fab-lab availability.
Course outcomes
What you will be able to doExplain the role of the physical model in design, and identify the model types.
Convert real dimensions to model scale and read drawings into cutting templates.
Select model materials and tools, and work with correct workshop and knife safety.
Cut, join, form and finish model elements accurately.
Build and present a sectional interior model to craftsmanship standards.
Explain how digital fabrication (laser cutting, 3D printing) works with hand craft.
The author
Amogh N P
Architect, interior designer, and creative polymath. Studio Matrx began in his notebooks — his vision of design made honest, useful, and open to everyone. Its Academy is written and taught in his memory, and free, forever.
More about Amogh →A model is a way of thinking
Why models matter and their types, scale and reading drawings into templates, materials and tools with real knife safety, the techniques of cutting, joining and finishing, and a sectional interior-room model of your own — closing with how laser cutting and 3D printing now help. Read the five units, try the tools, then test yourself.
The curriculum is free, forever