
Cutting, Joining & Finishing
The techniques that turn material into a model.
This is the making itself. Learn accurate cutting — multiple light passes, never one forced deep cut — and score-and-snap; joining with butt, mitre and self-jigging tab-and-slot joints, dry-fitting square before glue; the right adhesive for each material and its pitfalls (PVA is foam-safe; solvent glue melts foam; superglue fogs acrylic); and finishing, where you suggest materials rather than replicate them, matte over gloss, and photograph the model at eye level.
Learning objectives
By the end of this lesson, you will be able to — mapped to the course outcomes for Model Making:
Cut accurately with multiple light passes, and cut openings and curves.
Join with butt, mitre and tab-and-slot joints, dry-fitting square first.
Choose the right adhesive for each material and avoid its pitfalls.
Finish, texture, base-mount and photograph a model well.
Cutting & joining
Multiple light passes and score-and-snap, the butt/mitre/tab-and-slot joints, dry-fitting square, and choosing the right adhesive.[1, 2, 3]
Light passes, not one deep cut
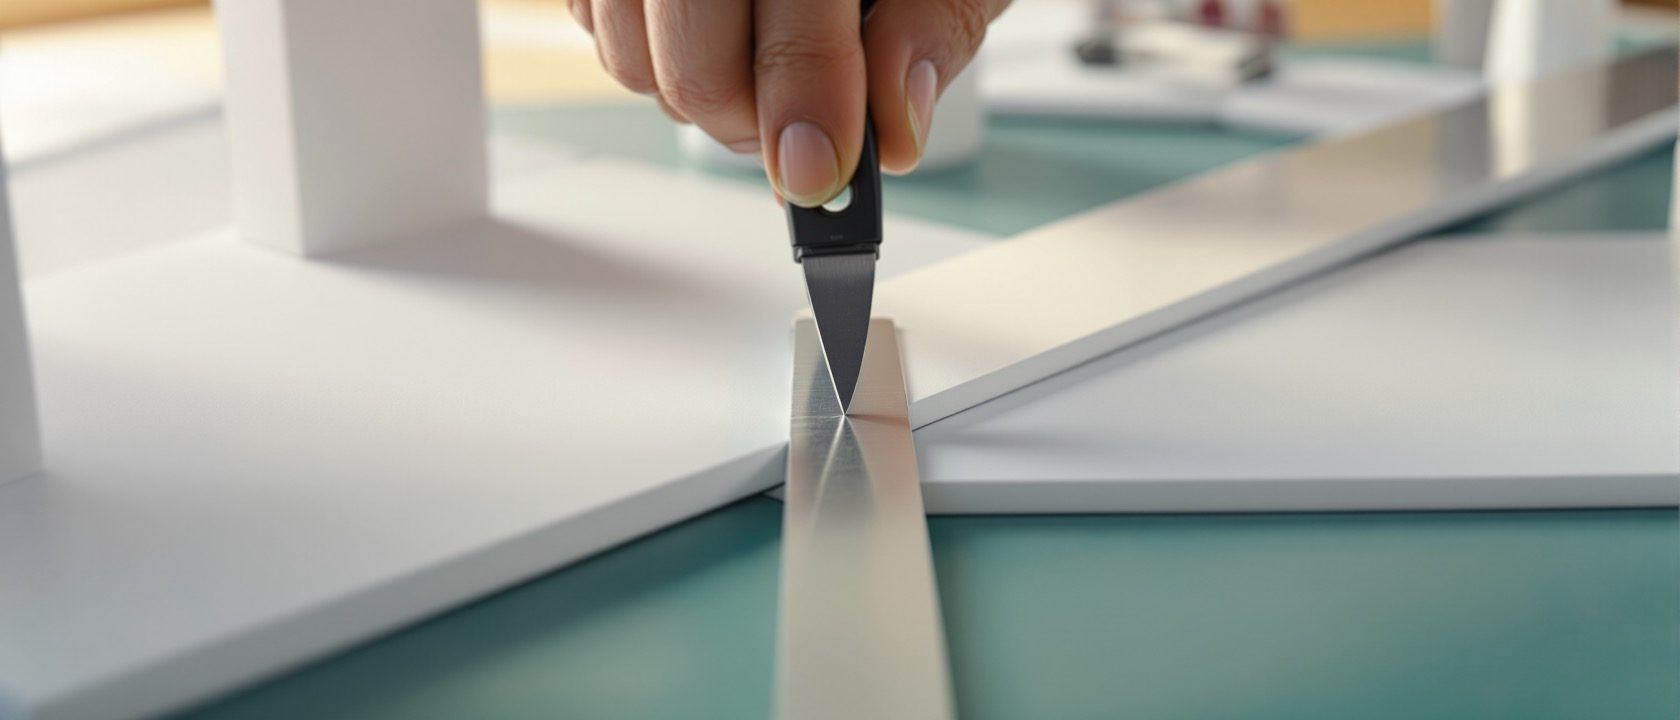
The foundational skill. Use MULTIPLE LIGHT PASSES, never one forced deep cut — the first pass scores a shallow track that guides the rest, giving a clean square edge, and it is safer. SCORE-AND-SNAP thin card (and scribed acrylic): score firmly, then snap over a straightedge. Keep the BLADE VERTICAL (90°) for square edges; let weight, not force, drive it. For CURVES, use a fresh pointed blade and short strokes, rotating the work. Cut OPENINGS (windows, doors) marked on the flat piece, inner waste first, BEFORE assembling the box.[1, 2]
Elements, base & finishing
Building floors, walls, removable ceilings, stairs and furniture; the designed base; and finishing, texture, lighting and photographing.[1, 4]
Floors, walls, stairs, the base
Cut the FLOOR from the plan as the base for wall registration; cut WALLS as flat elevations (openings first) and glue them up square; make the CEILING/roof REMOVABLE for a cutaway so the interior stays visible. STAIRS — the signature detail — build as a stringer-and-tread assembly or a stacked/laminated method, riser and tread scaled from real dimensions. Reduce FURNITURE to essential blocks refined only to the resolution the scale earns. The BASE board is part of the design — rigid, flat and true, with a considered margin, the model fixed down, and a title/scale bar.[1, 4]
At a glance
| Aspect | One side | The other |
|---|---|---|
| Cutting | Myth: one firm deep cut is accurate | Reality: several light passes — cleaner and safer |
| Glue choice | Myth: any glue works on any material | Reality: solvent melts foam; superglue fogs acrylic |
| Finish | Myth: more colour and detail is better | Reality: restraint and matte read as sophistication |
| Materials on a model | Myth: reproduce the real material | Reality: suggest it at scale (texture, print) |
| Photographing | Myth: shoot top-down to see all | Reality: shoot at eye level for real space |
Key terms
Several shallow cuts guided by the first scored track — cleaner and safer than one deep cut.
Both mating edges cut to 45° for a clean, thickness-hiding corner.
Interlocking cut tabs and slots — self-jigging, square, and the laser-kit standard.
PVA is foam-safe; solvent glue melts polystyrene foam — the material dictates the glue.
Represent materials at scale (printed texture, matte paint), don't reproduce them.
Shoot at the model's scale eye height for a spatial view, not a top-down toy shot.
Making task
Cut and assemble a single test corner of two foamboard walls: mark and cut each wall with multiple light passes, mitre the corner at 45°, dry-fit it square against a set square, then glue with a foam-safe adhesive and hold it until cured. Note which glue you chose and why (and which you avoided). Then finish one small wall panel to represent a real material — brick, timber or concrete — by suggestion, not replica, and photograph your corner at eye level against a plain backdrop.
Self-assessment
1. The correct way to cut model board accurately is —
2. Which glue must you NOT use directly on polystyrene foam?
3. To photograph a finished interior model convincingly, you should —
Recap
References & further reading
- [1]Nick Dunn, Architectural Modelmaking, 2nd ed., Laurence King, 2014 (cutting, joining, forming, finishing exercises).
- [2]Criss B. Mills, Designing with Models, 3rd ed., Wiley, 2011 (construction technique and joint logic).
- [3]Megan Werner, Model Making, Princeton Architectural Press, 2011 ('Tips & Techniques': adhesives, finishing, texture).
- [4]Maureen Mitton, Interior Design Visual Presentation, 5th ed., Wiley, 2017 (finishing, presenting and photographing models).
Further reading
- Nick Dunn — Architectural Modelmaking.
- Megan Werner — Model Making.
- Maureen Mitton — Interior Design Visual Presentation.
Sources gathered and fact-checked June 2026. Published values vary by source, sample and method — treat as indicative and confirm against the cited standard before structural use.
The author
Amogh N P
Architect, interior designer, and creative polymath. Studio Matrx began in his notebooks — his vision of design made honest, useful, and open to everyone. Its Academy is written and taught in his memory, and free, forever.
More about Amogh →