
The Interior Model & Digital Fabrication
The sectional room model — and the machines that now help.
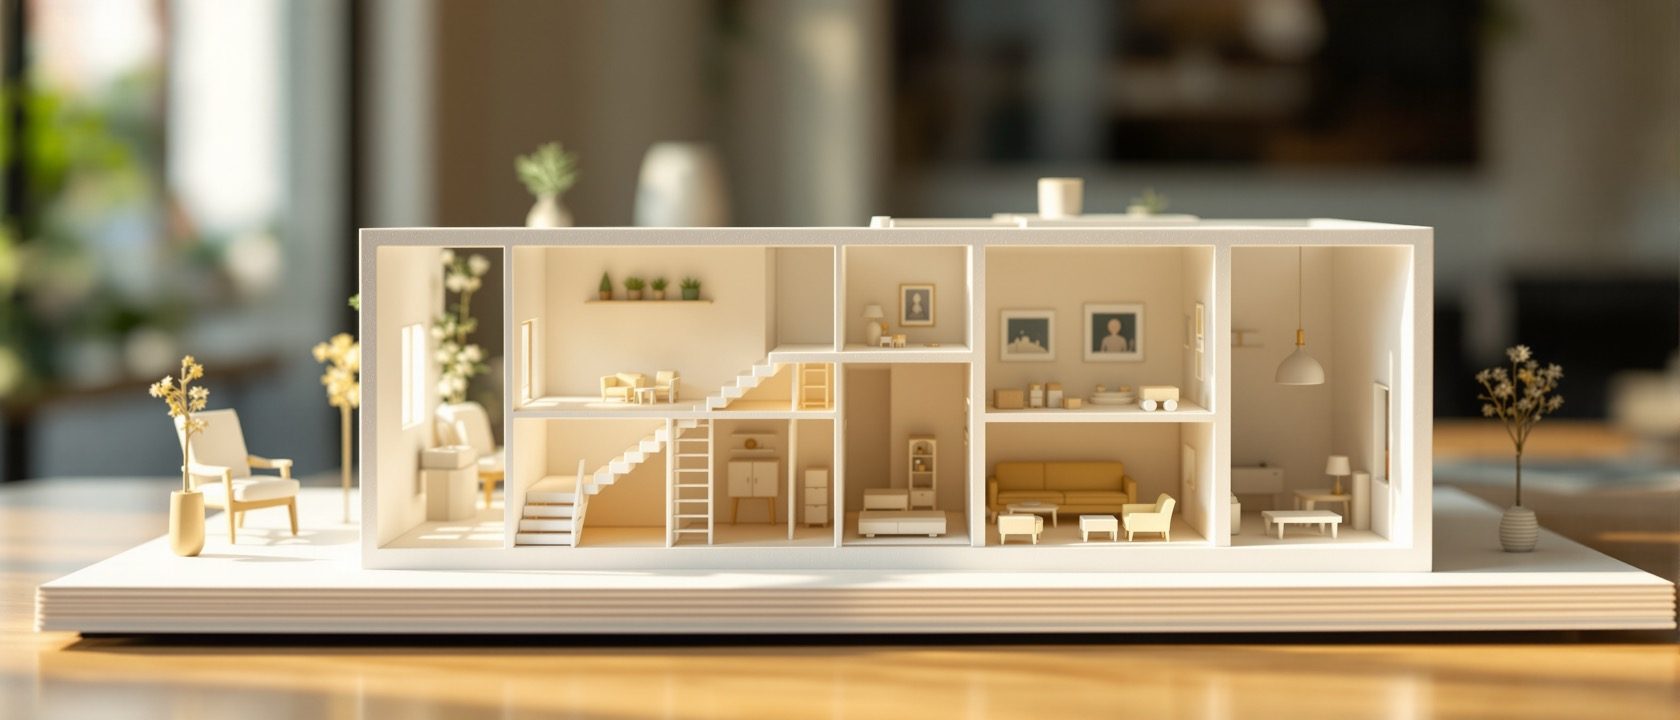
The capstone brings it all together: build a sectional/cutaway interior model of a room at 1:20, from measured drawings through choosing the cut, converting, cutting, dry-fitting, assembling, furnishing, finishing, base-mounting and photographing — to the craftsmanship standards it is graded against. Then digital-fabrication awareness: laser cutting, 3D printing and CNC routing, and the key message that practice is now a hybrid in which the machine frees the maker’s judgement.
Learning objectives
By the end of this lesson, you will be able to — mapped to the course outcomes for Model Making:
Build a sectional interior room model at 1:20 from measured drawings.
Judge a model against craftsmanship standards and avoid the common failures.
Explain laser cutting, 3D printing and CNC routing at an awareness level.
Explain the hybrid workflow of hand craft and digital fabrication.
The interior model project
The full workflow, the craftsmanship standards it is graded against, and the common failures and how to avoid them.[1, 4]
Drawings to a finished model
Build a SECTIONAL / cutaway interior model of a single room at 1:20 — large enough to carry furniture, materials and a stair, small enough to build by hand. The workflow: start from MEASURED DRAWINGS (plan, section, elevations); CHOOSE THE CUT (where the section plane falls to best reveal the interior — usually through the most telling spatial event); CONVERT to 1:20 and choose materials sized to sensible real thicknesses; draw TEMPLATES; CUT (openings first, in the flat, multiple passes, mitre corners); DRY-FIT and check square, then ASSEMBLE floor → walls → removable ceiling; build the interior content; FINISH with a restrained palette; MOUNT on a considered base; and PRESENT and photograph at eye level.[1, 4]
Digital fabrication awareness
Laser cutting from vector files (never PVC), 3D printing and CNC routing, and the hybrid workflow in which the machine frees the maker’s judgement.[1, 2, 3]
CAD becomes a model part
Digital fabrication is where Computer Studio's CAD output becomes a physical model part. A LASER CUTTER follows a 2D VECTOR file to cut through sheet material and to engrave/score surface lines — ideal for dozens of identical accurate parts, tab-and-slot kits, intricate jali screens, and engraved flooring lines. Typical laser materials are acrylic, plywood, MDF, mount board, card and paper — but NEVER PVC or vinyl, which releases toxic chlorine gas when lasered (a genuine, settled safety fact). This is the explicit bridge from CAD to a physical model.[2]
At a glance
| Aspect | One side | The other |
|---|---|---|
| Digital fabrication | Myth: it makes hand craft obsolete | Reality: hybrid — the machine frees the maker's judgement |
| A laser cutter | Myth: a fully automatic printer | Reality: needs a vector file, settings, supervision, extraction |
| Laser materials | Myth: you can cut anything | Reality: NEVER PVC — it releases toxic chlorine gas |
| 3D printing | Myth: a finished model off the machine | Reality: a component needing support removal, sanding, paint |
| The section cut | Myth: cut anywhere | Reality: a design decision — reveal the telling space |
Key terms
A cutaway room model that reveals the inside — the capstone, built at 1:20.
Deciding where the section plane falls to best reveal the interior — a design decision.
A laser cuts and engraves sheet material from a 2D vector file — never PVC (toxic gas).
Building a part additively from a 3D file — FDM filament (chunky) or resin (fine detail).
Machine-made precise parts plus hand assembly and finish — the machine frees the maker's judgement.
Square, clean-edged, consistent-scale, base-mounted, readable through the cut.
The model project
Build a sectional/cutaway interior model of a single room at 1:20, from measured drawings to a finished, base-mounted, furnished model. Choose where the section falls to reveal the most telling spatial event; cut openings in the flat; dry-fit square; assemble floor, walls and a removable ceiling; add a stair and furniture; finish with a restrained palette; mount it on a considered base with a scale bar; and photograph it at eye level. Then write a short note on which parts you would send to a laser cutter or 3D printer if you built it again, and which you would keep by hand — and why.
Self-assessment
1. The capstone interior model is best built at —
2. The material you must NEVER laser-cut is —
3. The right way to describe digital fabrication and hand model-making is that they are —
Recap
References & further reading
- [1]Maureen Mitton, Interior Design Visual Presentation, 5th ed., Wiley, 2017 (the interiors capstone — models, presentation, the digital/physical bridge).
- [2]Nick Dunn, Architectural Modelmaking, 2nd ed., Laurence King, 2014 (CAD/CAM, laser cutting and rapid prototyping alongside hand technique).
- [3]Criss B. Mills, Designing with Models, 3rd ed., Wiley, 2011 (digital modelling and rapid prototyping in the process-model workflow).
- [4]Megan Werner, Model Making, Princeton Architectural Press, 2011 (laser-cut and 3D-printed model examples; hybrid workflows).
Further reading
- Maureen Mitton — Interior Design Visual Presentation.
- Nick Dunn — Architectural Modelmaking.
- Megan Werner — Model Making.
Sources gathered and fact-checked June 2026. Published values vary by source, sample and method — treat as indicative and confirm against the cited standard before structural use.
The author
Amogh N P
Architect, interior designer, and creative polymath. Studio Matrx began in his notebooks — his vision of design made honest, useful, and open to everyone. Its Academy is written and taught in his memory, and free, forever.
More about Amogh →