
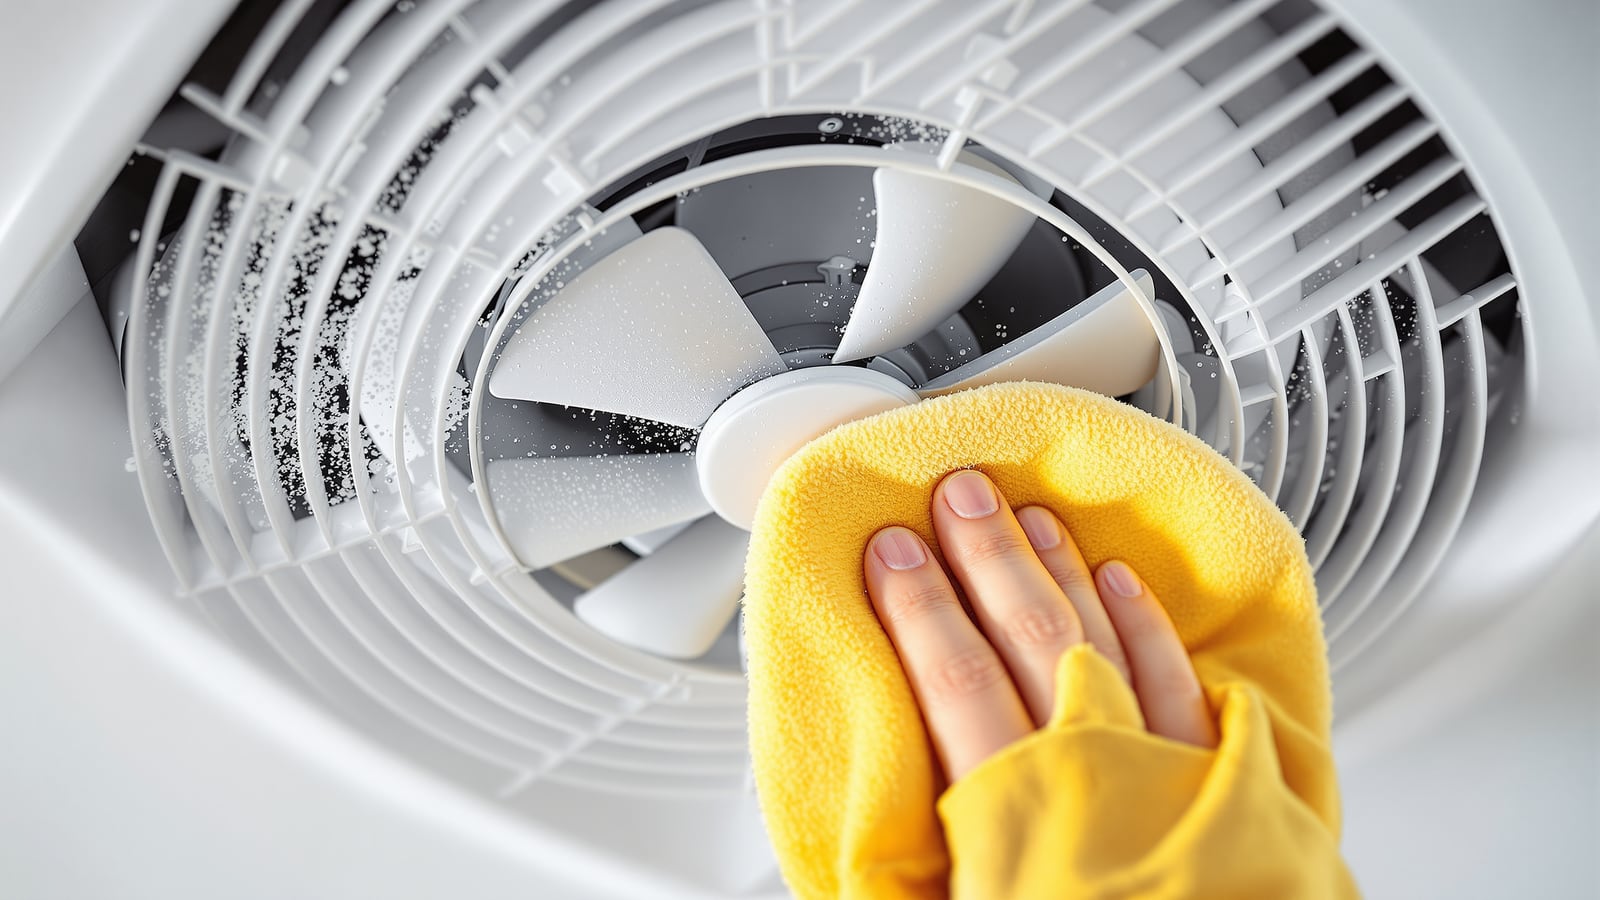
Bathroom Exhaust Fan Cleaning India: How to Clean, Service & Know When to Replace It
A dust-clogged exhaust fan stops clearing steam, so the mould comes back no matter how hard you scrub. Here is how to safely switch off at the MCB, remove and wash the grille, dust the blades and motor, check the backdraft damper and duct, run a tissue-suction test, and tell when the motor is finished.
You wipe the mould off the ceiling, scrub the grout, run the fan every shower — and within a fortnight the black speckle is back in the same corner. Before you blame the paint or the waterproofing, look up. The exhaust fan whose whole job is to pull the moisture out is very likely doing almost nothing, because its grille and blades are packed with a felt of grey dust, lint and grease. A fan that cannot breathe cannot clear steam, and steam that lingers is exactly what mould eats. Cleaning that fan is a fifteen-minute job most Indian homeowners have never done once.
This is a maintenance guide, not a buying guide. If you are still choosing a unit, start with the bathroom exhaust fan sizing and ducting guide and the broader bathroom cleaning routine for Indian homes. Here we service the fan you already own — safely, because it is a mains appliance in a wet room — and read what its noise and weak pull are trying to tell you. Keeping it clear is half the battle against bathroom condensation and the recurring mould you keep having to remove.
A fan clogged with dust does not just run badly — it runs hot and slow, drawing more current to move less air. Cleaning it is not cosmetic. It restores the airflow that keeps the whole room dry.
Why a dusty fan lets the mould back in
An exhaust fan works by pulling humid air through the grille, past the impeller blades, and out through the duct. Every one of those surfaces is sticky with the fine oily film bathroom air carries — talc, skin, hairspray, kitchen grease. Dust settles on that film and builds a mat. As the grille slots choke and the blades fatten with grey fur, the fan moves a fraction of its rated air. The steam from your shower now hangs for twenty minutes instead of two, condenses on the coolest surfaces — ceiling corners, grout lines, the window reveal — and feeds the mould spores always present in Indian air. Scrub the visible mould forever; until the fan removes the moisture, it comes back.
There is a fire and cost angle too. A blade caked with lint is heavier and unbalanced, so the motor labours, runs hotter and draws more current for less output — and that lint is a genuine ignition risk. Cleaning restores airflow, drops the running temperature and the electricity draw, and quietens the rattle.
Step 1 — Kill the power at the MCB, not just the switch
This is the rule that makes the whole job safe, so it comes first. Do not clean a fan that is only switched off at the wall. A wall switch can be wired through the neutral, share a circuit, or simply be faulty — the fan can still be live. Go to your distribution board, turn off the MCB feeding the bathroom (label it if it is not already), then flick the wall switch to confirm the fan is dead. If the fan is on its own isolator, switch that off too. Only then bring a step stool and put your hands near it.
- Switch off the MCB for the bathroom circuit at the DB — this is non-negotiable, not optional.
- Confirm it is dead by trying the wall switch; the fan should not stir.
- Let a hot motor cool for a few minutes before touching it.
- Work dry. Never clean a ceiling fan with a soaking cloth or spray water up into a mains unit. Damp — wrung-out — cloth only, and keep water away from the motor and wiring.
- Steady footing. Use a proper stool, not a wet tiled edge or a wobbling bucket.
If you open it up and find scorched insulation, a burnt smell, exposed copper or a loose live wire, stop and call an electrician. Everything below assumes clean, intact wiring; the housework does not include rewiring.
Step 2 — Remove and wash the grille
The visible cover — the plastic or metal grille — traps most of the dust and is the easiest win. Almost all Indian ceiling fans use two spring clips: pull the grille straight down a few centimetres, and you will see two wire loops splayed into slots in the housing. Pinch each loop inward to release it, and the cover comes away in your hand. Wall and window fans usually have a snap-on or screw-fixed front panel instead.
Take the grille to the basin. Soak it in warm water with a little dish soap or a squirt of a general cleaner (Vim, Pril or a mild all-purpose spray). A ten-minute soak softens the grease film so the dust wipes off instead of smearing. Work an old toothbrush into the slots, rinse, and — this matters — dry it completely before it goes back up, or a wet grille just re-collects dust into paste. For stubborn build-up, a paste of baking soda and water, or a 1:4 white vinegar solution, cuts it without scratching. Skip abrasive scourers and neat acids on painted or chromed grilles; they dull and pit the finish.
Step 3 — Dust the blades and motor housing
With the grille off you can see the impeller — the cage or fan wheel of blades — and the motor body behind it. This is where the real airflow is lost. Do not spray anything in here. Water and mains motors do not mix, and a jet of spray can push grime deep into the bearings.
- Vacuum first. A crevice or brush nozzle lifts the loose felt of dust off the blades and the surrounding housing with no contact at all — the safest, fastest method.
- Then a soft brush. A dry paint brush, old toothbrush or make-up brush gets into the gaps between the blades. Turn the impeller gently by hand to reach every vane.
- Wipe the housing and blades with a just-damp, well-wrung microfibre cloth to lift the sticky last layer. Wring it almost dry; you want to pick up grime, not add moisture.
- Never oil the motor unless the manufacturer's manual specifically says so and names the point — most modern fans have sealed bearings that a random drop of oil will only gum up with dust.
- Leave it to air-dry for a few minutes before refitting, so no dampness is trapped against the motor.
Step 4 — Check the backdraft damper and duct mouth
While you are up there, look past the fan at where the air is supposed to go. Most fans have a backdraft damper — a light gravity shutter, either at the fan outlet or the outside wall louvre — that opens when the fan pushes air out and drops shut when it stops. Over years it jams: paint, dust or a warped flap stick it either open (letting outside air, insects and shaft smells back in) or shut (so the fan pushes against a closed door and moves nothing). Nudge the shutter with a finger; it should swing freely and fall closed under its own weight. Clear any dust or paint binding the hinge.
Then check the duct mouth you can see. A wad of lint, a crushed or sagging flexible duct, or a section slipped off its collar will strangle even a spotless fan. You cannot service the full run yourself, but a torch and a look tell you whether the path is clear. If the duct is blocked deep in the run, or discharges into a false-ceiling void rather than outside, that is a job to fix properly — the ventilation and ducting guide covers what "right" looks like.
Step 5 — Refit, restore power, and run the tissue-suction test
Clip the dry grille back on, restore the MCB, and switch the fan on. Now prove it actually pulls. Hold a single sheet of tissue paper, or a square of thin toilet paper, flat against the grille. A healthy fan holds the tissue firmly in place by suction alone when you let go; a marginal fan lets it sag and drop slowly; a failing or blocked fan will not hold it at all. This thirty-second tissue-suction test is the simplest at-home measure of whether your service worked — do it before cleaning and after, and the difference is usually obvious. A stick of incense or an agarbatti held near the grille tells the same story visually: the smoke should be pulled briskly into the fan and away.
| Tissue-test result | What it means | What to do |
|---|---|---|
| Tissue held firmly to grille | Good suction restored | Done — note the date, re-test in 6 months |
| Tissue sags, drops slowly | Weak pull | Recheck blades, damper and duct for blockage |
| Tissue not held at all | Little or no airflow | Blocked duct, jammed damper, or a failing motor |
| Held before cleaning, better after | Dust was the culprit | Cleaning worked; keep to the schedule |
Signs the motor is failing — and when to replace
Cleaning fixes most weak fans. When it does not, the motor itself is on the way out. An exhaust fan is a cheap, sealed appliance — for a domestic unit that costs roughly ₹800 to ₹3,000, repair rarely makes economic sense once the motor is going. Replacement, not a service call, is the honest answer. Watch for:
- Noise. A new grinding, humming or rattling that does not go away after cleaning and rebalancing usually means worn bearings. It only gets louder.
- Weak pull after a proper clean. If the tissue test still fails with a spotless fan and clear duct, the motor has lost torque.
- Overheating or a burning smell. A fan hot to the touch, or one that trips on and off, is drawing too much current — switch it off at the MCB and replace it.
- Slow to start, or intermittent. A motor that hesitates, needs a nudge to spin, or stops randomly is failing.
- Age. Most bathroom fans last 8 to 12 years; run hard through Indian monsoons, cheaper units fade sooner. Past a decade, a noisy weak fan is simply old.
Replacing a like-for-like fan is a modest job — often a competent DIYer's reach with the MCB off, or an electrician's ₹300–₹800 half-hour. If you are swapping it anyway, size the new one properly and consider a humidity-sensor or run-on-timer model so it clears the residual steam automatically; the exhaust fan guide walks through that choice.
How often: a simple maintenance schedule
Exhaust fans are out of sight, so they are forgotten until they fail. Put them on a rhythm. Indian conditions — dust, hard-water film, and long humid monsoons — mean the interval is shorter than a Western manual assumes, especially in Delhi's dust season or a coastal city's damp.
| Task | How often | Notes |
|---|---|---|
| Wipe the grille face | Monthly | A quick pass during your weekly bathroom clean stops the felt building |
| Full clean — grille off, blades, housing | Every 3–4 months | More often in dusty cities or heavy-use family bathrooms |
| Check backdraft damper swings free | Every 6 months | Do it with the deep clean; clear paint or dust from the hinge |
| Look down the duct mouth for lint | Every 6 months | Torch check; deep duct cleaning if airflow is poor |
| Tissue-suction test | Every 6 months | Your quickest health check — takes thirty seconds |
| Consider replacement | 8–12 years, or on failure | Noise, weak pull after cleaning, overheating = replace |
The pattern that keeps a bathroom dry is dull but decisive: run the fan through every shower and for 15–20 minutes after, keep the grille and blades clear so it can actually pull, and it will do the moisture removal that no amount of ceiling-scrubbing can substitute for. A clean fan is the cheapest mould prevention in the house.
References
- Manufacturer care instructions — Havells, Crompton, Luminous, Bajaj, Usha and Atomberg bathroom/ventilating fan manuals: cleaning intervals, whether bearings are sealed or need lubrication, and grille removal method for your specific model. Always follow the manual that came with your unit.
- IS 302 (Part 1 & Part 2/80) — Safety of household and similar electrical appliances; general and fan-specific requirements relevant to servicing a mains fan.
- IS 732 — Code of practice for electrical wiring installations; circuit isolation and bathroom zoning that make switching off at the MCB the correct pre-service step.
- NBC 2016 (National Building Code of India), Part 8 — ventilation of sanitary spaces and the role of maintained mechanical exhaust in wet areas.
Export this guide
Related Guides — Deep-dive reading
Bathroom Exhaust Fan India: CFM Sizing, Wall vs Ceiling vs Inline, Ducting, Sones & Cost
How to specify a bathroom exhaust fan that actually clears steam in an Indian home — sizing by CFM from room volume and air changes, choosing wall, ceiling or inline, ducting it to outside air (never into a false-ceiling void), and picking backdraft-damper, humidity-sensor and timer models at the right noise and IP rating.
BathroomsBathroom Condensation and Mould India: Stop Damp, Black Mould & Musty Smell for Good
Why warm, wet shower air keeps fogging your tiles, ceiling and walls with black mould — and the full Indian playbook to stop it: exhaust run-on, anti-fungal paint, wet-dry separation, wiping down, a dehumidifier, and safely cleaning the mould you already have.
BathroomsBathroom Fire Safety India: NBC 2016 Part 4, Fire-Rated Materials & Electrical Ignition
The bathroom is rarely thought of as a fire risk, yet it hides several: a leaky geyser element, an over-run exhaust-fan motor, cheap flammable PVC panels overhead, and aerosol cans stored beside a heat source. This is an honest, practical reference to fire and life safety in the Indian bathroom — the NBC 2016 Part 4 context that actually applies to homes, the real ignition sources, self-extinguishing false-ceiling and PVC materials, earth-leakage protection as fire prevention, escape considerations, and the carbon-monoxide danger of gas geysers.
BathroomsRelated Tools — Try Free
Cross-Ventilation Analyzer
Estimate airflow and air changes per hour (ACH) from room size, window areas, layout, and local wind — with NBC 2016 Part 8 compliance check.
Ventilation CalculatorElectrical Safety & Load Audit
Home electrical audit — 10 categories, 65+ checkpoints across earthing, RCCB, MCB, wiring, switchboards, appliance circuits, DG/inverter backup.
Safety AuditWindow Size Calculator
Get the right window size, glazing area and openable area for any room using NBC daylight rules.
Window Tool