
B.Arch CurriculumFree, forever
A tribute to Amogh N P
Interior Graphics II
If Part I taught you to draw — instruments and line-types, lettering, orthographic and pictorial projection, measured drawing and entourage — Part II teaches you to produce the professional DELIVERABLE. First the drawing that builds: the coordinated working-drawing SET a contractor builds from, read from the general-arrangement plan down to the 1:1 detail; the language of dimensioning, annotation, line-weight hierarchy and the schedules that coordinate it; and its resolution into internal elevations, sections and large-scale construction details with material poché. Then the drawing that persuades: constructed one- and two-point perspective from a plan, using measuring points so depths are scaled not guessed; rendering by hand — value, shade and cast shadow, material and texture, reflections and entourage; and the composed presentation sheet, where a grid, a lead image, hierarchy and white space turn drawings into an edited argument. It is India-correct throughout — first-angle projection, IS 962, the preferred scale series, IS 9609 lettering, IS 10711 sheets — and it is hand-drawing first, with CAD kept as awareness and cross-linked to Computer Studio.
Course byAmogh N P· Architect & interior designer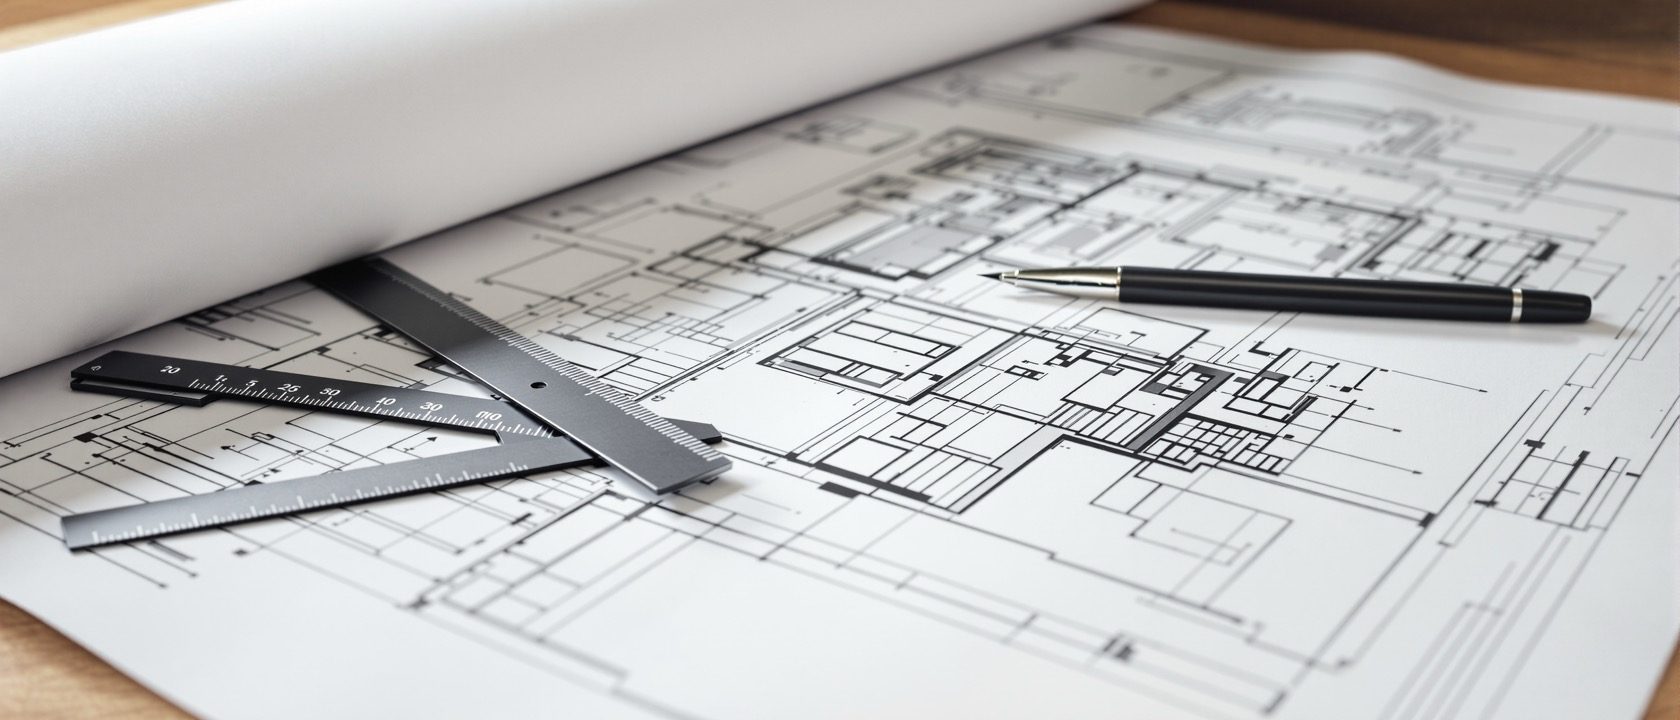
The syllabus
5 units · 5 liveThe advanced, professional drawing course, building on Part I. All 5 units are live as full interactive lessons, each with original zoomable diagrams, a self-assessment quiz and a drawing task.
Unit 1 — Working Drawings & the Drawing Set
LiveA working drawing is a measured, dimensioned, coded instruction to BUILD — a legal, technical document, not a persuasion. The defining distinction of the course: the working (construction) drawing versus the presentation drawing — different audience, content, style and rules. The coordinated interior drawing SET and its reading order from general to particular — cover and legend, the general-arrangement plan (the single source of truth), furniture plan, reflected ceiling plan (which is NOT the floor plan flipped), finishes and services layouts, internal elevations, sections, details and schedules — descending in scale and ascending in resolution, keyed forward and back. The title block, systematic drawing numbering, the revision table and cloud, and the preferred scale series. India: first-angle projection, IS 962, IS 10711 sheet sizes.
Unit 2 — Dimensioning, Annotation & Schedules
LiveThe language that makes a drawing buildable. Dimensioning systems — chain (running) versus parallel (baseline) dimensioning and why the baseline eliminates cumulative error — the overall-then-sub rule, and the crucial interior distinction between dimensioning to STRUCTURE and to FINISH. Grid and datum lines, finished floor level and level markers. Annotation — leaders, notes, the north point, section marks and detail bubbles, and door/window tags. The LINE-WEIGHT hierarchy carried to professional standard (thickest = the cut, medium = seen, thin = surface/dimensions, thinnest = grid/hidden) as INFORMATION, not decoration. And schedules — door, window, furniture, finishes and ironmongery — where the tag is the hinge and the schedule is the single source of truth. India: IS 11669, IS 9609.
Unit 3 — Sections, Elevations & Details
LiveThe technical heart of the course. Internal elevations of interior walls — the finished vertical face, panelling and tiling, joinery fronts, fixture heights and datum levels — keyed from the plan by the segmented-circle interior-elevation symbol. Sections through the space and through elements — the cut plane drawn heaviest, everything beyond in lighter weight. Large-scale construction details (1:10, 1:5, 1:1): the joinery/millwork section (wardrobe or cabinet), the false-ceiling section, the flooring build-up, the door/window jamb, and the skirting and cornice profiles. Materials shown in section — the poché / hatching conventions (brick, concrete, timber, stone, insulation, glass, metal) that identify the CUT material. And cross-referencing — the detail bubble that keys a detail back to its origin so it is never orphaned.
Unit 4 — Perspective Drawing & Rendering
LiveDrawing for the client, by hand. The perspective vocabulary — station point, picture plane, ground and horizon lines, vanishing points, the ~60° cone of vision, and measuring points that transfer TRUE scaled depths so they are not guessed. One-point perspective (the room interior, back wall parallel to the picture plane, converging to a single VP) and two-point perspective (a corner or an object, two VPs on the horizon), with the three-point case as awareness. Constructing an interior perspective from a plan — geometry first, confident line-work over it, then tone. Rendering media (pencil, ink, marker, watercolour, coloured pencil) and technique — a single light source and its cast shadows, a value scale (value, not colour, does the spatial work), texture and material rendering, reflections, and entourage (plants, people at the horizon, and light itself) with Indian figures reading as Indian.
Unit 5 — Presentation Drawing & the Sheet
LiveThe drawing craft of persuasion. The presentation set for an interior scheme — rendered floor plan (a working plan stripped of instruction and dressed in colour, shadow and life), rendered elevations, the hero perspective, a concept/mood element and a materials palette. Sheet composition — the invisible modular grid, hierarchy and the single lead image, reading order and the design narrative, alignment, white (negative) space, a quiet consistent title block, and balance. Rendering a plan/elevation for presentation versus for construction (dimensions and tags OUT; colour, cast shadow and entourage IN). Digital versus hand presentation as a hybrid, with the composition principles identical in both — cross-linked to Computer Studio. And the professional board and portfolio — a master template so a multi-board set reads as one voice, telling the scheme's story as an edited argument.
Course outcomes
What you will be able to doExplain the coordinated working-drawing set, its reading order, numbering and title block.
Dimension, annotate and schedule a drawing with correct line-weight hierarchy and tags.
Draw internal elevations, sections and construction details with material poché and cross-refs.
Construct one- and two-point interior perspectives from a plan using measuring points.
Render an interior by hand — value, shade and shadow, texture, reflections and entourage.
Compose a presentation sheet — grid, lead image, hierarchy and narrative — and judge a set.
The author
Amogh N P
Architect, interior designer, and creative polymath. Studio Matrx began in his notebooks — his vision of design made honest, useful, and open to everyone. Its Academy is written and taught in his memory, and free, forever.
More about Amogh →From the drawing that builds to the drawing that persuades
The coordinated working-drawing set and why the RCP is not the floor plan flipped; dimensioning, line-weight hierarchy and schedules; internal elevations, sections and details with material poché; constructed one- and two-point perspective and hand rendering; and the composed presentation sheet. Read the five units, try the explorers, then test yourself.
The curriculum is free, forever