
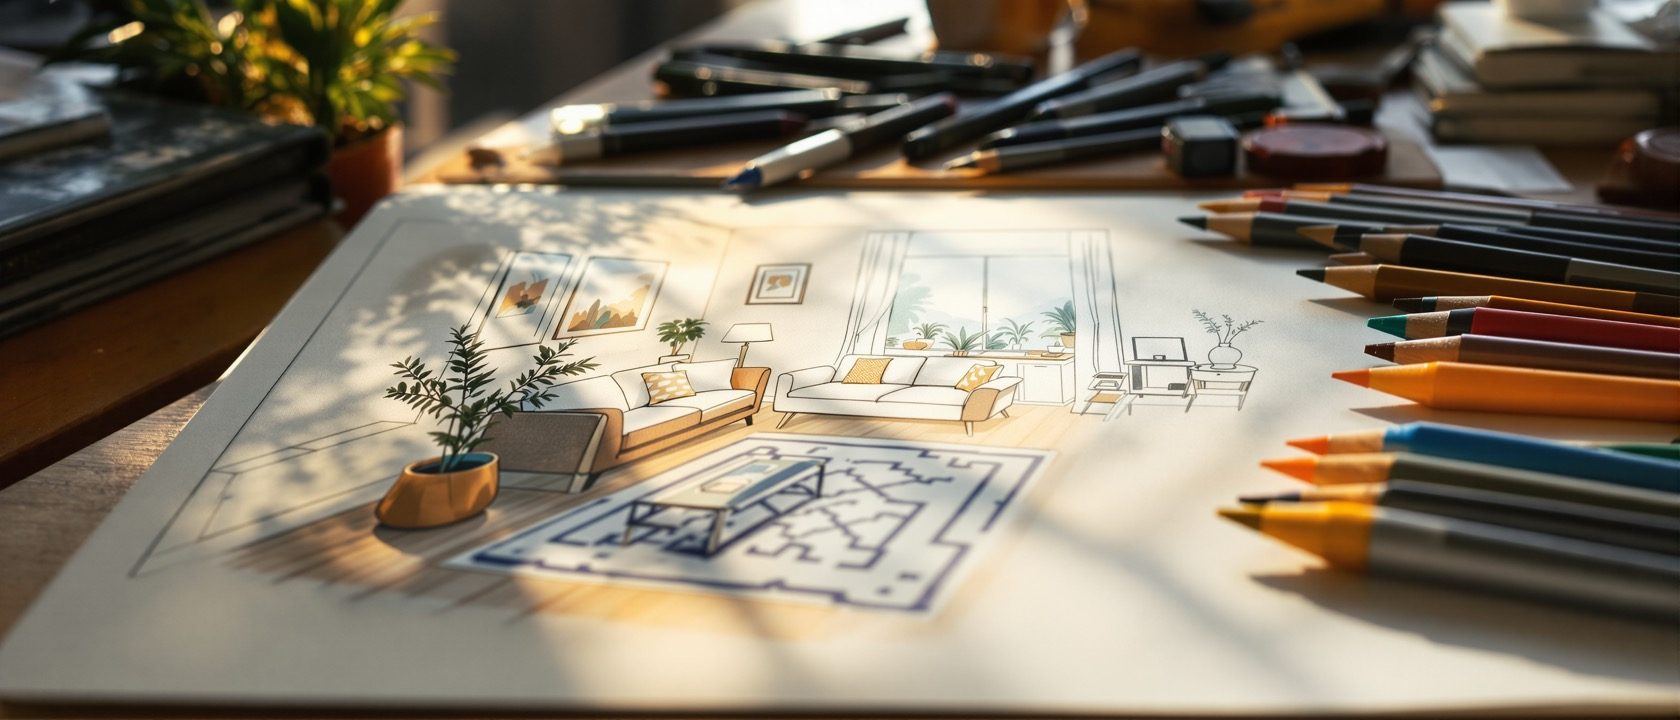
Perspective Drawing & Rendering
Drawing for the client, by hand — construct, then render.
Drawing for the client, by hand. Learn the perspective vocabulary — station point, picture plane, horizon and vanishing points, the ~60° cone of vision, and measuring points that transfer true scaled depths so they are not guessed; one-point perspective (the room interior) and two-point (a corner or object), with three-point as awareness; and how to build a perspective from a plan — geometry first, line-work over it, then tone. Then rendering by hand: one light source and its cast shadows, a value scale (value, not colour, does the spatial work), material and texture, reflections, and entourage.
Learning objectives
By the end of this lesson, you will be able to — mapped to the course outcomes for Interior Graphics II:
Define the perspective vocabulary — SP, PP, GL, HL, VP, cone of vision, measuring point.
Construct a one-point and a two-point interior perspective from a plan.
Render with a single light source, a value scale and cast shadows.
Render materials, reflections and entourage that set human scale and life.
Constructing the perspective
The vocabulary and the cone of vision, one- and two-point set-up, and building an interior perspective from a plan with measuring points.[1, 3]
The constructor's toolkit
The perspective toolkit: the STATION POINT (SP) is the observer's eye in plan; the PICTURE PLANE (PP) is the transparent plane the image projects onto (a line in plan, where distances are true); the GROUND LINE (GL) is where the PP meets the ground; the HORIZON LINE (HL) is at eye height — seated ~1100–1200 mm, standing ~1500–1600 mm above finished floor; VANISHING POINTS (VP) are where parallel receding lines converge on the horizon; the CENTRE and CONE OF VISION define the ~60° cone within which the image is undistorted (keep the room inside it); and MEASURING POINTS (MP) transfer TRUE measurements from the picture plane into the perspective, so depths are SCALED, not guessed.[1, 3]
Try it — the perspective explorer
Pick a perspective type to see its set-up diagram, its vanishing points, when to use it and what happens to the verticals.
Perspective explorer · construct, then render
One-point perspective
1 vanishing pointUse for: The room interior — a feature wall and the sense of enclosure. The back wall is parallel to the picture plane, so all depth lines converge to a single VP at eye height.
Verticals: Verticals stay vertical, horizontals stay horizontal.
Keep the subject inside the ~60° cone of vision; transfer depths with measuring points, don’t guess them.
Rendering by hand
One light source, shade and cast shadow, a value scale; the media and material rendering; and reflections and entourage that give scale and life.[1, 2, 4]
Value does the work
Rendering starts with LIGHT: establish ONE primary light source and its direction first — every value follows from it. SHADE is a surface turned from the light; a CAST SHADOW is thrown onto another surface — and cast shadows ANCHOR objects to the floor (an unshadowed sofa floats). Build a VALUE scale of 5–9 steps light→dark, reserving the lightest for highlights and the darkest for accents, with most of the drawing in the mid-tones; squint to check the grouping. VALUE, not colour, does the spatial work — a render correct in value but crude in colour still reads; one rich in colour but flat in value does not. Do the value study first.[1, 2]
At a glance
| Aspect | One side | The other |
|---|---|---|
| The horizon line | Myth: the top of the wall / ceiling | Reality: the observer's eye height |
| Depths in a measured view | Myth: eyeball once the VP is set | Reality: transfer with measuring points — scaled, not guessed |
| What makes a render read | Myth: colour | Reality: value — do the value study first |
| Cast shadows | Myth: optional decoration | Reality: they anchor objects and describe the light |
| One- vs two-point | Myth: two-point is simply better | Reality: one-point for enclosure, two-point for corners/objects |
Key terms
The observer's eye height — NOT the top of the wall; seated ~1100–1200 mm, standing ~1500–1600 mm AFFL.
Where parallel receding lines converge on the horizon — one in one-point, two in two-point.
The angle within which the image is undistorted — keep the whole subject inside it or it fish-eyes.
A device to transfer TRUE scaled depths from the picture plane — so depths are measured, not eyeballed.
5–9 steps light→dark; value (not colour) does the spatial work — do the value study first.
Standing figures on level ground have the horizon through their eyes at any distance — a scale check.
Drawing task
Construct a one-point interior perspective of a room from its plan — set the horizon at standing eye height, place the vanishing point, project the room box, and grid the floor with measuring points so the tiled floor and furniture sit at true scaled depths. Keep the room inside the ~60° cone. Then render it by hand: choose one light direction, build a five-step value study first, add cast shadows to anchor the furniture, and place one or two Indian entourage figures with the horizon through their eyes. Note which materials you rendered and how.
Self-assessment
1. In a one-point interior perspective, all the depth lines converge to —
2. The horizon line in a perspective is placed at —
3. What primarily makes a hand-rendered interior read spatially?
Recap
References & further reading
- [1]Francis D.K. Ching, Design Drawing, Wiley (perspective construction — one/two/three-point, measuring points, shade & shadow, plan to view).
- [2]Michael E. Doyle, Color Drawing; Mike W. Lin, Drawing and Designing with Confidence (marker/colour rendering, value, entourage, fast presentation).
- [3]Gwen White, Perspective: A Guide for Artists, Architects and Designers (perspective theory and construction methods).
- [4]Rendow Yee, Architectural Drawing; Ernest Burden, Entourage (rendering media, perspective types, entourage libraries).
Further reading
- Francis D.K. Ching — Design Drawing.
- Michael E. Doyle — Color Drawing.
- Rendow Yee — Architectural Drawing.
Sources gathered and fact-checked June 2026. Published values vary by source, sample and method — treat as indicative and confirm against the cited standard before structural use.
The author
Amogh N P
Architect, interior designer, and creative polymath. Studio Matrx began in his notebooks — his vision of design made honest, useful, and open to everyone. Its Academy is written and taught in his memory, and free, forever.
More about Amogh →