
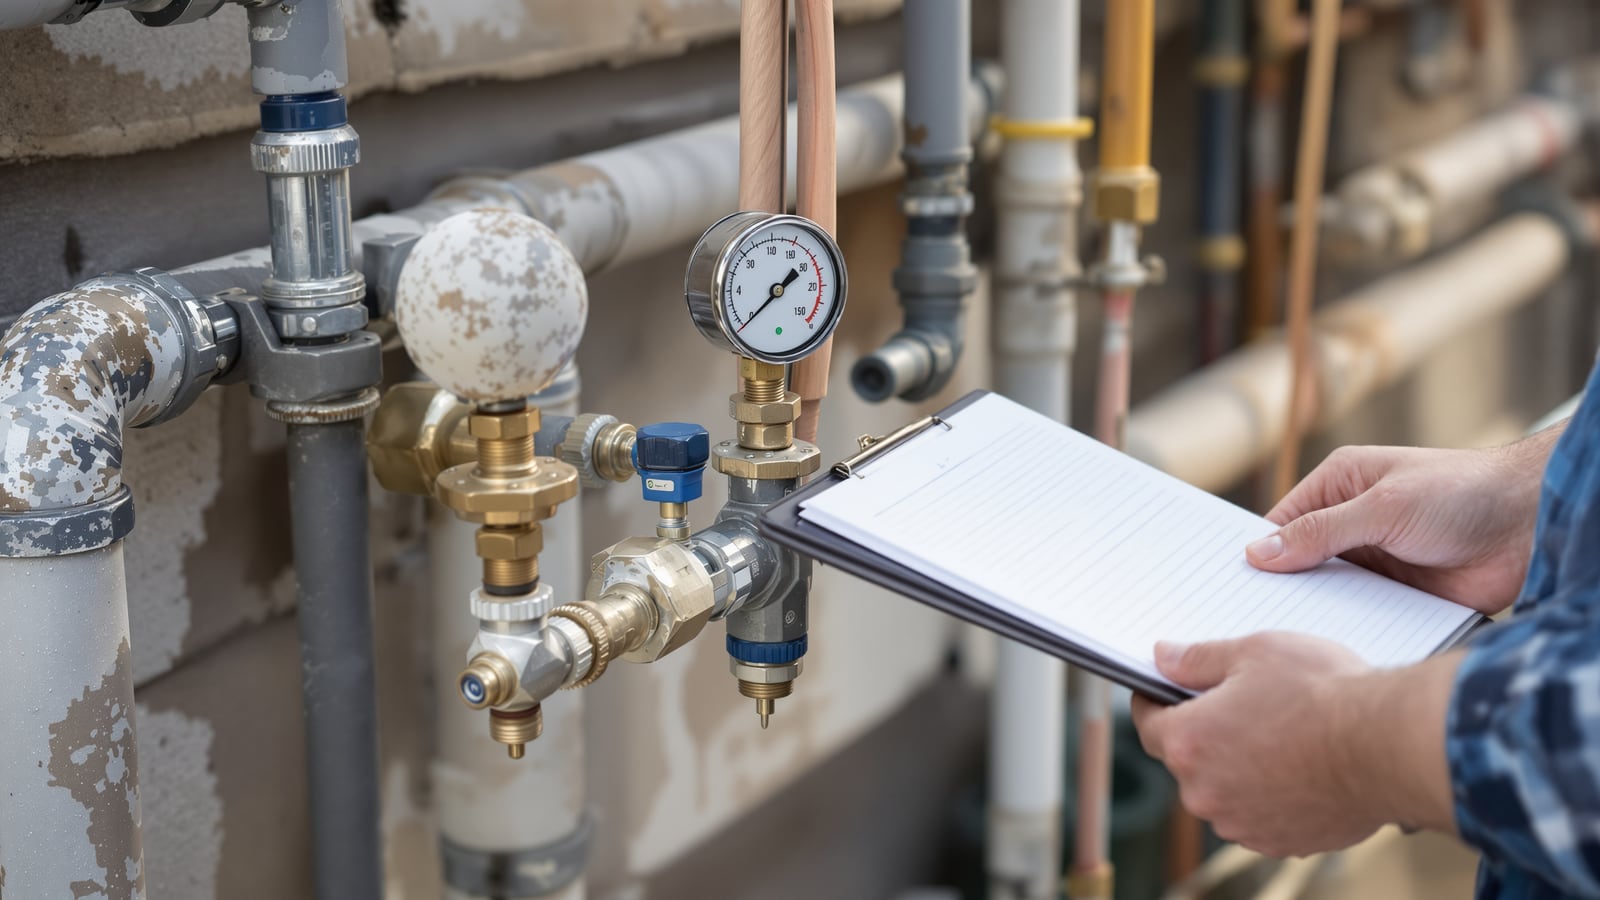
Plumbing Inspection Checklist for Indian Sites: Stage Inspections, Pressure & Drainage Testing
A copy-ready plumbing inspection checklist for an Indian project — what to inspect at each stage before concealing or concreting, how supply lines are pressure-tested, how drainage and soil stacks are water/smoke/ball tested, tank and pump commissioning, flushing and disinfection, and the sign-off records that close each activity out.
On an Indian site, plumbing fails audits for one reason above all others: the work was inspected too late. Once a line is chased, plastered, tiled or cast into a slab, every defect becomes a wall-breaking or slab-breaking repair. A disciplined plumbing inspection checklist flips that — it forces the check to happen before the pipe disappears, and it leaves a signed record that proves it happened.
This is a toolkit piece in the Studio Matrx Plumbing Professional Resources hub. It does not re-explain how pipes, traps or pumps work — the component pillars cover that. It gives you the process and the document: what to inspect at each stage, how each test is run and recorded, and the sign-offs that let the next trade proceed. For the mechanics of the supply-line test, use the plumbing pressure-test tool; for post-handover checks, see the plumbing maintenance guide; and when a test fails, the leak-detection guide tells you how to find the culprit.
The golden rule: no concealment, no concreting, no plastering until the line above it has passed its test and someone has signed for it. Every row in the checklist below exists to enforce that one sentence.
Why stage inspection, not final inspection
A final walk-through catches finishes — a loose tap, a stained trap. It cannot catch the things that matter: a nicked pipe behind the tile, a reversed slope in a buried drain, a joint that was never pressure-held. Those are decided at the stage when the work is still open. Stage inspection means you inspect and test at defined hold points, and the work cannot advance past a hold point until it is cleared.
The stages, in order
- Sleeves and inserts — before the slab is cast, while shuttering is open.
- Rough-in / first fix — pipes laid, supported and jointed, before any concealing.
- Pressure & drainage testing — the hard hold points; nothing gets covered until these pass.
- Concealing / concreting — only after the test above is signed.
- Second fix — fixtures, traps and appliances set.
- Tank & pump commissioning — storage, boosting and controls proven.
- Flushing & disinfection — the potable-water lines cleaned before use.
- Handover / final sign-off — snag list closed, records compiled.
The core checklist — activity, stage, what to check, record
This is the table to copy onto your project. Adapt the rows, but keep the four columns: every activity is tied to the stage it must happen at, the what to check, and the record that proves it. Test pressures and hold durations are shown as typical only — always set them from the approved project specification and NBC 2016 Part 9, and verify before you begin.
| Activity | Stage | What to check | Record |
|---|---|---|---|
| Sleeves & inserts | Before slab cast | Position, size, level and count of pipe sleeves against the drawing; sleeves capped so concrete can't enter | Pre-pour checklist, signed by MEP + civil |
| Supply rough-in | First fix, before concealing | Route matches drawing; correct pipe class/size; clamp spacing & support; joints cured; no diagonal chases | First-fix inspection sheet |
| Supply pressure / hydro test | Hold point, before concealing | Line filled and vented; held at the specified test pressure for the specified duration — no drop, no visible leak (values per spec & NBC 2016 Part 9 — verify) | Pressure-test report + gauge photo, signed |
| Drainage / soil rough-in | First fix, before concealing | Slope/fall in correct direction; correct pipe size; access provided at bends/junctions; traps & vents present | Drainage first-fix sheet |
| Drainage water test | Hold point, before concealing | Section plugged and filled to the specified head; head held for the specified time — no drop, no seepage | Drainage test report, signed |
| Soil stack smoke / air test | Hold point | Stack sealed, smoke or air introduced; joints and traps hold — no leakage at connections | Stack test report |
| Ball test (drain bore) | After drain laid | Standard ball passed through the pipe to prove clear bore & no obstruction at joints | Ball-test note in inspection log |
| Concealing / concreting | Only after tests signed | Test sign-off present before cover; as-built route marked & photographed | Concealment release, cross-referenced to test report |
| Second fix / fixtures | After finishes | Fixtures set level & sealed; isolation valves accessible; trap seals correct; no cross-connection | Fixture install checklist |
| Tank commissioning | Commissioning | Tank clean, watertight, level controls, overflow & vent working; inlet/outlet correct | Tank commissioning sheet |
| Pump commissioning | Commissioning | Rotation, no-leak seals, pressure/flow, cut-in/cut-out, dry-run & auto controls proven | Pump commissioning report |
| Flushing | Before use | Lines flushed until water runs clean; strainers cleared | Flushing record |
| Disinfection | Before use (potable) | Potable lines disinfected & rinsed per spec / CPHEEO guidance | Disinfection certificate |
| Final sign-off | Handover | Snag list closed; all records compiled; O&M handed over | Handover / completion record |
How each test is actually run
You don't need to memorise numbers — you need the procedure and the record. Set every pressure and duration from the approved spec and NBC 2016 Part 9; the figures below are described, not fixed.
Pressure / hydro test — supply lines
- Cap all open ends, connect the test pump and a calibrated gauge, fill slowly and bleed all trapped air — air gives a false reading and can mask a leak.
- Raise to the specified test pressure and isolate. Hold for the specified duration. A stable gauge with no visible leak is a pass; a falling gauge means air still in the line or a real leak — find it before you continue.
- Test in sections so a failure points to a length, not the whole floor. Log pressure at start and end, ambient conditions, and photograph the gauge. Run the plumbing pressure-test tool to structure the record.
Water, smoke and ball tests — drainage & soil stacks
- Water test: plug the low end, fill the section to the specified head of water, and hold. A drop in level or damp patch at a joint fails the section.
- Smoke / air test: seal the stack, introduce smoke or low-pressure air, and watch every joint, trap and connection. Escaping smoke shows an unsealed joint or a dry/incorrect trap.
- Ball test: roll a standard ball down the laid drain bore. If it passes freely, the bore is clear and the joints haven't intruded; if it snags, there's an obstruction or a bad joint to open up.
Tank & pump commissioning
- Tank: confirm it is clean, watertight and correctly connected (inlet, outlet, overflow, vent, drain). Prove level controls and float/probe switching. Check the overflow discharges safely.
- Pump: verify rotation direction, seal integrity under running load, delivery pressure and flow, cut-in/cut-out pressures, dry-run protection and auto/manual changeover. Record the set points.
Flushing & disinfection
- Flush every potable line until the water runs visibly clean and strainers are clear of installation debris (swarf, jointing residue, grit).
- Disinfect potable lines per the project spec / CPHEEO guidance, then rinse thoroughly before the system is put to use. Keep the disinfection certificate — it is often a handover condition.
The sign-off discipline
A test that isn't recorded didn't happen — that is the auditor's default assumption, and it is the right one. Every hold point needs three things on paper:
- Who witnessed it — contractor's engineer plus the consultant or clerk of works. A single signature is weaker than a witnessed one.
- What the result was — the actual reading and the pass/fail against the specified criterion, not just a tick.
- What it releases — the concealment, concreting or next trade that is now allowed to proceed, cross-referenced by drawing and location.
Keep a running snag list alongside the checklist. Every failure gets a snag number, an owner and a re-test date, and the item is only struck off when the re-test passes — never on a promise.
Record pack to compile at handover
| Document | Covers | Where the numbers come from |
|---|---|---|
| Pressure-test reports | All supply sections | Spec & NBC 2016 Part 9 (verify) |
| Drainage / stack test reports | Water, smoke, ball tests | Spec & NBC 2016 Part 9 (verify) |
| Commissioning sheets | Tanks, pumps, controls | Equipment data + spec set points |
| Flushing & disinfection certificate | Potable lines | Spec / CPHEEO guidance |
| As-built drawings & concealment photos | Buried routes | Site records |
| Closed snag list | All defects & re-tests | Site inspection log |
Indicative note on cost: witnessing, testing consumables and re-tests carry a real site cost — build them into the plumbing package rather than absorbing them later. For rates, don't take a number from here; use current market / SOR rates and the plumbing cost guidance rather than a figure invented in a checklist.
Copy-ready recap — lift this onto your project
- Inspect at stages, not at the end. Sleeves before pour, first fix before concealing, tests before cover.
- No concealment, no concreting, no plastering until the line's test has passed and been signed.
- Pressure-test supply lines in sections, air bled, held per spec & NBC 2016 Part 9 — verify the values; stable gauge, no leak.
- Drainage: water test to the specified head, smoke/air test the stack, ball-test the bore for a clear run.
- Commission tanks and pumps — level controls, overflow, rotation, seals, cut-in/cut-out, dry-run protection.
- Flush then disinfect potable lines; keep the disinfection certificate.
- Every hold point is witnessed, recorded and released in writing, with a snag list closed only on re-test.
- Compile the record pack — test reports, commissioning sheets, certificate, as-builts, photos, closed snags — for handover.
Use this checklist with the Plumbing Professional Resources hub, structure your supply test with the plumbing pressure-test tool, and once the building is live, roll the same discipline forward into the plumbing maintenance guide and the leak-detection guide.
Export this guide
Related Guides — Deep-dive reading
Bathroom Quality Inspection Checklist (India): Stage-Wise ITP with Hold Points & Tolerances
A copy-and-use Inspection & Test Plan (ITP) for Indian bathroom construction — the checks, acceptance criteria, hold and witness points and sign-offs at every stage from rough plumbing to final finish, plus a tolerances sheet and a defect-rating table your site engineer can lift straight into a snag sheet.
BathroomsSprinkler System Maintenance in India (2026): Keeping a Life-Safety System Ready
A fire sprinkler system is a life-safety installation that must work on the one day it is needed — this professional guide covers the scheduled checks, statutory tests and record-keeping that keep a wet, dry or pre-action system live: water supply and pressure, valves in the correct open position, control and alarm valves, sprinkler heads kept clear, and the roles of the competent fire contractor versus the facility manager.
SecurityBathroom Plumbing India: The Complete Guide to Water Supply, Drainage, Traps & Pipes
The whole plumbing picture for an Indian bathroom in one place — the two systems (cold and hot water supply, and waste/soil drainage with its vented SWV stack), traps and the floor trap, slopes and gradients, concealed vs exposed pipework, pipe materials (CPVC/UPVC/PEX/GI) and the overhead-tank pressure reality — with the coordination that must happen before any civil work starts.
BathroomsRelated Tools — Try Free
Plumbing Pressure-Test & Leak Checklist
Pre-closure pressure and leak test — 9 categories, 60+ checkpoints across water supply, drainage, fixtures, waterproofing, hot water, tanks.
Pre-Closure TestCCTV Commissioning & Handover Checklist
An interactive go/no-go checklist to run at handover — cameras day and night, recording, alerts, passwords and documents — before you clear the final bill.
Handover ChecklistMonsoon-Readiness Checklist
Pre-rain home audit across 9 categories — terrace, drains, waterproofing, electrical, HVAC, pest, vehicles, documents.
Seasonal Audit