
Presentation & Models
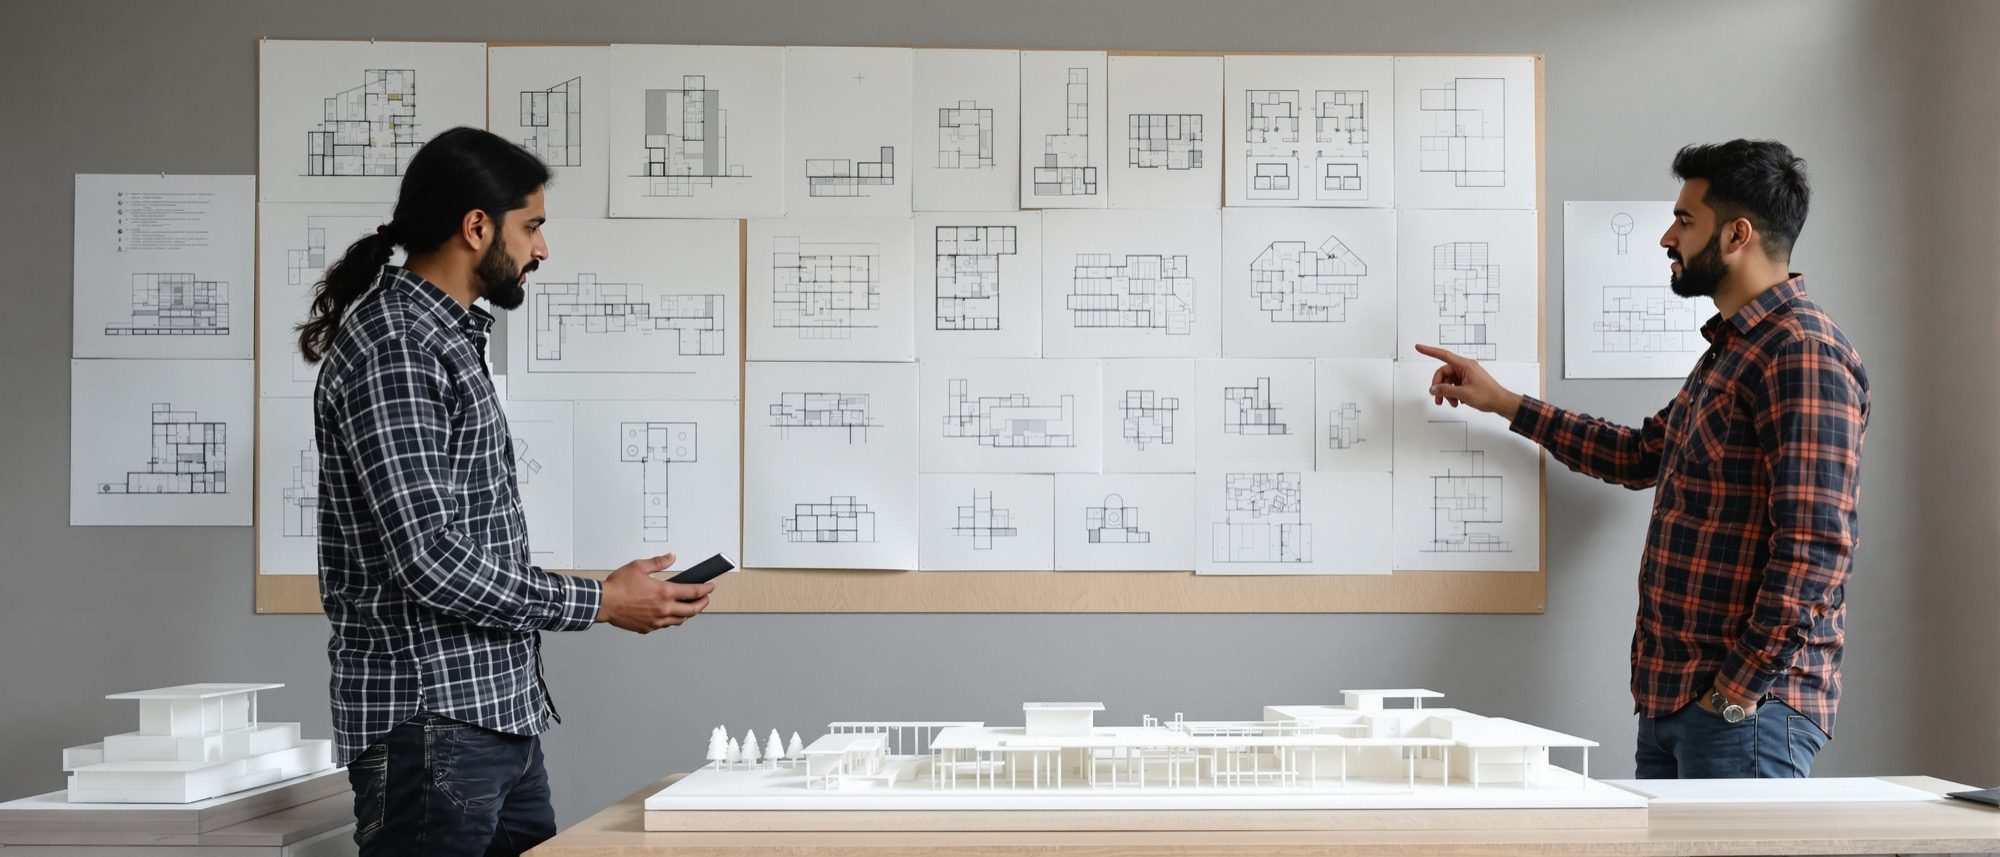
Telling the story — drawings, rendered images and the scaled model at the jury.
A design that cannot be communicated is not finished. This unit is the deliverable — the drawing set, three-dimensional databases and rendered images, and the scaled physical model. Compose a presentation that leads the jury through the idea, and choose model materials and scales that show the complex clearly. (The rendering craft itself lives in Computer Studio III.)
Learning objectives
By the end of this lesson, you will be able to — mapped to the course outcomes for Architectural Design V:
Compose a presentation set that leads a jury through the design idea.
Choose model materials and a scale that communicate a mid-scale complex.
Use 3D building databases and rendered images as part of the deliverable.
Sequence drawings, model and narrative into a clear story.
The drawing set & images
Order the set to lead the jury — site plan and concept, then plans, sections, elevations, details and the access diagram — with rendered images and the walkthrough as the experiential layer.[1]
Lead the eye
The presentation set tells the story in order: the SITE PLAN and concept first (the big idea and the site response), then the PLANS level by level (showing the zoning and circulation), the SECTIONS (showing the stacking of uses and the spatial volume), the ELEVATIONS, and finally DETAILS and the accessible-route diagram. Each sheet should make one point clearly; the set as a whole should let a juror follow the argument without you speaking.[1]
Models & the narrative
At mid scale the physical model is the most powerful tool — choose the scale and material to suit the message — and sequence the whole presentation as a narrative.[2, 1]
Material and scale
At mid scale the PHYSICAL MODEL is the most powerful tool — it shows massing, the stacking of uses and the relationship to the site in a way no drawing can. Choose the SCALE to suit the message: a site/massing model at 1:500 or 1:200 for the whole complex; a sectional or detail model at 1:100 or 1:50 to show a key space. Choose the MATERIAL — mount board and foam-board for quick massing, acrylic for glazing and lightness, timber and basswood for warmth, and 3D-printed or laser-cut parts for precision — to read clearly under jury light.[2]
Studio self-assessment · rate each 1–5
60%Developing — the scheme is not yet resolved
Is the brief met — every required space, sized and zoned, with a clear problem statement behind it?
Does the scheme respond to climate, access, context and topography, with pedestrian and vehicle movement separated?
Are the uses stacked/zoned logically, with cores well placed and circulation clear (served vs servant)?
Is the building barrier-free for all — ramps, lifts, accessible WCs, tactile routes — by the Harmonised Guidelines?
Are structure, MEP, fire egress and refuge integrated from the start, not added on?
Do the drawings, model and narrative communicate the idea clearly and completely?
Note the weighting — universal access and presentation each carry 20%. A clever plan that is not accessible, or not communicated, does not pass.
At a glance
| Aspect | One | The other |
|---|---|---|
| Best for massing & site | Physical scaled model (1:500/1:200) | Aerial render |
| Best for interior volume | Section (drawing) and sectional model | Interior render / walkthrough |
| Quick study vs final | Foam/mount board: fast massing | Acrylic, timber, laser-cut: the final model |
| Drawing order | Site & concept → plans → sections | Elevations → details → access diagram |
| Where the render craft lives | This studio: which views tell the story | Computer Studio III: how to build & render them |
Key terms
The ordered sheets — site plan, plans, sections, elevations, details — that communicate the design.
A 1:500 or 1:200 model showing the whole complex on its site.
A cut model (1:100/1:50) revealing the interior volume and stacking of a key space.
Quick, cheap modelling materials for massing studies.
A clear/coloured sheet material for glazing and light, lattice or water in models.
A photoreal view generated from the 3D/BIM model for the experiential layer of the set.
A moving-camera animation conveying the spatial experience (made in Computer Studio III).
The sequenced story — problem, concept, scheme, model — that a presentation should follow.
Studio task
Lay out your presentation sheets in order and storyboard the five-minute jury narrative, then decide the scale and material of your final model. Use the rubric above to grade your own scheme before the jury does.
Self-assessment
1. At mid scale, the most powerful tool for showing massing and the relationship to the site is —
2. A good order for the presentation drawings is —
3. A 1:500 model of the whole complex is a —
Recap
References & further reading
- [1]Francis D.K. Ching, Architectural Graphics (6th ed.). Wiley, 2015.
- [2]Nick Dunn, Architectural Modelmaking (2nd ed.). Laurence King, 2014.
- [3]Time-Saver Standards for Building Types — presentation and drawing conventions. McGraw-Hill.
Further reading
- Nick Dunn, Architectural Modelmaking. Laurence King.
- Ching, Architectural Graphics. Wiley.
- Megan Werner, Model Making. Princeton Architectural Press.
Sources gathered and fact-checked June 2026. Published values vary by source, sample and method — treat as indicative and confirm against the cited standard before structural use.
The author
Amogh N P
Architect, interior designer, and creative polymath. Studio Matrx began in his notebooks — his vision of design made honest, useful, and open to everyone. Its Academy is written and taught in his memory, and free, forever.
More about Amogh →