
Sketch to render
The oldest design move - a few lines on trace - meets the newest engine. Done right, the render keeps your idea. Done wrong, it quietly replaces it.
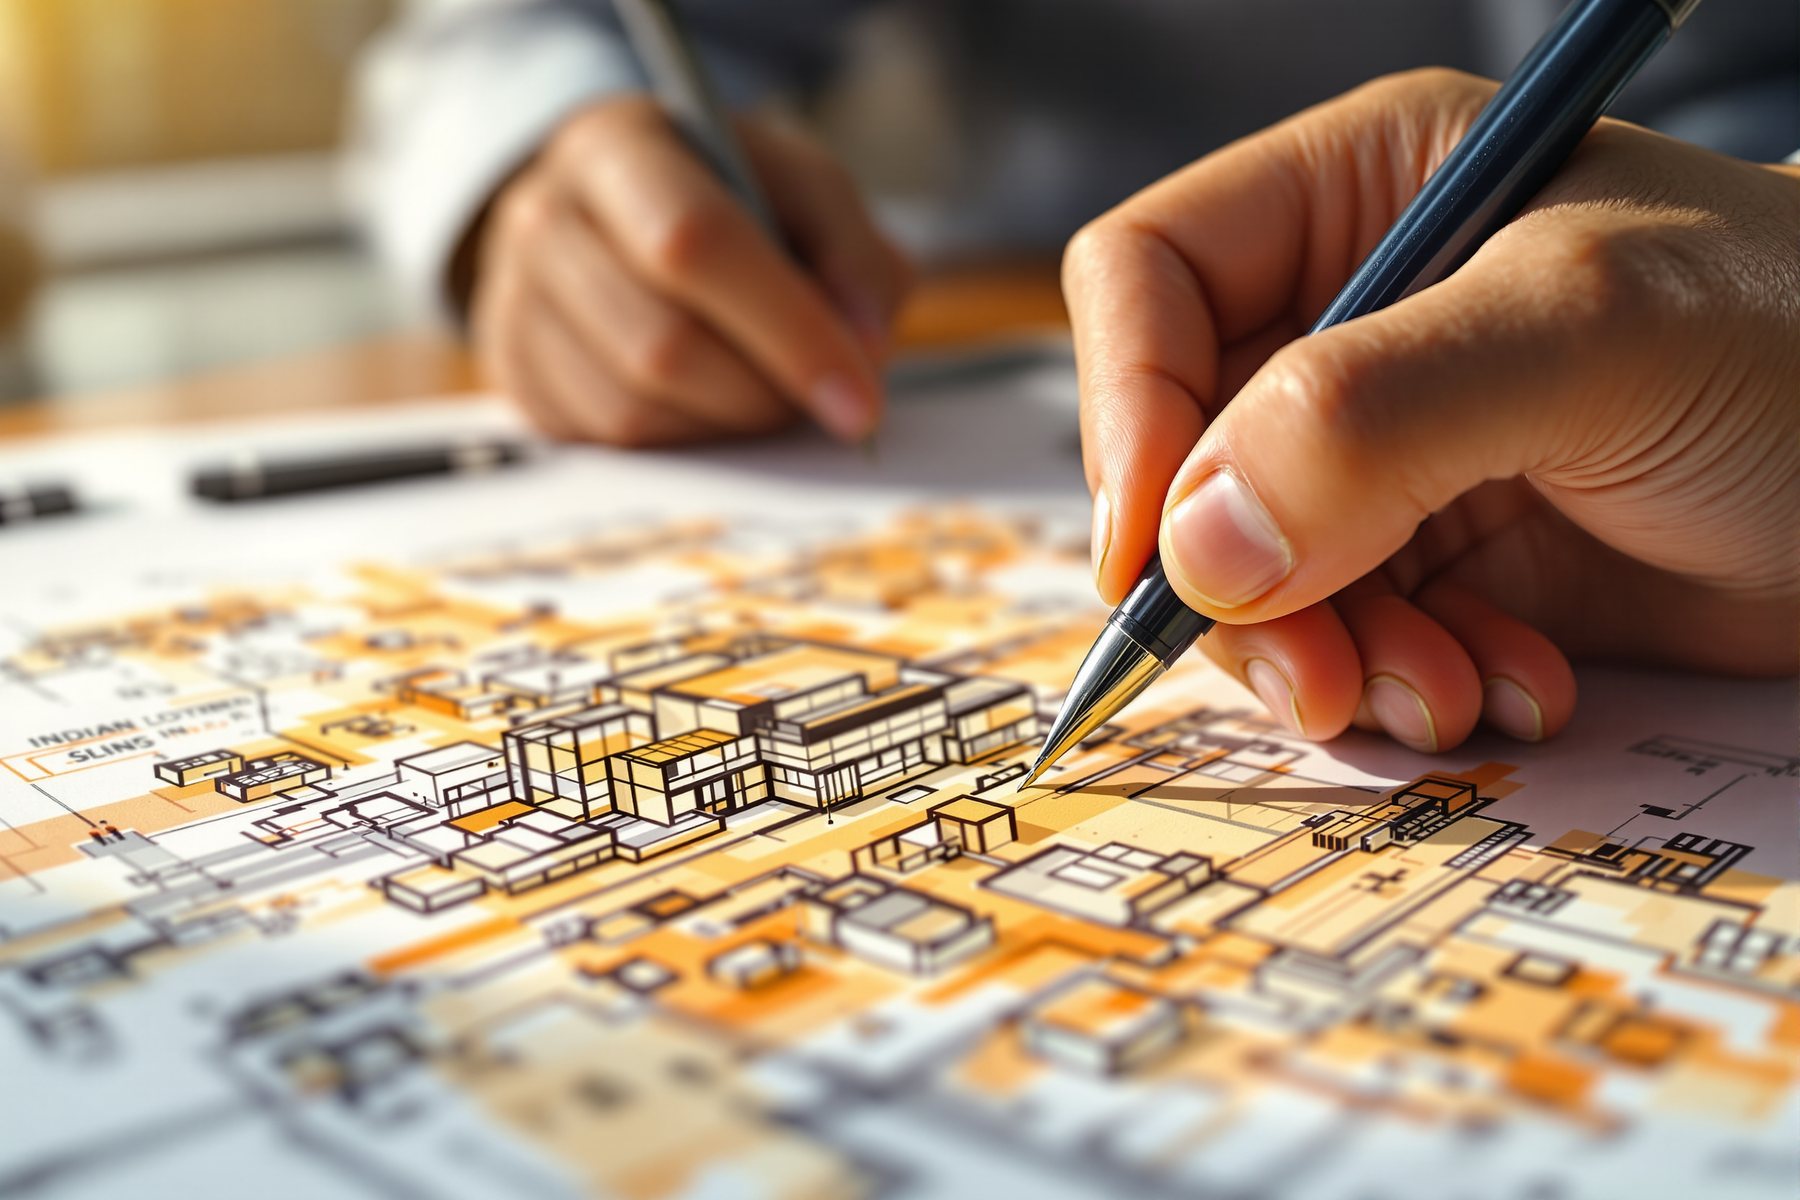
Four lines on a napkin at 11pm. A photoreal courtyard by 11:05.
A client meeting ends with you sketching a courtyard idea on the back of a brief - a sloping roof, a tree, a verandah edge. Five years ago that sketch sat in a drawer until a viz artist had a free week. Now you photograph it, push it through a sketch-to-render tool, and ten minutes later you have an atmospheric image to email before the client's enthusiasm cools. That speed is real and it is genuinely useful. The danger is equally real: somewhere between your four lines and that beautiful image, the tool can quietly redesign your building - and you might not notice until the client falls in love with a courtyard you never proposed.
Speed at the front of the project - with authorship kept
Hand sketch, clay model or line drawing - all the same idea
Sketch-to-render is img2img and ControlNet from the last lesson, packaged for the front of the project. The input can be a hand sketch (a marker concept on trace), a SketchUp clay model (untextured massing), or a clean line drawing (a CAD elevation, a wireframe). The tool reads the lines and volumes and produces a materialised, lit render.
What changes with the input is how much the tool has to invent. A clean line drawing or a clay model gives it firm geometry to obey, so the output stays close to your design. A loose four-line napkin sketch gives it almost nothing, so it improvises - and improvisation is where it starts designing for you.
The judgement: the rougher your input, the more the render is the tool's idea, not yours. Use rough inputs to explore directions; use tight inputs when the render must represent your scheme.
Constrain first, then let it materialise
A reliable loop, whichever tool you use: (1) make the input as committed as you can afford - a clay massing beats a napkin if the design is decided. (2) Use a tool that honours geometry: Vizcom for designer-led control, LookX when architectural correctness matters most, Veras when you've already modelled and want the viz pass. (3) Prompt for materials, light and context, not for form - the form is the input's job. (4) Generate a small set, then pick the one closest to your intent. (5) Refine with a context edit (FLUX Kontext) rather than re-rolling the whole thing.
The spine again: diverge with the tool across material and mood; converge with your eye on which output actually matches the building in your head. The render is a draft of a viewpoint, not a decision about the design.
Where sketch-to-render quietly fails
Four failures to watch, every time. It redesigns on loose inputs - thin lines invite invention; the more it improvises, the less it's your project. It doesn't know scale or code - a generated render has no idea of your setback, your floor-to-floor, or NBC; the image can show what can't be built. It struggles with specifics - a particular client-chosen tile, a real product, exact joinery; it approximates plausibly. It can't hold a precise plan - it renders a view, not a coordinated set; dimensions are not to be trusted off the picture.
None of this makes the tools useless - it makes them front-of-project tools. They are the fastest way to turn a thought into something a client can react to. They are not a substitute for the modelled, dimensioned, compliant design that comes after.
If the render is more beautiful than your design deserves yet, ask which one the client is actually buying.
Use sketch-to-render to compress the concept stage, not to skip the modelling. A marker sketch through Vizcom in the first client meeting buys you alignment in minutes. But the moment the scheme is decided, move to a clay model and a geometry-honouring path (LookX or Veras off your own 3D) so the render represents the building you'll actually develop. Keep a quiet rule: a sketch-to-render image goes to a client as 'concept direction', never as a commitment to dimensions, materials or anything that touches a sanction set.
This is a superpower for the first conversation. Sketch a seating arrangement or a feature wall on a room photo or a quick plan, render it, and the client sees the feeling instantly - far better than asking them to imagine it. Vizcom and InteriorAI-style tools shine here. Just hold the line you set in Module 0: the rendered sofa, rug and finish are mood, not a sourced FF&E schedule. Win the direction with the render, then specify the real, costed, available products that actually deliver it.
Sketch-to-render is the great equaliser at pitch stage - one person can walk into a meeting with the visual punch of a studio. Start with the free or cheap tiers and one tool you learn well rather than five you skim. The trap is letting the tool's beautiful improvisation become your design because it looked good and you were tired. Sketch tightly, render to explore, and always re-derive the actual scheme yourself. The image wins the work; your judgement keeps it buildable.
Vizcom
Designer-led sketch-to-render
High designer authorship, roots in product and automotive concept work, used in arch concept. Great for keeping a sketch's intent; you stay in control of the look. Less about strict architectural code-correctness than LookX.
LookX
Architecture-trained render AI
Trained specifically on architectural geometry and structural logic - the strongest 'architectural correctness' from a sketch, massing or clay model. Best when the form must read as a real, sane building rather than a pretty approximation.
Veras (EvolveLAB / Chaos)
BIM-integrated viz pass
Plugs into Revit, SketchUp (2021-2025), Rhino, ArchiCAD, Vectorworks. Uses your actual 3D geometry as the base and AI does the material/mood pass - ideal once you've modelled. Render tools run roughly EUR 25-60 per user per month.
InteriorAI
Interior sketch / photo restyle
40+ styles, virtual staging, quick style exploration from a photo or rough input. Fast for interior mood and direction; treat its furniture and finishes as concept art, not a buyable, costed schedule.
“Sketch-to-render just renders my sketch - it shows exactly what I drew, only prettier.”
Only when your input is tight. On a loose sketch the tool fills every gap you left with its own most-plausible guess - a different roof pitch, an invented window rhythm, a façade you didn't draw. The looser the lines, the more the 'render of your idea' is actually the tool's idea wearing your composition. Tight inputs render your design; loose inputs let it redesign for you.
Workshop - the same sketch, two ways, and the honesty test
You'll render one idea from a loose input and a tight input, and prove to yourself how much the tool invents when you give it room. This is the discipline that keeps sketch-to-render from quietly redesigning your work.
Free/cheap tier: Vizcom, LookX or any sketch-to-render tool. Bring one design idea you can draw two ways.
ONE idea (e.g. a small courtyard house), two inputs:

  INPUT 1 = a loose hand sketch (4-6 lines, no detail)
  INPUT 2 = a tighter version (clean line elevation
            OR a quick SketchUp clay massing)

SAME PROMPT for both:
"photoreal courtyard house, laterite and timber,
soft morning light, tropical planting, eye-level"- 1Draw your idea twice: once as a loose 4-6 line sketch, once as a tight line elevation or clay massing.
- 2Render the loose input first with the prompt above. Note every element the tool invented that you never drew - roof, openings, proportions.
- 3Render the tight input with the identical prompt. Compare how much more of YOUR design survived.
- 4Mark the gap: list three things the loose render added or changed. That list is the tool 'designing for you'.
- 5Refine the tight render with a single context edit (FLUX Kontext or your tool's edit mode) instead of a full re-roll - change one material, keep the rest.
- 6Decide your rule: at what input-tightness do you trust a sketch-to-render image in front of a client? Write that line down.
You’ll walk away with
A side-by-side of loose vs tight input renders, a short list of what the tool invented on the loose one, and a personal rule for how committed your input must be before a render represents your design.
One fast experiment, if you have a spare sketch.
- 01Render the same loose sketch three times with the identical prompt and watch it produce three different buildings - proof there is no single 'right' render inside it, only plausible ones.
Sketch-to-render is the fastest bridge from a thought to a picture a client can react to - and it's most powerful when you treat it as a front-of-project explorer, not a designer. The tighter your input, the more the render is your design; the looser it is, the more it's the tool's. Diverge with it, then converge with your own eye on what you actually proposed.
Sketch-to-render reads hand sketches, clay models or line drawings and materialises them. Tight inputs keep your design; loose inputs invite the tool to redesign. Vizcom for authorship, LookX for correctness, Veras for the modelled viz pass. It doesn't know scale, code or real products - keep it at concept and verify everything downstream.
Can AI turn my hand sketch into a render without changing my design?
Partly - it depends on how detailed your sketch is. A tight line drawing or clay model gives the tool firm geometry to obey, so the design largely survives. A loose four-line sketch leaves gaps the tool fills with its own guesses, so it effectively redesigns parts. For faithful renders, give it a committed input; for exploration, a loose one is fine - just know which you're doing.
Which tool is best for sketch-to-render in architecture?
As of 2026, Vizcom leads for designer authorship (keeping your intent), LookX for architectural correctness (it's trained on building geometry), and Veras when you've already modelled in Revit, SketchUp or Rhino and want AI to do the material-and-mood pass. There's no single best - pick by whether you most need control, correctness, or BIM integration.
Are AI sketch-to-render images reliable enough to show clients?
Yes, as concept direction - and that's exactly how to frame them. They're superb for aligning taste and atmosphere early. They are not reliable for scale, dimensions, code compliance or real product specs, so never present them as a commitment to the built result. Say 'this is the feeling we're chasing', then develop and document the actual scheme properly.
You can now make a render from a sketch or a model. Next: changing only PART of an image - one wall, one finish, an empty room - without touching the rest.