
Cracked Tile Replacement in India: Swap One Tile Without Redoing the Floor
How to remove and replace a single cracked or hollow tile cleanly — and when a crack is warning you of a bigger problem.
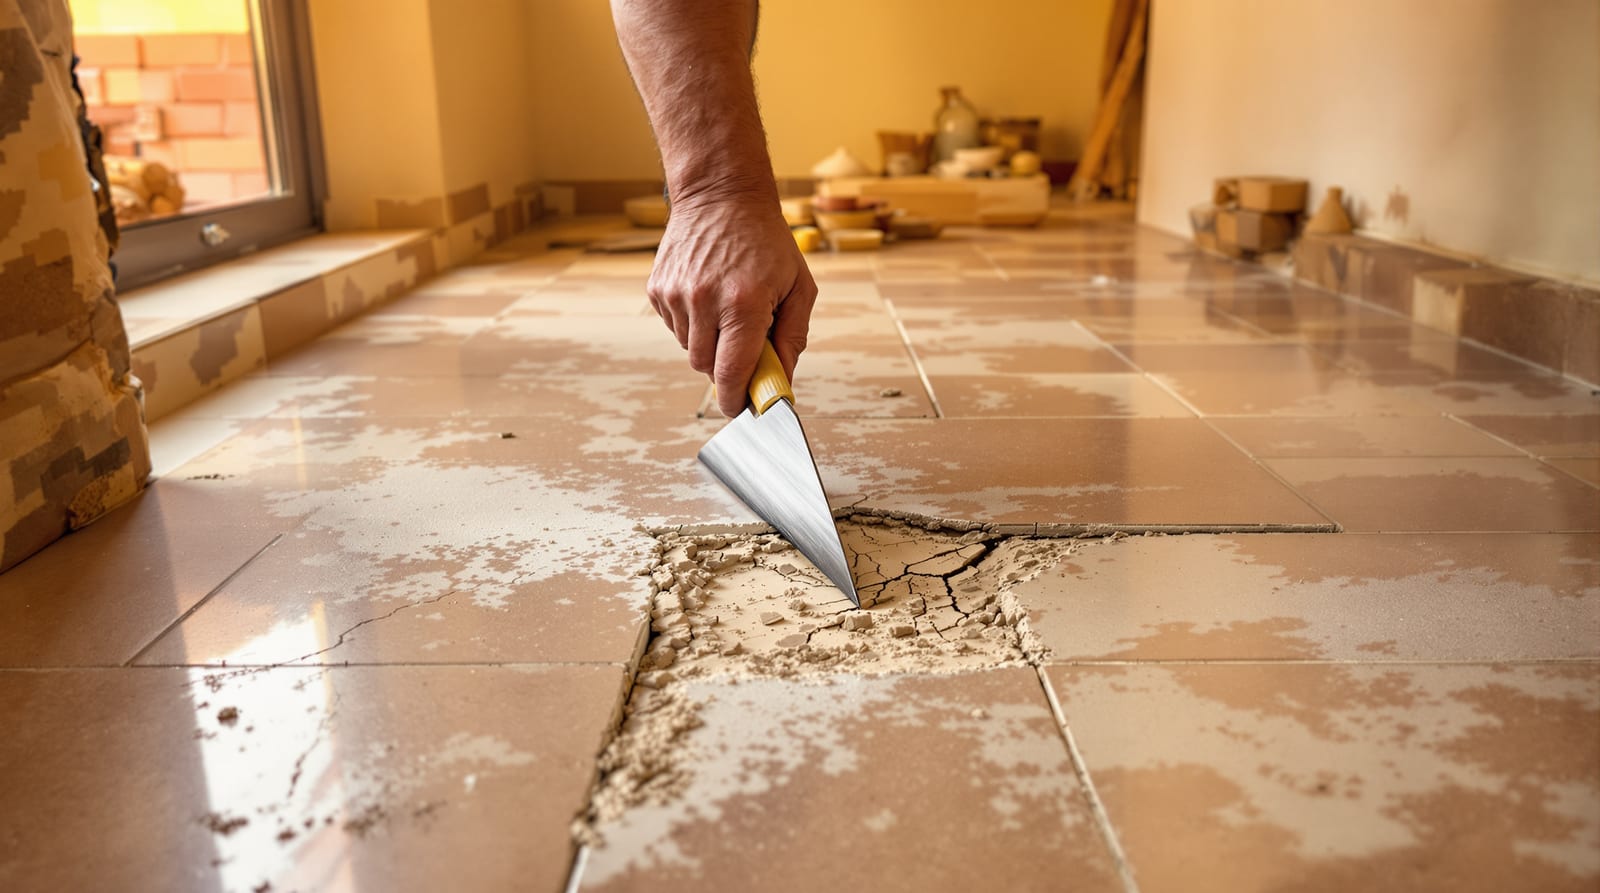
One cracked tile in the middle of an otherwise perfect floor feels like a disaster — but it almost never means you have to rip up the room. A competent mason can lift out a single tile, clean the bed, set a fresh one flush with its neighbours, and re-grout the joints so the repair disappears. The two things that make or break the job are simple: protecting the surrounding tiles while you break out the broken one, and having a colour-matched replacement on hand. This guide walks through both, plus the one situation where a crack is not a one-tile problem at all.
Why tiles crack in the first place
Before you replace a tile, understand why it failed — because if the cause is still there, the new tile will crack too. In Indian homes, four causes account for almost every cracked floor tile.
Impact. A dropped pressure cooker, a falling gas cylinder, a heavy stone idol or a dragged steel almirah will star-crack or chip a single tile. This is the easy case: the tile failed, nothing else is wrong, swap it and move on.
Hollow / drummy tiles (no adhesive under them). This is the most common hidden cause in India. If the tile was laid with poor adhesive coverage — dabs of mortar instead of a full bed, or less than 80% contact — there is a void under the tile. Tap a row of tiles with a coin or your knuckle: a solid "tick" means good contact, a hollow "drum" sound means a void. A drummy tile has no support, so the first heavy footstep or dropped object cracks it. Large-format and PGVT tiles are especially prone because they need full back-buttering. A hollow tile is a laying defect, not bad luck.
Slab or substrate movement. Concrete shrinks as it cures and moves with temperature. If tiles were laid on green (not-fully-cured) concrete, or the screed below is weak and crumbly, that movement transfers straight into the rigid tile and snaps it — usually a straight-line crack, often running across several tiles in a line.
No expansion joint. Vitrified tiles expand in heat. With no movement joints at doorways, at the perimeter, or across large floors, the whole tiled field has nowhere to go. Pressure builds until tiles "tent" — they arch up and pop along a line, sometimes with a loud crack. A single straight crack near a wall, threshold, or a long unbroken run of tiles is a classic symptom. Our companion guide floor-expansion-joints-india covers the joint spacing that prevents this.
The diagnosis matters: impact and one isolated hollow tile are one-tile repairs. A straight crack line across several tiles, or repeated cracking, points to movement or a missing expansion joint — and replacing tiles without fixing that just resets the clock.
Why you MUST keep a spare box
The single biggest reason tile repairs look bad is colour mismatch. Tiles are made in batches, and each batch carries a dye lot / shade / batch number printed on the box (you will see "Shade" and "Batch" or "Caliber" markings on Indian tile cartons from Morbi makers like Kajaria, Somany, Nitco and the rest). Two boxes of the "same" tile from different batches can differ slightly in shade and even fractionally in size (calibre). Vitrified and glazed designs in particular drift batch to batch.
If you buy a fresh tile two years later, the showroom will almost never have your exact dye lot. The replacement will be visibly off — a paler or warmer square sitting in the field, catching the eye every time you walk past. That is why every tile job should over-order by 5-10% and store the leftover full tiles flat, dry, and labelled with the room and batch number. A single spare box is cheap insurance against an ugly, un-matchable repair.
If you have no spare and no matching stock, two honest options remain. First, lift a tile from a hidden spot — inside a wardrobe, under the fridge or washing machine, behind a door — and use it for the visible repair, then fit the new mismatched tile in the hidden location where nobody will notice. Second, accept the closest available shade for a low-visibility area. Neither beats a true spare.
What you will need
| Item | Purpose | Indicative cost |
|---|---|---|
| Replacement tile (matched dye lot) | The new tile | From your spare box; else ₹40-300+/tile |
| Grout rake / carbide scraper or oscillating multi-tool | Clear grout from joints around the tile | ₹150-2,000 (tool) |
| Cold chisel + hammer, or angle grinder with diamond blade | Break out the cracked tile | ₹300-1,500 |
| Margin trowel / putty knife | Chip off old adhesive, butter new tile | ₹100-400 |
| Tile adhesive (C2 flexible) or cement-sand | Bed the new tile | ₹350-700 / 20 kg bag |
| Matching grout + grout float | Re-grout the joints | ₹150-600 |
| Tile spacers (2-3 mm) + spirit level | Keep joint width and level | ₹50-300 |
| Eye protection, gloves, knee pad, dust mask | Safety — tile shards are sharp | ₹200-600 |
A handyman or mason in most Indian cities will do a single-tile swap for roughly ₹300-800 in labour (more for large-format tiles, awkward spots, or if you supply nothing). The cost is mostly skill and care, not material.
Step-by-step: replacing one tile in a field
Work patiently — rushing is how you crack the neighbours. Lay an old bedsheet over nearby tiles and furniture; tile dust travels.
| Step | What you do | Why it matters |
|---|---|---|
| 1. Rake the joints | Scrape out the grout on all four sides of the cracked tile, down to the tile edge | Frees the tile from the grout that locks it to its neighbours, so breaking it out does not chip the others |
| 2. Score and break the centre | Drill a hole or score an X across the tile, then chisel from the centre outward | Releasing tension at the middle first stops the crack from jumping into adjacent tiles |
| 3. Lift the pieces out | Chisel the broken shards toward the centre and lever them up | Working inward keeps all force away from good tiles |
| 4. Chip off old adhesive | Scrape the bed flat down to sound screed/concrete; remove all old mortar and dust | A fresh tile only sits flush and bonds fully on a clean, level bed — leftover lumps cause lippage or hollowness |
| 5. Dry-fit | Set the new tile in dry; check it sits flush with neighbours and the joints line up | Catch height or fit problems before adhesive goes down |
| 6. Back-butter and set | Comb adhesive on the bed AND the tile back, press in with a slight twist, full coverage | Full contact = no hollow tile = no repeat crack; back-buttering is essential for large-format/PGVT |
| 7. Level and space | Insert 2-3 mm spacers; check with a spirit level and a straightedge across neighbours | Eliminates lippage (a raised lip you stub your toe on) |
| 8. Re-grout | After 24 h cure, fill the four joints with colour-matched grout, wipe diagonally, clean haze | Seals the joint and blends the repair |
| 9. Cure and clean | No foot traffic 24 h; light use after; final haze polish next day | Grout and adhesive need time to gain strength |
Give the adhesive at least 24 hours before grouting and keep foot traffic off for 24-48 hours, exactly as for a fresh floor.
A diagram of the lift-and-replace sequence
Matching the grout colour
A perfect tile in mismatched grout still looks repaired. Cement grout fades, yellows and stains over years, so even the same brand and shade you originally used will not match aged grout straight from the bag. Options:
- Mix in a touch of old grout dust, or buy a sample of a shade lighter and a shade darker and dry-test which dried colour blends with the aged joints.
- If the rest of the floor's grout is grubby anyway, clean or re-whiten the surrounding joints at the same time so the whole grid looks uniform — see grout-cleaning-and-whitening-india.
- For kitchens and bathrooms, consider re-grouting the repair (and ideally the room) with epoxy grout — it is stain-proof, waterproof and colour-stable, so future repairs match.
Let grout cure, then seal cement grout to slow re-staining.
When a crack means a bigger problem
Replacing the tile is the right move only when the tile itself failed. Treat these as red flags that the floor — not the tile — is the problem:
- A straight crack running across several tiles in a line. This is structural or movement-driven, not impact. New tiles will crack along the same line.
- Tiles "tenting," arching or popping up. Classic missing-expansion-joint failure; the field has nowhere to expand. The fix is to introduce movement joints, not just relay tiles.
- Many hollow / drummy tiles across a room. A whole-floor adhesive failure — widespread relaying, not a spot repair.
- Cracks reappearing in the same place after a previous repair. The underlying cause was never addressed.
- Cracks tracking along a wall or beam, especially in a newer building. May relate to slab deflection or settlement — get a structural opinion before re-tiling.
In these cases, read flooring-installation-mistakes-india and floor-expansion-joints-india, and budget for a larger relaying job rather than a one-tile swap. Spending on a spot repair over a moving substrate is money thrown away.
For scratches and surface scuffs (not cracks through the body of the tile), you usually don't replace at all — see floor-scratch-repair-india. And when you do relay, our tile-quantity-calculator helps you order the right amount plus a spare-box buffer, while tile-grouting-guide-india covers grouting the joints properly.
Frequently asked questions
Can I really replace just one tile without redoing the floor?
Yes — for an isolated crack from impact or a single hollow tile, a single-tile swap is standard work. Rake the joints, break the bad tile out from the centre, clean the bed, set a matched tile flush, and re-grout. The repair is invisible if the dye lot matches.
I don't have a spare tile. What now?
First try the original brand and design at a tile dealer, quoting the model name, but expect a shade/batch mismatch. The neat trick is to lift a tile from a hidden spot — under the fridge, inside a wardrobe, behind a door — for the visible repair, and put the new, slightly different tile in that hidden location instead.
Why do my tiles sound hollow when tapped?
A hollow or "drummy" sound means there is a void under the tile from poor adhesive coverage during laying. Those tiles have no support and crack easily under load. A few isolated ones can be lifted and re-fixed with full back-buttered coverage; a whole room of drummy tiles points to a laying defect needing wider relaying.
How much does it cost to replace a single cracked tile in India?
Material is small if you have a spare; if not, a tile runs roughly ₹40-300+. A mason or handyman typically charges around ₹300-800 in labour for a single-tile swap, more for large-format tiles or awkward locations. Prices are indicative and vary by city and vendor.
My grout won't match the old joints — how do I fix that?
Aged grout has faded and stained, so fresh grout rarely matches even in the same shade. Test a shade lighter and darker and pick the closest dried colour, or simply clean and re-whiten the surrounding joints so the whole grid looks uniform. For wet areas, epoxy grout stays colour-stable for future repairs.
Export this guide
Related Guides — Deep-dive reading
Flooring Installation Mistakes in India: The Costly Errors That Make Floors Tent, Drum and Lift
The ten most expensive flooring-installation mistakes Indian homeowners pay for twice — skipped expansion joints, hollow tiles, lippage, laying on green concrete and more — with the fix for each.
Flooring & SurfacesTile Grouting Guide India: Cement vs Epoxy Grout, Joint Width, Mixing, Curing and Sealing
How to grout tile floors properly in Indian homes: choosing cement versus stain-proof epoxy grout, getting timing and joint width right, floating it in, clearing haze, curing and sealing.
Flooring & SurfacesPorcelain, Ceramic & Sintered-Stone Facade Cladding in India: A Practical Guide
Thin large-format porcelain and sintered-stone slabs can clad a building with the look of marble, concrete or weathered steel at a fraction of stone's weight — but on a facade, the fixing system is a life-safety decision, not a finish choice.
Building FacadesRelated Tools — Try Free
Grout Quantity Calculator
Estimate grout in kg and cost by tile size, joint width and thickness — cement or epoxy grout.
Flooring CalculatorTile Adhesive Calculator
Estimate tile adhesive bags and cost by area and bed thickness, for floor or wall tiling jobs.
Flooring CalculatorExpansion Joint Calculator
Plan floor expansion and movement joints — field-joint spacing, linear metres and perimeter gap by room size and exposure.
Flooring Tool