
 Lesson 2.1
Lesson 2.1 · Statics & Structural Behaviour
Equilibrium, Reactions & Free-Body Thinking
Every structure that stands is a body in perfect balance - learn to see that balance, and you can read any structure before you calculate a thing
Every building you have ever walked into is a body held in perfect balance - the forces going in exactly equal the forces coming out, or it would already be moving.
Static equilibrium is the single non-negotiable law of every structure that has ever stood up. It says something almost embarrassingly simple: if a building is not accelerating - not falling, not sliding, not spinning - then every force pushing on it is cancelled by an equal and opposite force, and every twisting moment is cancelled too. That is the whole game. A cathedral, a cantilever, a footbridge and a bookshelf all obey exactly the same rule.
The reason this matters to a designer, and not only to an engineer with a calculator, is that equilibrium is a way of seeing. Before any arithmetic, you can look at a structure and ask: where do the loads come in, how does the ground push back, and is there a clear, continuous path between the two? That question - answered with a sketch, not a spreadsheet - is the beginning of every good structural idea. This lesson teaches you to draw that sketch: to read supports, isolate a free body, find its reactions, and spot at a glance whether a structure is neatly determinate or richly redundant.
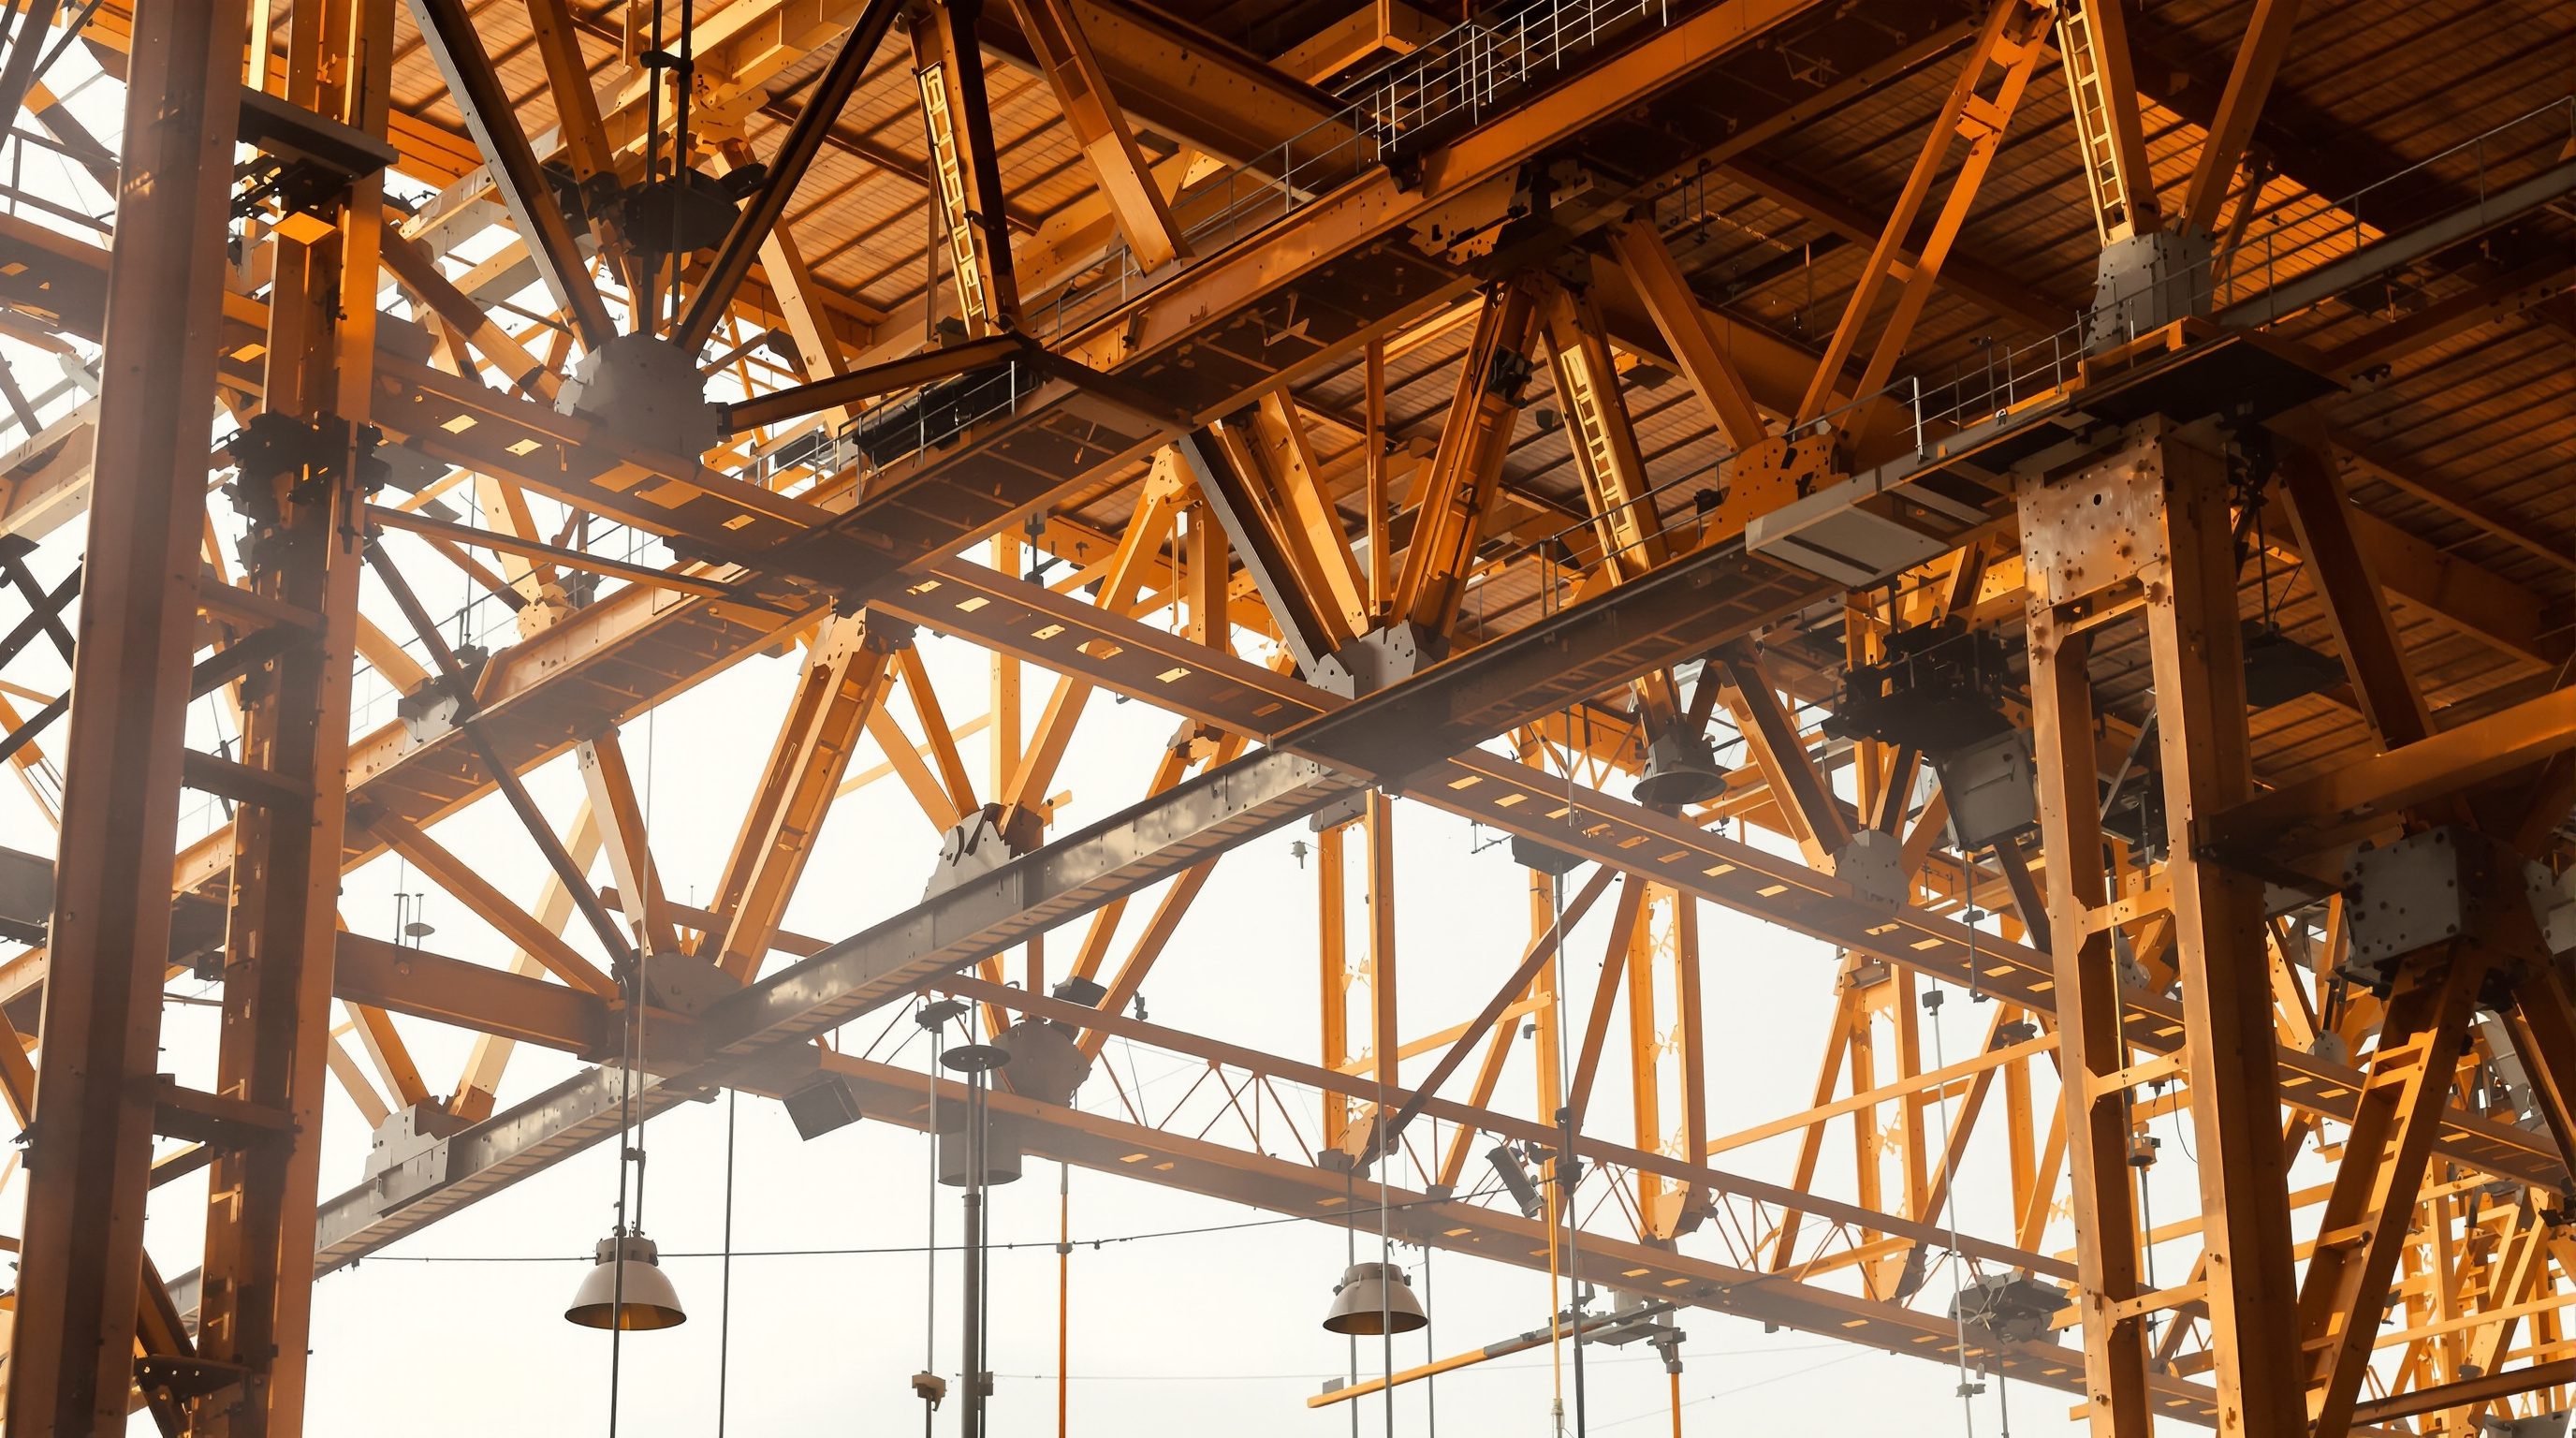
Cut it free, draw every arrow, make them balance. That sketch is the beginning of every structure.
Equilibrium: the one law every structure obeys
A structure is, by definition, something that does not move under load. That stillness is not passive - it is the visible result of a fierce balancing act. Newton's first law tells us that a body at rest stays at rest only if the net force on it is zero, and the same is true of net twist. For a structure sitting in a plane (which is how we usually first draw it), this collapses into three equations of static equilibrium: the horizontal forces must sum to zero, the vertical forces must sum to zero, and the moments about any point must sum to zero. In shorthand: the sum of horizontal forces equals zero, the sum of vertical forces equals zero, and the sum of moments equals zero.
That is genuinely all there is at the foundation of statics. Every reaction you will ever solve for, every beam you will ever check, ultimately traces back to those three statements. A load pushes down; the supports must push up by exactly the same total, or the building sinks. A wind force pushes sideways; something must push back sideways, or the building slides. A load applied off-centre tries to rotate the structure; the supports must supply a counter-rotation, or it topples.
The designer's version of this law is the idea of a continuous load path. Every gravity load - a person, a slab, a stack of books, a snowdrift - must find an unbroken route down through the structure and into the ground: floor to beam, beam to column, column to foundation, foundation to soil. Lateral loads from wind and earthquake need their own path sideways into bracing, walls or frames and then down. If you can trace that path with your finger and it never dead-ends, the structure can be in equilibrium. If your finger reaches a load with nowhere to go, no calculation will save it - you have found the flaw by looking.
Forces in = forces out. Moments cancel. If it is standing still, it is in balance - always.
Supports: how the ground talks back
A structure cannot be in equilibrium on its own - it needs the ground (or another structure) to push back, and how the ground is allowed to push back is decided by the type of support. There are three idealised supports you must know cold, because they are the vocabulary of every structural diagram.
A roller is the most permissive: it can only push perpendicular to its surface, usually straight up. It provides one reaction and lets the structure slide sideways and rotate freely. Think of a bridge bearing that must let a deck expand in the heat without tearing itself apart. A pin (or hinge) is stricter: it holds a point in place in both directions, providing two reactions - a vertical and a horizontal - but it still lets the member rotate about the pin. A door hinge is the perfect image: fixed in position, free to swing. A fixed (or built-in) support is the strictest of all: it clamps the member completely, providing three reactions - vertical, horizontal, and a moment that resists rotation. A steel column fully welded to a heavy base plate, or a cantilever balcony cast solidly into a wall, is fixed - it cannot move and it cannot turn.
The number of reactions is not a technicality; it is a design decision with visible consequences. A cantilever only works because its support is fixed - a pin there would let it simply rotate and fall. A long-span roof often needs a roller at one end so that thermal movement does not build up destructive forces. When you choose how a beam meets a column - a simple resting connection (pin-like) or a rigid welded joint (fixed-like) - you are choosing the structure's behaviour, its economy, and often its whole character. Supports are where the design idea meets the laws of physics.
The free-body diagram as a design tool
The free-body diagram (FBD) is the most powerful thinking tool in all of structures, and the good news is that it is a drawing, not a formula. To make one, you mentally cut a piece of the structure free from everything around it, then draw every force acting on that isolated piece: the loads that push on it, and - crucially - the forces that the removed supports and neighbours must now supply to keep it in balance. The moment you do this, the invisible forces inside a structure become visible arrows you can reason about.
Why is this a design tool and not just an analysis chore? Because the act of isolating a body forces you to be honest about how loads travel. Cut a beam free of its columns and you must draw the reactions the columns provide - which immediately tells you how hard those columns are being pushed. Cut a single column free and you see the accumulated load of every floor above it bearing down. Cut a whole upper storey free at its base and you see the total wind shear the structure below must resist. Architects who sketch free bodies instinctively make better early decisions: they put material where the arrows are big and remove it where the arrows are small.
The discipline of the FBD is what separates guessing from knowing. It has a fixed grammar: choose your body, cut it cleanly, draw applied loads first, then draw a reaction for every degree of restraint the supports removed - one arrow for a roller, two for a pin, two plus a curved moment arrow for a fixed end. Once the arrows are all on the page, the three equilibrium equations do the rest. But even before the arithmetic, a good free-body sketch has usually already told you the story - which is exactly why it belongs in the designer's toolkit and not only the engineer's.
Reactions: solving for how the loads get out
Once the free-body diagram is drawn, finding the reactions - the forces the supports must supply - is a short, satisfying piece of logic. Take the classic case: a simply supported beam, pinned at one end and on a roller at the other, carrying a single load. The load pushes down; the two supports must together push up by the same amount, and each takes a share depending on how close the load sits to it. A load dumped right over one support is carried almost entirely by that support; a load in the middle splits evenly. You feel this every time two people carry a table and the one nearer the heavy end takes more of the weight.
The tool that makes this exact is the moment equation. Because moments about any point must sum to zero, you can pick a clever point - say, one of the supports - and take moments about it. Every force is its magnitude times its distance (its lever arm) from that point. Choosing to take moments about a support makes that support's own reaction vanish from the equation (its lever arm is zero), leaving a single unknown you can solve immediately. Then the vertical-force equation gives you the other reaction. Two short lines of algebra, and you know exactly how the loads leave the beam.
This is where intuition and arithmetic reinforce each other. The equations will always tell you that a load near a support loads that support more heavily - but a designer who has internalised the lever arm can predict it without solving anything, and can therefore place things wisely: put heavy plant rooms over columns, not mid-span; keep long cantilevers short and their loads light. Reactions are also the loads that the next element down must carry, so solving them is the first step in following the load path all the way to the soil.
Determinate or indeterminate - reading redundancy at a glance
Here is a distinction that shapes how a whole structure behaves, and you can often judge it by eye. A structure is statically determinate when the three equilibrium equations alone are enough to find all its reactions and internal forces - the unknowns match the equations. A simply supported beam (one pin, one roller: three reactions, three equations) is the model case. A structure is statically indeterminate when it has more supports or members than equilibrium alone can resolve - it is redundant, and finding its forces needs extra information about how the material stretches and bends, which is where real engineering analysis (and software) comes in.
Why should a designer care about a word like indeterminate? Because redundancy is a safety and behaviour choice, not merely a mathematical inconvenience. A determinate structure is simple, predictable, and forgiving of support settlement - but if one member or connection fails, there is often no alternative path and it can collapse. An indeterminate structure has spare load paths: if one part is overloaded, it can shed force to another, which is precisely the toughness that codes such as IS 800 and the seismic code IS 1893 prize as redundancy and robustness. The cost is that indeterminate structures build up internal forces when supports settle unevenly or when the material shrinks and creeps - forces a determinate structure would simply relieve by moving.
You can spot the difference in the wild. A three-hinged arch is determinate and untroubled by a foundation that sinks a little; a rigid continuous frame over many columns is highly indeterminate, stiffer and tougher, but it must be detailed to cope with settlement and temperature. Neither is right or wrong - the point is that when you draw a continuous beam over five columns instead of five separate simple beams, you have chosen redundancy, and with it a different set of virtues and headaches. Seeing that choice, before any calculation, is exactly the free-body literacy this lesson is building.
Static equilibrium (ΣH = 0, ΣV = 0, ΣM = 0)
The three planar equations every structure obeys
The foundation of all statics; if a structure stands still, these three statements are true of it.
Free-body diagram (FBD)
Isolating a body and drawing every force on it
The core analytical and design-thinking sketch; turns invisible internal forces into arrows you can reason about.
IS 800 : 2007
General construction in steel - code of practice (India)
Uses structural analysis built on equilibrium; explicitly values redundancy and robustness in indeterminate frames.
IS 1893 : 2016
Criteria for earthquake-resistant design (India)
Rewards redundant, multiple load paths - the practical value of statical indeterminacy under seismic load.
Workshop - draw the free body and solve the reactions
The skill this lesson really teaches is isolating a body and reading its balance. You can build it in half an hour with a pencil, a ruler and a simple made-up loading - no software, no calculator beyond arithmetic.
Paper, pencil, ruler and basic arithmetic. For continuous or indeterminate cases, note where you would hand off to an engineer or analysis software.
Goal: turn a real span into a free-body diagram and solve its reactions
Inputs: a beam you can see (a lintel, a shelf, a footbridge) + its rough span + an assumed load
Time: ~30 minutes
- 1Pick a real horizontal element - a door lintel, a bookshelf, a small footbridge - and estimate its span and the load on it (people, books, a slab). Note how it meets its supports at each end: does it simply rest (pin/roller) or is it built in (fixed)?
- 2Cut it free in your mind and draw the free-body diagram: the beam as a line, the load as a downward arrow at its real position, and a reaction at each support - one arrow for a roller, two for a pin, two plus a moment arrow for a fixed end.
- 3Take moments about one support to find the far reaction: sum of (force x lever-arm distance) about that point equals zero. Solve for the single unknown.
- 4Use the vertical equilibrium equation (upward reactions equal total downward load) to find the second reaction, and check that the two reactions add up to the total load - if they do not, find your error.
- 5Predict, then verify: before trusting the numbers, say which support you expected to carry more and why (which is nearer the load), and confirm the arithmetic agrees with your intuition.
You’ll walk away with
A one-page free-body study of one real element: its support types identified, a clean FBD with all loads and reactions arrowed, the two reactions solved by the moment and vertical equations, and a sentence explaining the load split in plain words.
Three altitudes on the same idea
Read the band that fits you — or all three.
Equilibrium thinking is how you stay in command of the structural idea rather than delegating it. Sketch the load path in your first sections: where loads enter, which supports resist them, and whether every load has somewhere to go. Choosing a pin here and a fixed base there, a cantilever or a simple span, is an architectural act with structural consequences - and if you can draw the free body, you can hold that conversation with your engineer as an equal, not a spectator.
Reading reactions and load paths is how you know what is safe to touch. A wall that is only a partition carries almost nothing and can go; a wall carrying the reaction of the beams above it is a support, and removing it breaks the load path. Before you open, remove or hang anything heavy, ask where its load will travel and what was previously carrying it. When in doubt, that continuous-path question is exactly the one to put to a structural engineer.
Free-body thinking is the core skill the whole of statics is built on - master it now and everything downstream gets easier. Practise until you can isolate any body, draw its loads and reactions from the support types, and write the three equilibrium equations without hesitation. Then push further: predict which support takes more load before you solve, and check yourself with the moment equation. That habit turns structures from intimidating maths into something you can read.
“Working out reactions and equilibrium is the structural engineer's job - as a designer I just need to know the beam sizes at the end.”
Do it yourself
No tools needed - reason it through.
- 1State the three equations of static equilibrium in your own words.
- 2How many reactions does a roller provide, a pin, and a fixed support - and what does each let the member still do?
- 3Why does taking moments about a support make one reaction disappear from the equation?
- 4A single load sits one-quarter of the way along a simple beam. Which support carries more, and roughly what share?
- 5Explain the difference between a statically determinate and an indeterminate structure, and give one advantage of each.
The one line to carry out
Peer-reviewed journals & authoritative standards
- 01Salvadori, M. - Why Buildings Stand Up — W. W. Norton, 1990.
- 02Ching, F.D.K. - Building Structures Illustrated — Wiley, 2014.
- 03Mechanics & Materials / Structures — MIT OpenCourseWare, 2024.
- 04The Institution of Structural Engineers (IStructE) — IStructE, 2024.
We can now find the forces at the supports. Next we go inside the member itself and meet the four internal actions - tension, compression, shear and bending - and learn how each element and material prefers to carry them.
The author
Amogh N P
Architect, interior designer, and creative polymath. Studio Matrx began in his notebooks — his vision of design made honest, useful, and open to everyone. Its Academy is written and taught in his memory, and free, forever.
More about Amogh →