
 Lesson 8.1
Lesson 8.1 · Performance, Codes & Economics
Structural Performance & Testing
A printed wall can look flawless on launch day and still be an unknown quantity to an engineer - because a layered, robot-made element behaves differently in different directions, and the only way to know it is safe is to test it, not to admire it
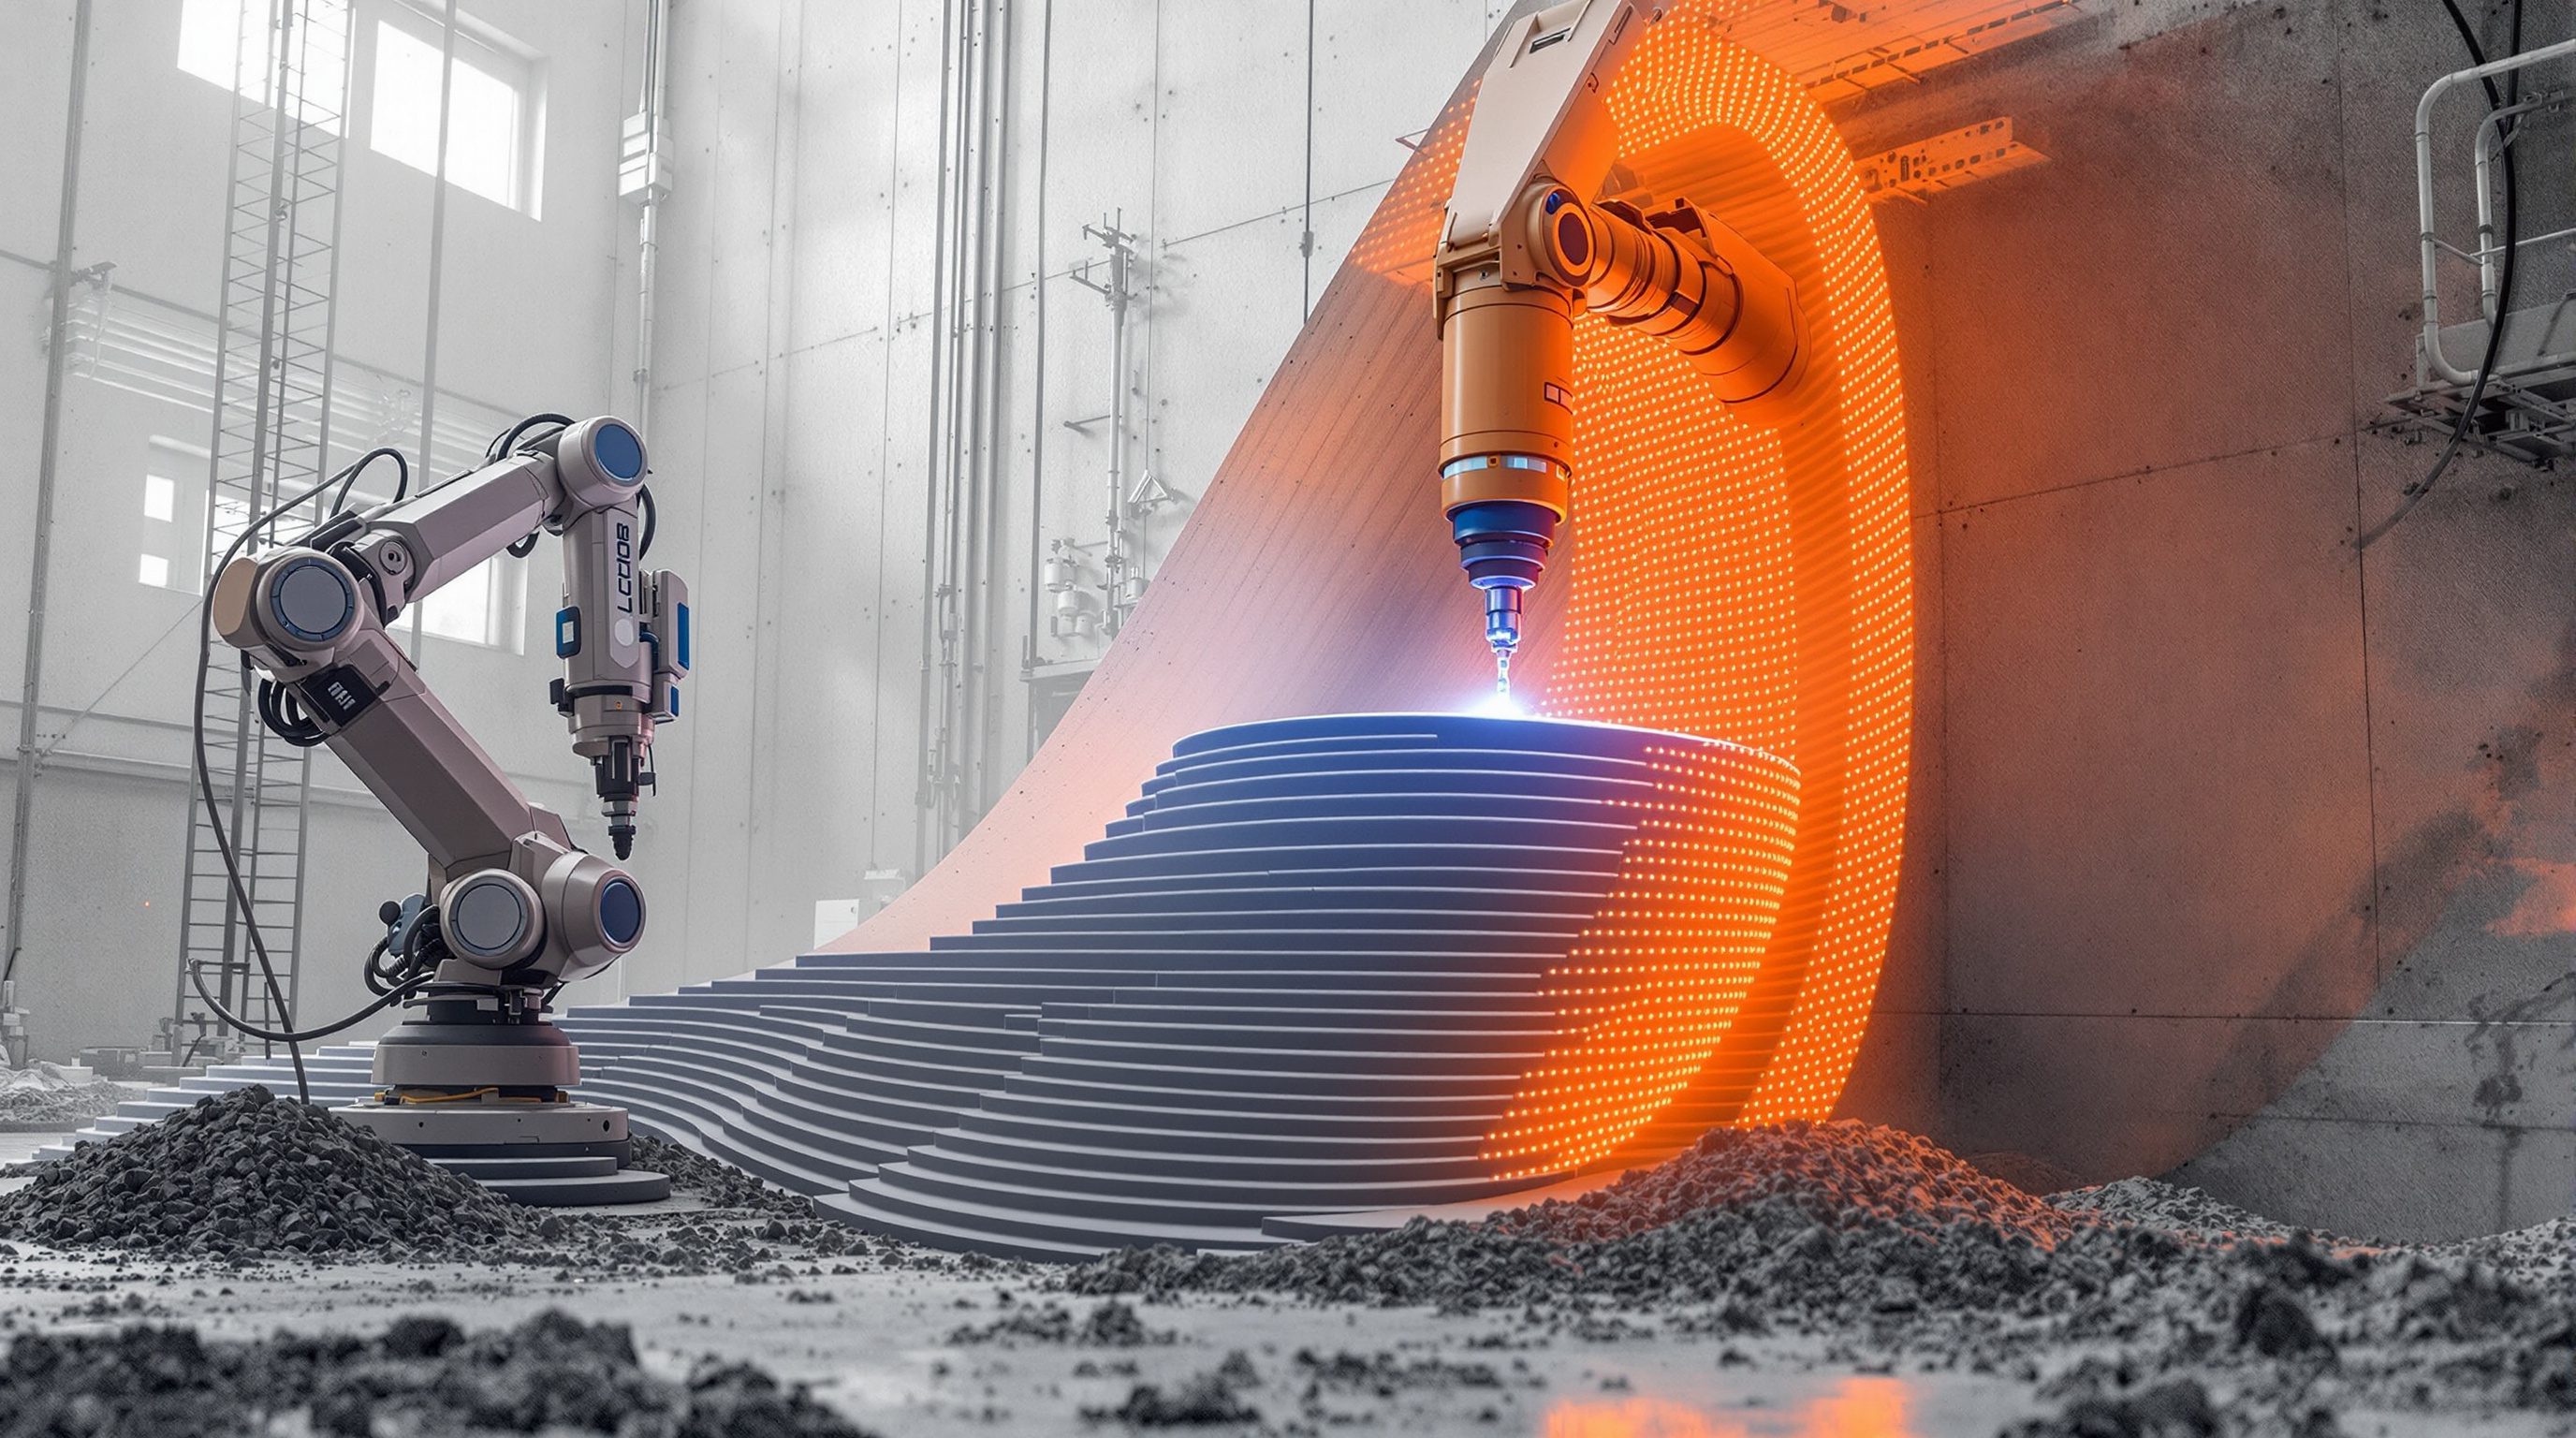
The launch-day photo shows a perfect, gleaming printed wall. An engineer looks at the same wall and sees a list of questions no photograph can answer.
A conventionally cast concrete wall is, to a structural engineer, a broadly known thing: known materials, known mixes, a dense monolithic mass, decades of test data, and codes that describe exactly how to design and check it. The engineer can reason about it with confidence because the profession has poured, loaded and broken thousands of such walls and written down what they do. A 3D-printed wall offers none of that comfort by default. It is built from a special mix, laid down in stacked beads with a seam between every pair of layers, by a process only a few years old, with little long-term data behind it. It may be perfectly safe - but that has to be shown, not assumed.
This is the first of the hard questions this module asks, and it is the most fundamental: how do you actually demonstrate that a printed or robotically built element is safe enough to stand over people? The honest answer is that you test it, rigorously, the same way structural engineering has always earned trust - and that a striking demonstration, however photogenic, tells you almost nothing about whether the thing is safe. Understanding why is the difference between being impressed by this technology and being able to reason about it. It also marks, clearly, where a designer's job stops and a qualified structural engineer's begins.
Printed element has a grain. Strong along the beads, weak across the seams. A demo proves it CAN be built - not that it is safe. Test, analyse, approve - engineers and labs.
Anisotropy: strength that depends on direction
Start with the single most important idea in printed-element performance: anisotropy. A material is isotropic if it behaves the same in every direction - a block of well-cast, well-compacted concrete is, for practical purposes, close to that. A material is *anisotropic* if its properties depend on direction, and a 3D-printed element is inherently anisotropic because of how it is made. The machine lays material down in beads, then stacks those beads in layers. The result is a body that has a clear internal grain, like timber or plywood: strong one way, weaker another.
Think about the two directions. Along a printed bead, the material is continuous and relatively strong. But *between* layers, where one bead was deposited onto another that had already begun to stiffen, there is a joint - an interface that was never a single continuous pour. Across that stack of joints, the element is typically weaker than it is along the beads. So the same printed wall can be perfectly adequate for a load that runs one way and marginal for a load that runs another. A cube of this material tested in one orientation can give a reassuring number; the same cube tested at ninety degrees can give a worse one. This is not a flaw to be embarrassed about - it is a defining characteristic of the process that must be understood and designed around.
The consequence for anyone looking at a printed structure is profound and humbling: you cannot judge its strength by looking at it, and you cannot describe its strength with a single number. A cast wall can be reasoned about with familiar assumptions. A printed wall has to be characterised in each relevant direction, because its behaviour is directional by nature. An engineer treats the printed element almost as a new, purpose-specific material with its own test data, rather than as ordinary concrete that happens to have been placed by a robot. This is exactly why the casual claim 'it is just concrete, concrete is well understood' misses the point - the *material* may be concrete-like, but the *built element*, with its layers and seams and directional grain, is not the monolithic concrete the codes and the engineer's intuition were built on. Anisotropy is the reason a printed element starts life, in engineering terms, as an unknown.
Printed element = grain, like timber. Strong ALONG the beads, weaker ACROSS the layer seams. One number cannot describe it - test every direction.
Interlayer bonding and the cold joint
The weakness that anisotropy points to lives mostly in one place: the interlayer bond, the join between each deposited layer and the one below it. In a normal concrete pour, fresh material floods against fresh material and they become one continuous mass. In printing, each bead is laid on top of a bead that has already been sitting in the air for seconds or minutes - long enough to begin stiffening, to lose surface moisture, sometimes to form a thin skin. When the next layer lands, the two do not always knit together perfectly. The result is a cold joint: an interface that can be weaker, and can be a path for water and air to get in, than the material on either side of it.
How good that bond turns out to be is astonishingly sensitive to the details of the process. The time gap between layers matters - print too slowly and the lower layer skins over before the next arrives; print too fast and the lower layer has not gained enough strength to carry the one on top and the wall slumps. Temperature and humidity matter, because they change how fast the surface dries. The mix design matters. The nozzle height and speed matter. Even a pause in the print - a hopper refill, a glitch - can leave a worse joint at that height. This is why two walls printed from the 'same' recipe on different days, or by different operators, or in different weather, can have meaningfully different interlayer strength and durability.
For a designer the lesson is not to master these variables - that is the province of the material specialist, the equipment manufacturer and the engineer - but to grasp what they imply. The performance of a printed element is process-dependent to a degree that conventional construction is not. It is not enough to specify a material; the *way it was printed* is part of what determines whether it is safe and durable, which means quality control during printing (Module 7.2) is directly a structural matter, not a cosmetic one. The interlayer bond also bears on the reinforcement problem (Module 4.3): the same seams that weaken the element are part of why getting steel to work with a printed wall is so hard. Understand the cold joint, and you understand why printed-element performance cannot be taken on trust - and why it must be verified by testing, not by appearance.
A demonstration is not a proof
Here is the idea to carry out of this lesson above all others: a demonstration is not a proof. The field is full of compelling demos - a wall printed in an afternoon, a pavilion unveiled to applause, a small house finished in days. These are genuinely impressive feats of engineering and logistics, and they prove something real: that the thing *can be made*. What they do not prove, and cannot prove, is that the thing is *safe to occupy for decades* under the loads, weather, fire, earthquakes and wear a real building must survive. Those are different claims, and confusing them is the most common error in reading this technology.
A demonstration shows a best case, once, on a good day, often under ideal conditions and expert supervision, and usually judged by whether it stands up at the ribbon-cutting. Structural safety is about the *worst* case, repeatedly, over a design life, with margins for the loads and accidents the building may never even see but must survive if it does. Between 'it stood up on launch day' and 'it is certified safe to live in' lies a whole ladder of evidence that the demonstration skips. You climb that ladder roughly like this: characterise the material by testing (strength and bond in each direction, durability, behaviour over time); test real elements - actual printed walls loaded to failure in an accredited laboratory; have an engineer analyse and calculate the structure, accounting for the anisotropy and the joints, and sign the result; and finally secure code approval from the authority for a real, occupied building (Module 8.2).
Notice who does this work: accredited testing laboratories, qualified structural engineers, material specialists, and the building authority - not the person who admired the demo, and not the designer. This is the firm boundary the whole course insists on. A designer's job is to understand that the ladder exists, to treat any strength, span or capacity figure as illustrative until it has been proven for a specific system and material, and to insist that the binding structural design and testing of any printed or robotically built element be done by qualified engineers and accredited testing - never inferred from a photograph or a press release. Being literate here means being the person in the room who, shown a dazzling demo, asks the right quiet question: *has this been tested, by whom, and to what standard?*
Demo proves it CAN be made. It does NOT prove it is safe for 50 years. Between them: material tests, element tests, engineer's analysis, code approval.
What the designer owns, and what the engineer owns
If a printed element is an unknown until tested, and the testing belongs to specialists, what is left for the designer to do well? A great deal - but it is a different job from engineering the structure, and knowing the line is part of being competent. The designer owns the intent and the fit: choosing where a printed or robotic method genuinely suits the project, designing forms that play to its strengths and respect its directional nature, coordinating early with the structural engineer so the anisotropy and reinforcement strategy shape the design rather than fighting it, and setting the quality expectations that make a printed element testable and consistent. The engineer owns the binding result: the structural analysis, the design of the element and its reinforcement, the specification of the tests, the interpretation of the data, and the stamped responsibility for safety.
This division is not a way of dodging responsibility - it is how good buildings get made. The most valuable thing a designer brings is early, honest collaboration: engaging the structural engineer and, where relevant, the equipment manufacturer and a testing body at the *concept* stage, not after the form is frozen. Printed elements reward this because so much of their performance is baked in by decisions about geometry, orientation, layer direction and load path that are cheap to change on a screen and ruinous to change on site. A designer who understands anisotropy will, for instance, avoid quietly assuming a printed wall can carry a load across its layers the way a cast wall would, and will instead ask the engineer early how the loads should run.
There is also a humility this lesson should instil about numbers. Every strength, span, load capacity, tolerance or performance figure you encounter for printed construction is illustrative and specific to a system, a material and a context - it is never a specification you can lift into a real project. Two printers, two mixes, two climates can yield two different answers. The competent stance is to treat all such figures as teaching the *principle* - that these elements are directional, process-dependent and must be proven - rather than as a value to design by. Carry that, coordinate early, and leave the binding structural design, the reinforcement strategy and the certified testing to the qualified structural engineers, material specialists and accredited laboratories whose job it is. That is not a limitation on the designer; it is the designer doing the job properly.
Structural design & analysis
Whether a printed/robotic element is safe under real loads
Binding analysis accounting for anisotropy, joints and load paths belongs to a qualified structural engineer, signed and certified - never inferred from a demo. Illustrative figures only here.
Material & element testing
Characterising strength, bond and durability in each direction
Testing of the mix and of real printed elements loaded to failure belongs to accredited testing laboratories to recognised methods; a designer commissions and respects it, not performs it.
Reinforcement strategy
Giving a printed element the tensile strength it needs
The central unsolved problem of 3DCP and tightly bound up with the interlayer seams; an engineering decision, not a design assumption. Module 4.3.
Process quality control
Keeping the as-built element consistent and testable
Because performance is process-dependent, print quality monitoring (Module 7.2) is a structural matter; follow the manufacturer's and engineer's requirements, treated as binding.
Workshop - interrogate a printed structure like an engineer would
The skill this lesson builds is asking the right questions about whether a printed or robotically built element is actually safe - distinguishing what has been proven from what has merely been shown. In this workshop you take a real printed-structure claim and map it onto the ladder of evidence.
A real reported printed structure you can read about, paper and a pencil for the sketch. No lab and no calculations - this is about reasoning and knowing what must be deferred, not about assessing safety yourself.
Goal: tell what was PROVEN from what was only SHOWN
Inputs: a real reported 3D-printed building or structural element (search one out) + this lesson + a notebook
Time: ~40 minutes
- 1Pick a real printed structure - a printed house, wall, bench, bridge or pavilion you can read about - and note exactly what the source claims about its strength, speed or safety.
- 2Identify the directions: sketch the element and mark where the printed beads run and where the layer seams stack. Which way would the main loads act, and would they run ALONG the beads or ACROSS the seams?
- 3Map the claim onto the ladder: for this element, what evidence is actually reported - a demo only, material test data, element testing to failure, an engineer's stamped analysis, code approval? Mark each rung as present, absent or unstated.
- 4List the unknowns: write the questions an engineer would still need answered before trusting it over people - anisotropy characterised? bond tested? reinforcement strategy? durability? who signed it?
- 5Write a one-paragraph honest verdict: what was genuinely proven versus merely demonstrated, and flag clearly which binding questions you would hand to a structural engineer and accredited testing - as critical reasoning, not a judgement of safety you are qualified to make.
You’ll walk away with
A one-page 'proven versus shown' analysis of a real printed element: a sketch marking bead and seam directions against the load paths, the ladder-of-evidence map, the list of open engineering questions, and an honest verdict. Keep it - it trains the instinct the whole module rewards.
Three altitudes on the same idea
Read the band that fits you — or all three.
Treat a printed structural element as a new, directional material to be proven, not as ordinary concrete placed by a robot. Design for its grain: understand that it is strong along the beads and weaker across the layer seams, engage the structural engineer at concept stage so anisotropy, load paths and the reinforcement strategy shape the form, and never assume a printed wall carries load the way a cast one would. Set quality expectations that make the element consistent and testable. Own the design intent and the fit judgement; hand the binding structural design, the analysis, the test specification and the stamped sign-off to the qualified structural engineer and accredited testing. Shown a dazzling demo, be the one who asks: tested, by whom, to what standard?
For fabricated and printed components - panels, screens, moulds, bespoke pieces - the same directional logic applies at smaller scale. A printed or robotically made part has a grain and layer seams too, so anything that carries load, spans, cantilevers or must resist impact, fixing forces or fire needs its performance verified, not assumed from how solid it looks. Decorative and non-structural elements give you real freedom, but the moment a piece does structural or safety-critical work, coordinate with the relevant engineer or specialist and insist on the manufacturer's verified data and any required testing. Your domain is inventive, well-made components; the binding performance of anything load-bearing or safety-critical belongs with the specialists.
Learn the one idea that separates literacy from hype here: a printed element is anisotropic - its strength depends on direction - so you cannot judge it by looking, and a demonstration is never a proof of safety. Understand the interlayer bond and the cold joint, why the process (speed, timing, weather) shapes performance, and the ladder of evidence from material tests to element tests to engineered analysis to code approval. You are not expected to engineer a printed structure; you are expected to know why it must be tested, who does that testing, and what questions to ask. This single clear-eyed instinct - demo versus proof - will mark you out as someone who understands the technology rather than its marketing.
“They printed a whole house in two days and it is standing there perfectly, so clearly the printed walls are strong and safe - concrete is concrete, and if it holds itself up, it works.”
Do it yourself
No tools needed - reason it through.
- 1Explain what anisotropy means for a 3D-printed element and why you cannot describe its strength with a single number.
- 2What is the interlayer bond, why does a 'cold joint' form, and name three process factors that affect how good that bond turns out to be.
- 3Why is a demonstration - even an impressive one - not a proof of structural safety? What is the difference between the claims 'it can be made' and 'it is safe to occupy for decades'?
- 4List the rungs on the ladder of evidence from a demo to a code-approved building, and say who does each.
- 5Which parts of printed-element performance does a designer own, and which must be deferred to the structural engineer and accredited testing?
The one line to carry out
Peer-reviewed journals & authoritative standards
- 01Construction 3D printing — Wikipedia - Construction 3D printing, 2026.
- 02Structural engineering — Wikipedia - Structural engineering, 2026.
- 03Reinforced concrete — Wikipedia - Reinforced concrete, 2026.
- 04Structural load — Wikipedia - Structural load, 2026.
Even a fully tested, engineer-approved printed element runs into a second wall: the building code was not written for it. Next we look at codes, standards and the approval pathways that decide whether a printed or robotic method can legally be used at all.
The author
Amogh N P
Architect, interior designer, and creative polymath. Studio Matrx began in his notebooks — his vision of design made honest, useful, and open to everyone. Its Academy is written and taught in his memory, and free, forever.
More about Amogh →