
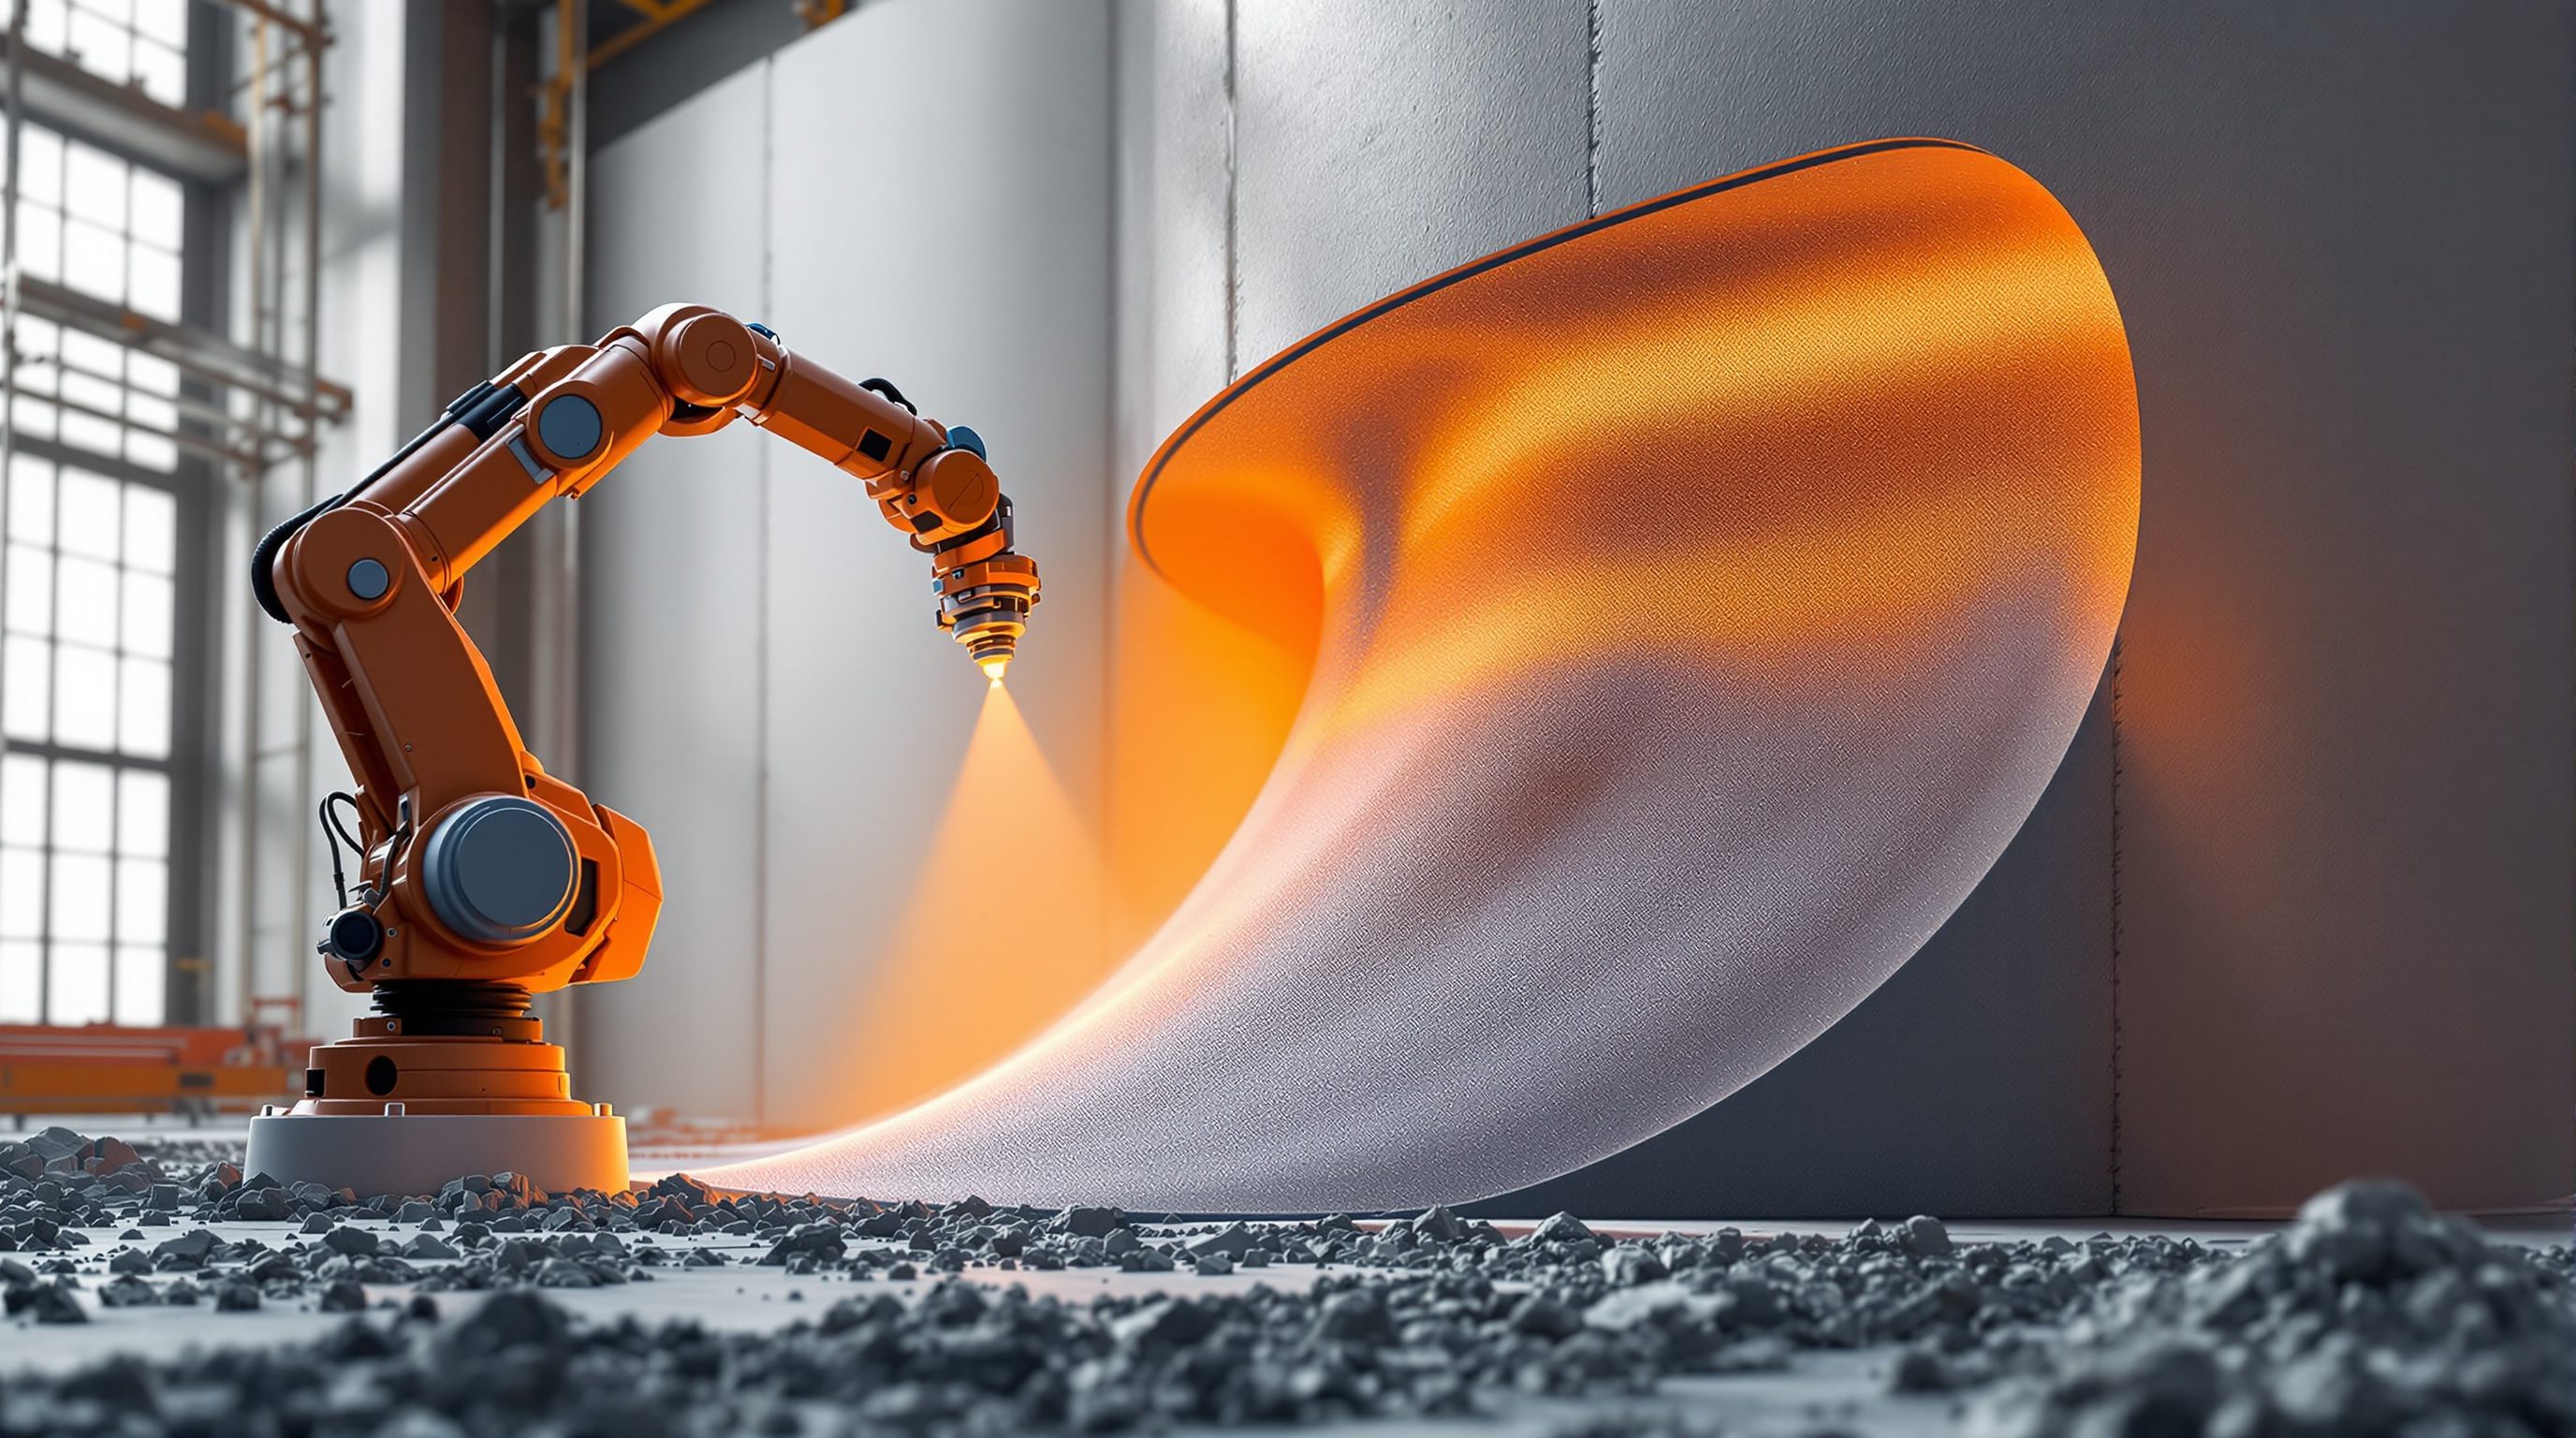
 Lesson 7.1
Lesson 7.1 · On the Site
Site Setup & Integration
Before a robot lays a single brick or a printer extrudes a single bead, someone has to haul the machine to site, stand it up, power and feed it, tell it exactly where the building is, and slot its one automated step into a construction sequence built entirely around human trades
The demo video starts with the machine already printing. The real project started three weeks earlier, with a crane, a slab cast dead level, and a surveyor arguing about where the building actually is.
Every viral clip of a wall rising in concrete begins in the middle of the story. By the time the nozzle is moving, the hard and unglamorous part is already done: a heavy machine has been trucked in, craned off, assembled, levelled, wired, plumbed to a material supply, and - the quiet crux - told precisely where on the real ground the building is meant to sit. None of that is automated. All of it is the difference between a print and a no-show.
This lesson is about that work. Setting a robot or a printer onto a building site is far less like switching on an appliance and far more like commissioning a small, temporary factory on contested, uneven ground - then persuading it to cooperate with a construction sequence that was invented for people, not machines. Get the logistics and the setting-out right and the automated step looks effortless. Get them wrong and the most advanced machine on the site simply sits there, an expensive sculpture, while the programme slips.
Truck -> crane -> assemble -> level -> power -> set out to datum -> print -> hand off. The print is one link; the chain is mostly conventional and human.
Transport, erection and standing the machine up
A construction robot or a building-scale printer is, first of all, a large and heavy piece of plant, and before it can do anything clever it has to arrive and be assembled. A gantry printer the size of a small house ships in pieces - rails, frame, carriage, nozzle, control cabinet, pumps - on one or more trucks, and is craned off and bolted together on site over hours or days. A printer mounted on a robotic arm may be more compact, but it still needs transport, a stable mounting, and often a track or base to give it reach. Mobile and crawler machines drive or are carried in, but they are still weighty, awkward loads that need the right access.
This stage alone defeats more demonstrations than any software bug. Can a truck of that size reach the plot down a narrow Indian gully or a congested urban lane? Is there crane access, and hardstanding for the crane to stand on? Is there room to lay out and assemble a gantry that may be several metres longer than the wall it prints, because the machine needs to overrun the work at each end? Assembly itself is skilled work: rails must be set straight and level, the frame squared, the carriage trammed, cables and hoses routed and protected, the control system booted and its axes homed. A gantry that is a few millimetres out of level over its length will print a wall that is out of plumb, because the machine faithfully reproduces its own errors.
Then there is the base the machine stands on and prints onto. Printers generally need a flat, level, load-bearing surface - very often a conventional foundation or ground slab cast in advance by conventional means - both to carry the machine and to receive the first layer of the print. That slab is itself a conventional construction task with its own programme, curing time and tolerance, and it has to be finished and strong enough before the machine arrives. So the first honest lesson of deployment is that the automated part is wrapped in a thick layer of ordinary, heavy, logistics-driven construction work - and every bit of it must go right before a single bead is laid.
Calibration and setting-out against the real site
A machine works in its own coordinate system: everything it does is relative to its own origin, the point it treats as (0, 0, 0). The digital model knows where the wall sits relative to that origin. What neither the machine nor the model knows, until a human tells them, is where that origin actually is on the real plot - its position, its rotation, and its level relative to the building's survey datum and gridlines. Reconciling the two is called setting-out, and it is the single most important act of on-site calibration.
Conventional construction does this all the time: surveyors establish control points and a datum, then set out gridlines and levels so every trade builds to the same truth. An automated machine has to be tied into exactly that framework. The operator establishes where the machine origin is relative to the survey control, squares the machine's axes to the building grid, and checks level and plumb so that the model's 'up' really is up and its 'north' really points along the wall. A printed footprint that is rotated two degrees, or shifted five centimetres, or built on a base that slopes, is wrong in ways that ripple through every opening, every service penetration and every junction with conventional work - and a machine will reproduce that error perfectly, all day, without noticing.
Calibration goes beyond position. The machine's own geometry is checked and trued: the gantry levelled, the arm's reach and joints verified, the nozzle height above the base set, the extrusion and motion tuned to the actual material on the actual day. Many teams run a dry pass - tracing the toolpath with no material - to confirm the machine can reach the whole job without collisions and stays inside its working envelope. Sensors, where fitted, are referenced to the same datum. The discipline here is ordinary surveying and metrology wedded to an unforgiving machine: the robot removes human variability from the building of the wall, but it cannot remove the human judgement about where the wall belongs. That judgement, and the survey control behind it, stay firmly with qualified people.
The model knows where the wall is relative to (0,0). Only setting-out tells the machine where (0,0) is on the real plot. Two degrees out = everything out.
Fitting the automated step into a human sequence
Here is the reality the headlines hide: almost no project is built start to finish by one machine. The automated step - printing the walls, or a robot laying a course, or an arm placing components - is one operation inside a construction sequence that is overwhelmingly conventional and overwhelmingly human. A printed 'house' is, as this course keeps insisting, printed walls sitting on a conventional foundation, with conventional reinforcement strategy, floors, roof, windows, doors, services and finishes. Every one of those is a separate trade with its own timing, and the automated step has to slot in among them without breaking the flow.
That integration is a scheduling and coordination problem at least as hard as the technology. The foundation and base slab must be ready before the printer arrives. Any reinforcement, starter bars, cast-in fixings, conduits or service routes that must be placed before or during the print have to be planned into the process, because you cannot easily drill or chase a finished printed wall the way you would a block wall - penetrations are far better designed in. The machine needs its window on site: space, access and time when other trades are clear of its zone. And when the automated step finishes, the work hands back to conventional crews who build on top of, into and around what the machine made - which only works if the printed element meets the rest within the tolerances those trades expect (the subject of the next lesson).
So the designer and the site manager are really choreographing a relay. The machine is a fast, precise runner for one leg of the race, but it needs the baton handed to it cleanly and must hand it on cleanly in turn. In practice this often means the biggest savings the automation promises are eaten back by the coordination it demands, at least on early projects, and it means the automated step is only as good as the conventional work bracketing it. Treating the robot or printer as a drop-in replacement for a whole building is the classic category error; treating it as one specialised subcontractor to be sequenced with care is the competent stance.
The non-trivial logistics that decide success
Strip away the novelty and on-site automation is dominated by the same unglamorous logistics that dominate all construction - only with an expensive, inflexible machine in the middle that punishes every gap. Mobilisation (getting everything to site and ready) and demobilisation (breaking it down and taking it away) are real line items of cost and time, often charged whether or not the print goes well, which is part of why the economics only work above a certain size of job: you have to amortise all that setup over enough output to justify it.
Then there is everyone and everything the machine depends on. A trained operator and often a specialist crew from the manufacturer or a licensed partner have to be present - on early Indian and global projects the pool of people who can actually run these machines is small, and their travel and time are a genuine constraint. A reliable material supply chain has to be arranged: the special printable mortar or concrete is not ordinary ready-mix, and it may have to be batched on site or delivered in a narrow time window and used before it sets. Power, water, storage for materials, a clean and level working base, protection from sun and rain, and a plan for what happens when - not if - something interrupts the run: all of this is logistics, and all of it has to be solved before the clever part can even begin.
The honest summary is that deployment is where many demonstrations quietly differ from real projects. A demo happens in a controlled yard, with pre-batched material, clean power, flat ground, ideal weather and the maker's own experts hovering. A real site is messy, variable, weather-exposed, access-constrained and staffed by people meeting the machine for the first time. Closing that gap is not a matter of better software; it is a matter of planning the transport, the base, the setting-out, the supply, the crew and the sequence with the same seriousness you would give to commissioning any piece of heavy plant. Lesson 7.4 returns to these real-site constraints in depth. For now, carry this: on site, the machine is the easy part - it is everything around the machine that decides whether automation actually happens.
Survey control & setting-out
Where the building - and the machine origin - actually sit
Establishing datum, gridlines and levels and tying the machine to them is qualified surveying work; an error here propagates through the whole element. Not a task to improvise.
Base & foundation design
The slab that carries the machine and receives the print
Bearing, level and the conventional foundation are the structural engineer's design, cast and cured by conventional means before the machine arrives. Module 8.1.
Machine installation & commissioning
Erecting, levelling and calibrating the plant
Follows the equipment manufacturer's procedures and trained personnel; assembly tolerances directly set print accuracy. Defer to the maker's verified method.
Programme & sequence integration
Slotting the automated step among conventional trades
A construction-management task: the print is one sequenced operation inside a mostly conventional build, with reinforcement, services and openings planned in advance.
Workshop - storyboard a real deployment, backwards from the print
The best way to feel how much setup hides behind a print is to plan one yourself. You will take a simple printed-wall job and work out everything that must happen before and after the automated step.
Just a plan, a pen and this lesson. No equipment - this is about seeing the full chain around the automated step.
Goal: a realistic mobilisation-to-handover sequence for a printed-wall job
Inputs: a small single-storey plan (real or imagined), this lesson, a notebook or a simple timeline sketch
Time: ~45 minutes
- 1Pick the job: a small single-room or single-storey structure whose walls will be printed. Note the plot - access, ground, and whether a crane can reach it.
- 2List the before: every conventional step that must finish before the machine can work - survey and setting-out, foundation and level base, cast-in reinforcement or starter bars, services routed into the base, material supply arranged, power and water, crane and access.
- 3Sequence the machine: transport in, assemble and level, calibrate and set out to the datum and grid, dry-run the toolpath, then print. Note where an error in each step would show up in the finished wall.
- 4List the after: demobilisation, then the conventional trades that build on the printed walls - floors, roof, reinforcement completion, windows, services, finishes - in order.
- 5Mark the risks: circle the three steps most likely to delay or sink the job on a real, messy site, and write one sentence on what you would do in the design to reduce each (for example, designing openings and service routes into the wall up front).
You’ll walk away with
A one-page deployment storyboard: the conventional work before, the machine's bracketed step, and the conventional work after, with the riskiest steps flagged. It makes the invisible logistics visible and is a genuinely useful planning habit.
Three altitudes on the same idea
Read the band that fits you — or all three.
Design and specify for deployment, not just for the finished image. If a project involves a printer or site robot, the drawings and programme must account for the machine's real needs: a conventional foundation and level base cast in advance, access and crane space for a large machine, a printing envelope the gantry or arm can actually reach, and - crucially - every opening, service route, cast-in fixing and reinforcement provision designed into the element up front, because a finished printed wall is not something to chase and drill later. Coordinate the automated step as one sequenced subcontract inside an otherwise conventional programme, and assume setting-out, survey control and base design belong to the surveyor and the structural engineer. Your value is a design that the machine can build cleanly and that the conventional trades can build onto.
For components and bespoke elements, the same setting-out discipline applies at smaller scale. A robotic arm milling a mould or printing a panel still works in its own coordinate frame and still has to be referenced, levelled and calibrated to the stock it is cutting or the base it is building on; a few millimetres of origin error shows up as a part that does not fit the opening it was made for. If you commission robotic or printed fit-out elements, ask how the fabricator sets out and calibrates, how the piece will locate on site, and what interface tolerance the installation allows - the join between a precise machine-made part and an imprecise existing building is exactly where problems appear. Leave machine installation and safety to the fabricator and manufacturer; own the fit, the interfaces and the tolerances you design in.
The most useful thing to internalise early is that the automated step is a tiny, bracketed part of a mostly conventional, human-run build. When you watch a print video, mentally rewind: the transport, the crane, the level base, the survey and setting-out, the material supply, the trained crew - all invisible, all essential. Then fast-forward: the reinforcement, floors, roof, services and finishes that conventional trades still add. Learning to see that full chain, and to understand why setting-out against the real site is the crux of on-site calibration, separates a clear-eyed practitioner from someone who believes the demo. You are not expected to survey or commission the machine; you are expected to understand the deployment reality and design and plan with it in mind.
“You just drive the printer to the site, upload the model, and press print - the machine figures out the rest. Setting up a construction robot is basically plug and play, like a big office printer.”
Do it yourself
No tools needed - reason it through.
- 1Why does a gantry printer that is a few millimetres out of level produce a wall that is out of plumb?
- 2What is setting-out, and why is tying the machine origin to the site's survey datum the crux of on-site calibration?
- 3Name three conventional construction steps that must be complete before a printer can start, and three that follow after it finishes.
- 4Why do mobilisation and demobilisation costs push the economics toward larger jobs?
- 5Explain why a finished printed wall should have its openings, service routes and fixings designed in, rather than chased and drilled later.
The one line to carry out
Peer-reviewed journals & authoritative standards
- 01Construction robot — Wikipedia - Construction robot, 2026.
- 02Construction 3D printing — Wikipedia - Construction 3D printing, 2026.
- 03Construction management — Wikipedia - Construction management, 2026.
- 04Heavy equipment — Wikipedia - Heavy equipment, 2026.
- 05Prefabrication — Wikipedia - Prefabrication, 2026.
Getting the machine standing, set out and sequenced is only half the battle; the other half is holding quality while it runs and where it meets conventional work. Next we look at tolerance, defects and monitoring.
The author
Amogh N P
Architect, interior designer, and creative polymath. Studio Matrx began in his notebooks — his vision of design made honest, useful, and open to everyone. Its Academy is written and taught in his memory, and free, forever.
More about Amogh →