
 Lesson 4.1
Lesson 4.1 · Printing with Concrete
3D Concrete Printing
The dominant face of printed construction is a nozzle laying stacked beads of special concrete with no formwork at all, building walls and sinuous forms straight from a model — brilliant at some things and, honestly, incapable of others
A nozzle glides along a path, squeezing out a continuous bead of concrete, then climbs a layer and does it again — and a wall rises from thin air with no mould around it. How much of a building can that really make?
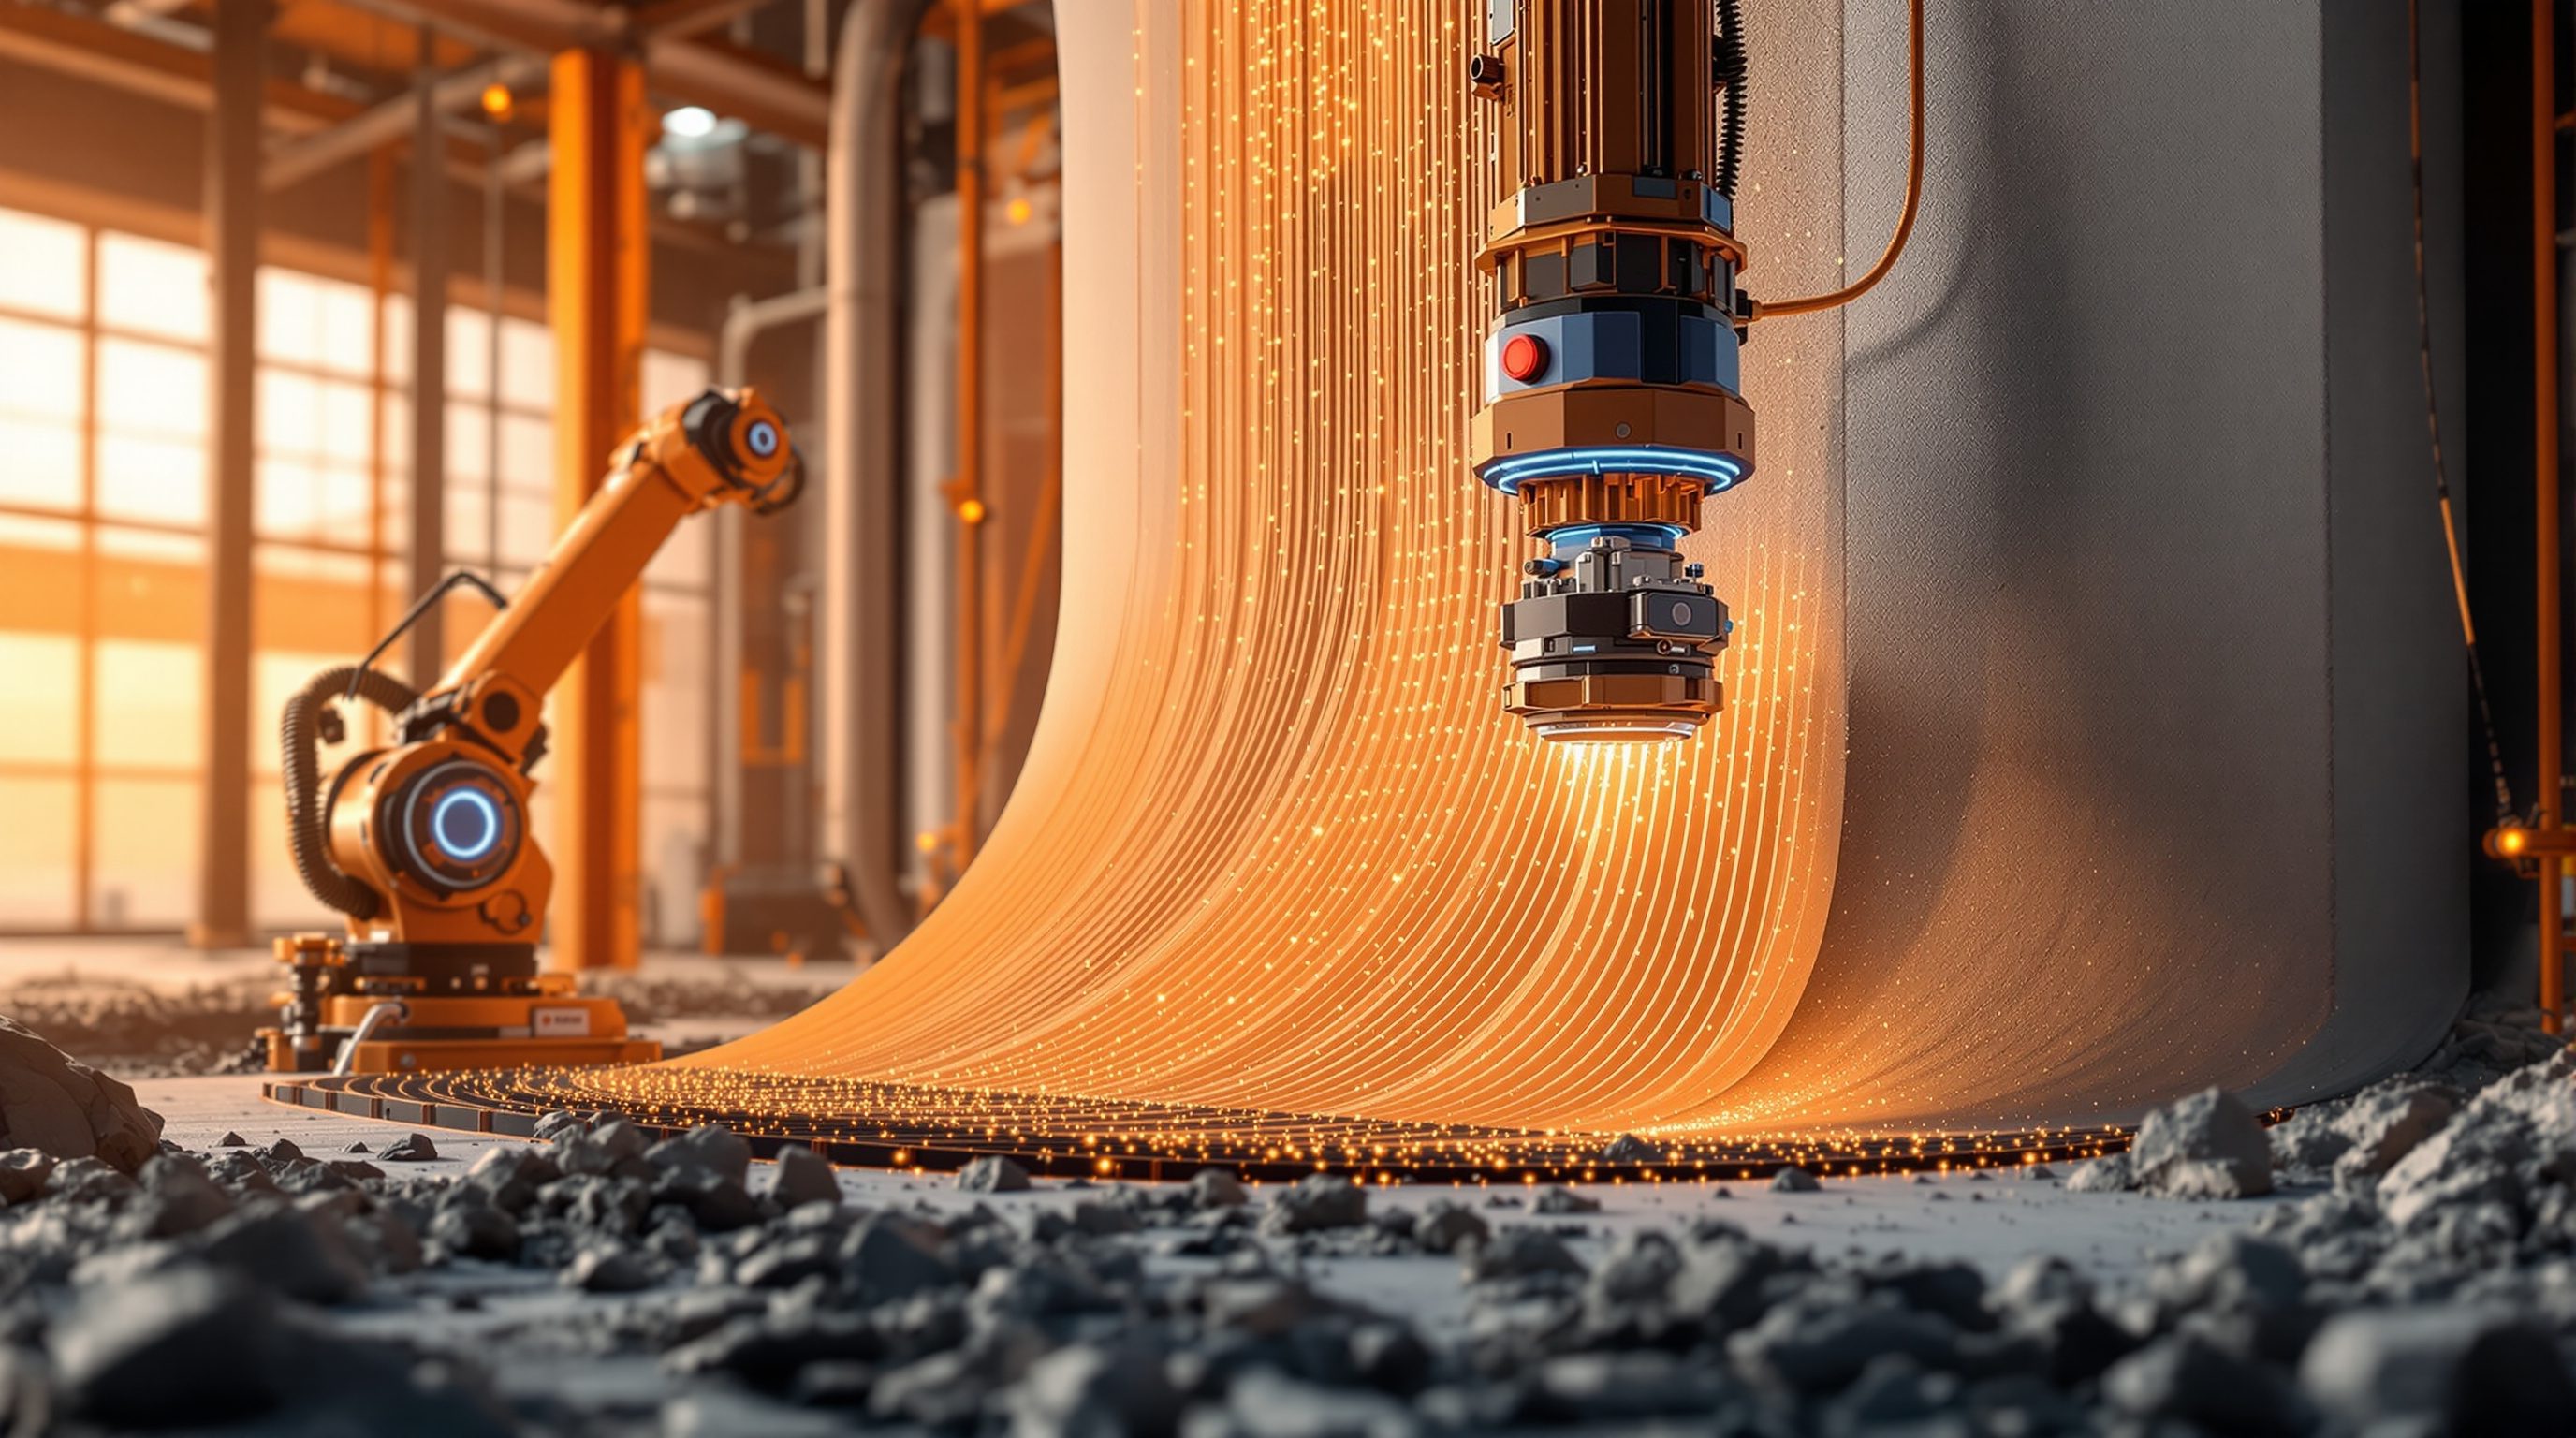
Nearly every image you have seen of a 'printed building' is this one process: 3D concrete printing, or 3DCP. A gantry or a robotic arm carries a nozzle; the nozzle extrudes a special concrete in a continuous bead; the machine traces the outline of a wall, rises a few millimetres, and traces it again, stacking bead on bead until a wall stands. There is no formwork, no mould, no shuttering to build and strip. The shape comes straight from a 3D model, which is why the process can make sweeping curves and branching, sculpted forms almost as easily as a straight wall. It is genuinely remarkable to watch, and it is the reason this whole field captured the public imagination.
It is also widely misunderstood. The same physics that lets a nozzle stack beads into a wall makes 3DCP poor or useless at other parts of a building, and the honest picture is far narrower than the headlines. This lesson takes the dominant approach apart: how the bead is laid and why the layer interface matters, what 3DCP genuinely does well, what it cannot do at all, and how a printed element sits inside a building that is still mostly conventional. Get this clear and the rest of the module — materials, the reinforcement problem, hybrids — falls into place.
3DCP: stack beads, no formwork. Prints walls + curves, not floors/roofs. Concrete weak in tension -> still needs steel. A printed house = printed walls + conventional rest.
Bead on bead: extrusion with no formwork
3D concrete printing is a material-extrusion process scaled up to building size. A pump pushes a specially formulated concrete through a hose to a nozzle; the nozzle, carried by a gantry crane, a robotic arm, or a mobile frame, follows a path sliced from a 3D model and lays the concrete as a continuous bead, much as a cake decorator pipes icing. When the machine finishes the outline of a layer it steps up by the bead height — often a couple of centimetres — and traces the path again, so the structure grows upward one stacked ribbon at a time. Crucially, there is no formwork. In conventional concrete you build a mould, pour wet concrete in, wait for it to harden, and strip the mould away; in 3DCP the concrete holds its own shape the instant it leaves the nozzle. That single difference is the source of both the promise and the problems.
For the concrete to behave this way it has to perform a contradiction, which the next lesson explores in depth: it must be fluid enough to pump smoothly through a hose, yet stiff enough to hold its shape and carry the weight of the beads stacked on top before it has fully hardened. Squeeze too wet a mix and the wall slumps and bulges; too stiff and it will not pump, or fresh beads will not bond to the ones below. The machine and the mix are tuned together so that each bead sets just enough, just fast enough, to support the next pass without collapsing.
The path the nozzle follows is not drawn by hand on site. A 3D model is sliced into layers and converted into machine instructions — a toolpath, essentially the same idea as the G-code that drives a desktop printer or a CNC machine — so the digital model and the physical wall are tightly linked. Change the model and the printed form changes; this is what makes complex geometry cheap to vary. But it also means errors, collisions and unrealistic overhangs must be caught in the digital file before a single bead is laid, because once concrete is down it is not coming back up.
What 3DCP genuinely does well
Play to its nature and 3DCP has real, distinctive strengths. The first is geometric freedom. Because the shape comes from a toolpath and needs no mould, curves, tapers, undulating walls, branching columns and organic forms cost little more to print than a straight wall — whereas in conventional construction every curve means a bespoke, expensive mould. For architecture this is the genuinely exciting part: forms that were priced out by formwork become affordable, and a designer can vary them parametrically. Printed benches, planters, facade panels, acoustic walls and sculptural partitions exploit exactly this.
The second strength is eliminating formwork itself. Formwork is a large, hidden cost of concrete construction — the timber or steel moulds, the labour to build and strip them, and the waste they generate. Removing it can save material, time and skilled labour on the forming step, and cut one stream of site waste. The third is speed of the wall-forming step in the right conditions: a machine can lay the shell of a small building's walls quickly and repeatably, working without breaks, which is why the '24-hour' demonstrations are physically possible for the walls alone.
The fourth is integration and customisation. Because the geometry is digital, you can print features directly into a wall — channels for services, insulation cavities, textures, openings — and vary every unit in a row without retooling. For repetitive, customised, moderately complex elements this is powerful. Taken together these strengths explain where 3DCP is finding real, if niche, use today: low-rise walls, especially with curved or complex geometry; site-made and precast components; landscape and street furniture; and formwork itself (lesson 4.4). None of this is trivial, and India has run real pilots — printed houses and a printed post office among them — that demonstrate the walls genuinely go up. The discipline is to see these strengths clearly without letting them imply the machine builds the whole building. Any claimed strength, speed or cost is illustrative and depends entirely on the system, mix and project; treat it as a principle, not a quotation.
Prints well: walls, curves, complex forms, components, formwork. The shape is almost free; the mould is gone.
What it cannot print — and why
The limits are as important as the strengths, and they follow directly from stacking beads under gravity. First, 3DCP prints vertically, not horizontally. You cannot extrude a bead out into thin air to span an opening, so a printer cannot make a floor slab or a flat roof the way it makes a wall — there is nothing beneath a horizontal bead to hold it up while it sets. Printed buildings therefore almost always use conventional floors and roofs: cast slabs, precast planks, or a timber or steel roof dropped onto the printed walls. A 'printed house' is, in honest terms, printed walls plus a conventionally built everything-else.
Second, and most fundamental, concrete is weak in tension. It is strong when squeezed (compression) and weak when pulled (tension), which is why ordinary structural concrete contains steel reinforcement to carry the tension. Layered printing makes integrating that steel genuinely hard, and the printed layer interfaces add their own weak planes where beads may pull apart. Anything that must resist significant bending or pulling — a beam, a cantilever, a slab, a tall or heavily loaded wall — needs a reinforcement strategy that printing does not naturally provide. This is the central unsolved problem of the whole field, and lesson 4.3 is devoted to it. It is why binding structural questions here belong to a qualified structural engineer and certified testing, never to a demonstration video.
Third, openings and overhangs are constrained: a printer cannot bridge a window or door head without a lintel placed by other means, and steep overhangs slump. Fourth, the layer interface is a real weakness: the bond between one bead and the next, especially if a layer starts to dry before the next arrives, can be weaker than the concrete itself and can admit water, so durability and watertightness need care. And printing is sensitive to weather, scale and setting-out in ways a factory is not. None of these are reasons to dismiss 3DCP; they are the reasons to understand precisely what it is for. Print the walls and the freeform geometry; reach for conventional methods, reinforcement and engineering for everything that must span, pull or be certified safe.
The printed element inside a conventional building
Put the strengths and limits together and a realistic mental model emerges: 3DCP is not a way to print a building, but a way to form certain elements of a building — chiefly walls and bespoke components — inside a project that remains largely conventional. A typical printed low-rise project casts a conventional foundation (printing onto soft ground is not the job); prints the wall shells, often hollow with cavities for insulation, services or later filling; places lintels over openings by conventional means; adds reinforcement by one of the contested methods of lesson 4.3; then builds conventional floors, a conventional roof, runs services, and applies finishes. The print is one act in a familiar sequence, not the whole play.
This framing matters for three reasons. It keeps you honest about time and cost: the headline speed is for the wall-forming step only, while foundations, reinforcement, roof, services and finishes take their usual time and money, so a printed project is rarely as fast or cheap overall as the clip suggests. It clarifies where the value is: 3DCP earns its place where the geometry is genuinely complex or customised, where formwork would dominate cost, or where a printer solves a specific site or labour constraint — not as a blanket replacement for block-and-render or conventional reinforced concrete, which remain cheaper and better understood for ordinary boxes, especially in a labour-rich context like India. And it sets up the rest of the module: if the printed element must still be reinforced and must still carry load safely, then materials (4.2), reinforcement (4.3) and hybrids (4.4) are exactly the hard questions that decide whether a printed wall is a sculpture or a structure.
For a designer, the competent stance is to treat a printer as a sophisticated tool with a specific job: forming concrete geometry without a mould. Design to that job — plan which elements are printed and which are conventional, detail the junctions between them, and hand every load-bearing, reinforcement and code question to the structural engineer, the material specialist, the manufacturer's verified data and the governing codes. That division of labour, not the spectacle of the nozzle, is what turns printing into real buildings.
Model: a printer forms ELEMENTS (walls, components) inside a mostly conventional build. Not 'print a house' - print the walls.
Structural design of printed elements
Whether a printed wall or component can carry its loads
The strength, stability and load path of any printed element is a qualified structural engineer's determination, backed by certified testing — never inferred from a demonstration. Module 8.1.
Reinforcement strategy
Giving a printed element tensile capacity safely
Because concrete is weak in tension, any load-bearing printed element needs a reinforcement approach; how (or whether) is an engineering decision. Lesson 4.3.
Manufacturer's system and mix data
What a specific printer and concrete can actually do
Buildable height, bead size, reach, tolerances and mix behaviour are system-specific; use the equipment maker's and material supplier's verified data, not generic figures.
Codes and approval
Legal use of a printed element in a real building
Printed construction sits against the governing codes (NBC India) and local authority approval, which are still maturing for these methods. Module 8.2; illustrative here.
Workshop — dissect a 3D-printed building into printed vs conventional
The fastest way to internalise what 3DCP really does is to take one real printed-building project and separate, element by element, what the printer actually formed from what was built conventionally. You will end with a labelled section that you can trust.
Just a documented real project and something to draw a simple section on. No printer, no engineering calculation - this is about seeing the division of labour clearly.
Goal: an honest element-by-element breakdown of a real printed project
Inputs: a real 3D-printed building project you can read about (an Indian pilot is ideal) + this lesson + paper or a simple drawing tool
Time: ~45 minutes
- 1Pick one real, documented 3D-printed building (a house, office, or the Indian printed post office or printed homes are good candidates). Note the headline claim about speed or cost.
- 2Sketch a simple section through the building: foundation, walls, floor, roof, openings.
- 3Colour or label each element as PRINTED (what the nozzle actually formed) or CONVENTIONAL (cast, placed or built by other means). Be strict: foundation, floor slab, roof, lintels, services and finishes are almost certainly conventional.
- 4Mark where reinforcement is, or must be, and note that HOW it was integrated is an engineering question flagged for lesson 4.3 - do not guess a safe method.
- 5Write a short, honest caption: what the printer genuinely contributed, what the headline figure left out, and where you would want a structural engineer, testing and code approval before calling it sound.
You’ll walk away with
A labelled section of one real printed building separating printed elements from conventional ones, with reinforcement flagged and an honest note on what the headline omitted. Keep it as your reference model for reading any printed-building claim.
Three altitudes on the same idea
Read the band that fits you — or all three.
3DCP hands you formwork-free geometry — use it where geometry is the point, not as a default wall system. Curves, tapers, undulating and branching forms that formwork would price out become affordable, and you can vary them parametrically; that is the genuine design gift. But plan the building honestly: mark which elements are printed (walls, bespoke components) and which stay conventional (foundation, floors, roof, lintels, services, finishes), and detail every junction between printed and cast work. Remember the printer makes vertical shells, not slabs, and that anything spanning or in tension needs reinforcement the print does not supply. Own the form, the fit and the buildability judgement; defer all structural design, the reinforcement strategy, durability and code approval to the structural engineer, the material specialist, the manufacturer's verified data and the governing codes.
For interiors, 3DCP is a component and surface maker, not a building method — and that is where it shines. Printed partitions, screens, benches, planters, reception desks, acoustic walls, bespoke bases and sculptural elements exploit exactly its strength: complex, customised concrete geometry with no mould, each piece variable without retooling. Design to the bead: expect a visible layered texture (often a feature), plan for weight and fixing, and allow for the cavities and channels you can print in. Keep anything load-bearing, fire-rated or safety-critical with the relevant engineer, and treat printed concrete as a heavy, permanent, characterful material to be specified and detailed with care. The freedom is real; the discipline is designing pieces that are genuinely better made this way than cast or fabricated conventionally.
Learn 3DCP as the dominant-but-narrow process it really is. It extrudes stacked beads of special concrete with no formwork, straight from a sliced model, which gives it beautiful geometric freedom and removes the mould — real strengths. But it prints vertically, so it makes walls and components, not floors or roofs; concrete is weak in tension so printed elements still need reinforcement, which is genuinely hard to integrate; and the layer interface is a weak plane. A 'printed house' is printed walls plus a conventional foundation, floors, roof, reinforcement, services and finishes. Hold both halves — the real capability and the hard limits — and you will read every printed-building story accurately, which is exactly the clear-eyed literacy this course is building. The binding engineering stays with engineers, testing and codes.
“A 3D concrete printer prints the whole house — walls, floors, roof and all — straight from the model, so it replaces conventional construction.”
Do it yourself
No tools needed — reason it through.
- 1Describe, step by step, how a 3D concrete printer turns a digital model into a standing wall, and what 'no formwork' means.
- 2Name three things 3DCP genuinely does well and explain why each follows from how it works.
- 3Why can a 3D concrete printer not make a floor slab or flat roof the way it makes a wall?
- 4Why does a printed wall still need reinforcement, and what is the 'layer interface' weakness?
- 5Explain why a '24-hour printed house' is a misleading way to describe the overall time and cost of the building.
The one line to carry out
Peer-reviewed journals & authoritative standards
- 01Construction 3D printing — Wikipedia — Construction 3D printing, 2026.
- 02Contour crafting — Wikipedia — Contour crafting, 2026.
- 03Material extrusion — Wikipedia — Material extrusion, 2026.
- 04Concrete — Wikipedia — Concrete, 2026.
- 05Reinforced concrete — Wikipedia — Reinforced concrete, 2026.
If the walls are to stand, the concrete itself has to perform a near-contradiction — pumpable yet buildable, fast-setting yet strong and durable. Next we open up that material balancing act: what printable concrete really is and why it differs from ordinary concrete.
The author
Amogh N P
Architect, interior designer, and creative polymath. Studio Matrx began in his notebooks — his vision of design made honest, useful, and open to everyone. Its Academy is written and taught in his memory, and free, forever.
More about Amogh →