
Reading the Site
Seeing interior components assembled — and documenting them.
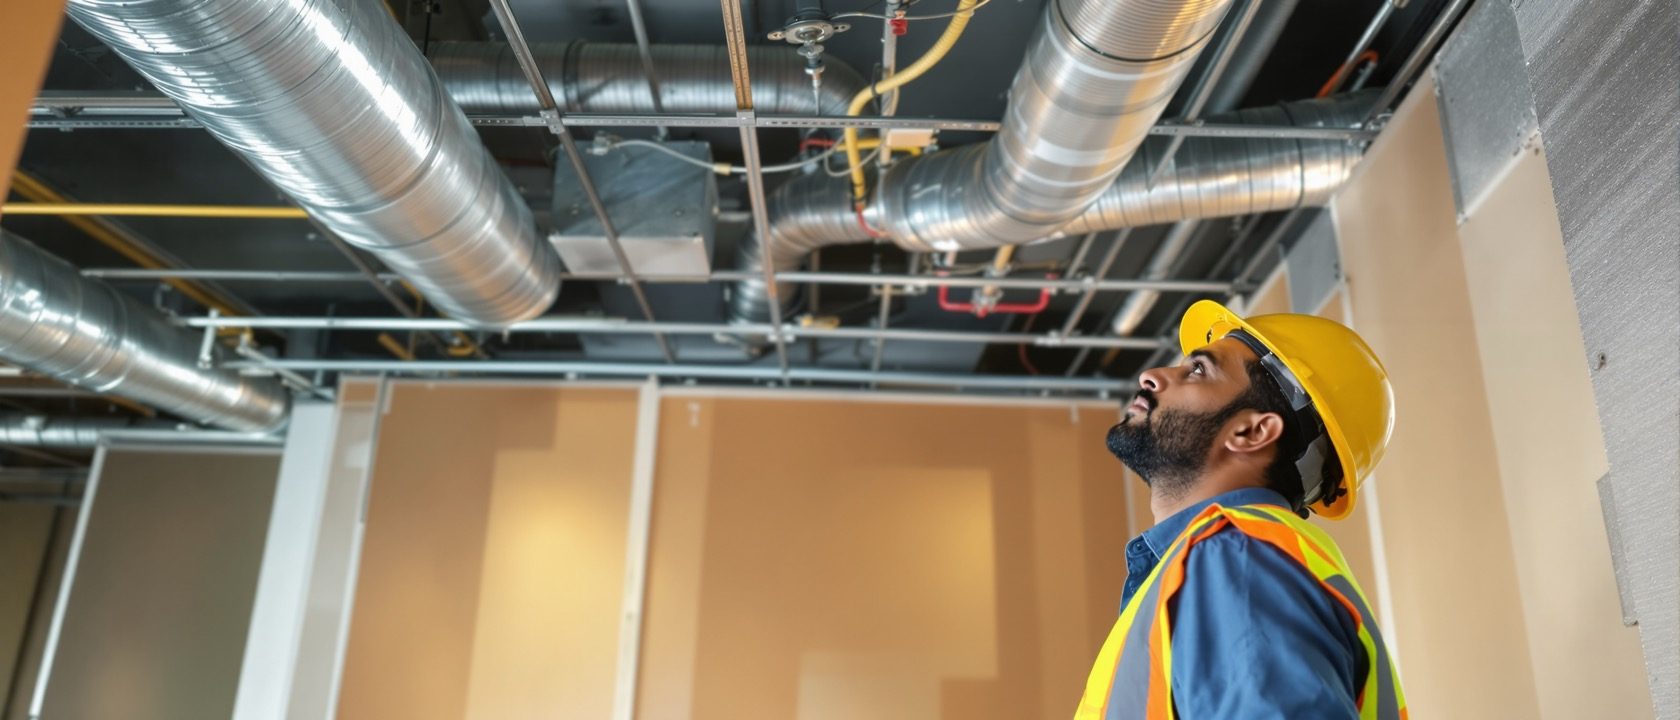
A drawing hides the sequence, the fixings and the tolerances; a live site reveals them. Learn what to observe on an interior fit-out — partitions, the false-ceiling plenum, flooring and junctions — and the sequence of trades (services first, then boarding, then finishing). What is on the drawing is not exactly what is built; that gap is the lesson.
Learning objectives
By the end of this lesson, you will be able to — mapped to the course outcomes for Interior Materials & Construction I:
Observe how partitions, false ceilings and flooring are assembled on site.
Explain the sequence of trades and why services come first.
Document a site with a dated log, measured sketches and annotated photos.
Connect what is built to the taught nomenclature and note where it differs from the drawing.
What to observe
See components being assembled — the partition frame, the ceiling plenum and its services, and how junctions terminate — and the sequence that makes an interior.[1, 3]
See it assembled
The purpose of a site visit is to see interior components BEING assembled — the sequence, fixings and tolerances a finished drawing hides. It is not a field trip: the deliverable is documentation and analysis connecting real assembly to the classroom nomenclature.[1]
Documenting the site
Record the site with a dated log, measured sketches and photos — and note where what is built differs from the drawing.[1, 2]
Log, sketch, photograph
Document with a dated LOG/journal; MEASURED SKETCHES with dimensions; ANNOTATED photographs (with permission); notes of the materials, brands and grades observed; the sequence; and a short reflective report linking observation to the taught nomenclature, plus a checklist per component.[1]
At a glance
| Aspect | One side | The other |
|---|---|---|
| A site visit | Myth: a field trip | Reality: documentation + analysis |
| The drawing | Myth: exactly what is built | Reality: site shows tolerances & substitutions |
| Sequence | Services first | Then boarding, then finishing |
| Ceiling focus | The board face | The plenum & its services above |
| Deliverable | Not just attendance | Log + measured sketches + annotated photos |
Key terms
The void above a false ceiling that carries services — the focus of ceiling observation.
Services first, then boarding, then finishing.
A dimensioned freehand site sketch recording how something is built.
Waterproofing and cement board where water is present.
The small gap between the drawn ideal and what is actually built.
A dated record of observations, sketches and photographs on a visit.
Studio task
On a live fit-out (or a detailed video), document how ONE component — a partition, a false ceiling or a floor — is assembled: a dated log, a measured sketch with dimensions, and annotated photos, naming every observed part correctly. Note one place where the build differs from a typical drawing, and why.
Self-assessment
1. On an interior fit-out, the correct sequence of trades is —
2. The 'plenum' a designer studies at a false ceiling is —
3. The main lesson of comparing a site with its drawing is that —
Recap
References & further reading
- [1]Institutional site-visit / report protocol; and David Kent, Interior Detailing (reading assemblies).
- [2]Edward Allen & Joseph Iano, Fundamentals of Building Construction: Materials and Methods, Wiley (construction sequence).
- [3]Francis D.K. Ching, Building Construction Illustrated, Wiley (assembly reference for on-site reading).
Further reading
- Edward Allen & Joseph Iano — Fundamentals of Building Construction.
- Francis D.K. Ching — Building Construction Illustrated.
- David Kent — Interior Detailing: Concept to Construction.
Sources gathered and fact-checked June 2026. Published values vary by source, sample and method — treat as indicative and confirm against the cited standard before structural use.
The author
Amogh N P
Architect, interior designer, and creative polymath. Studio Matrx began in his notebooks — his vision of design made honest, useful, and open to everyone. Its Academy is written and taught in his memory, and free, forever.
More about Amogh →