
 Lesson 5.2
Lesson 5.2 · Environmental Systems
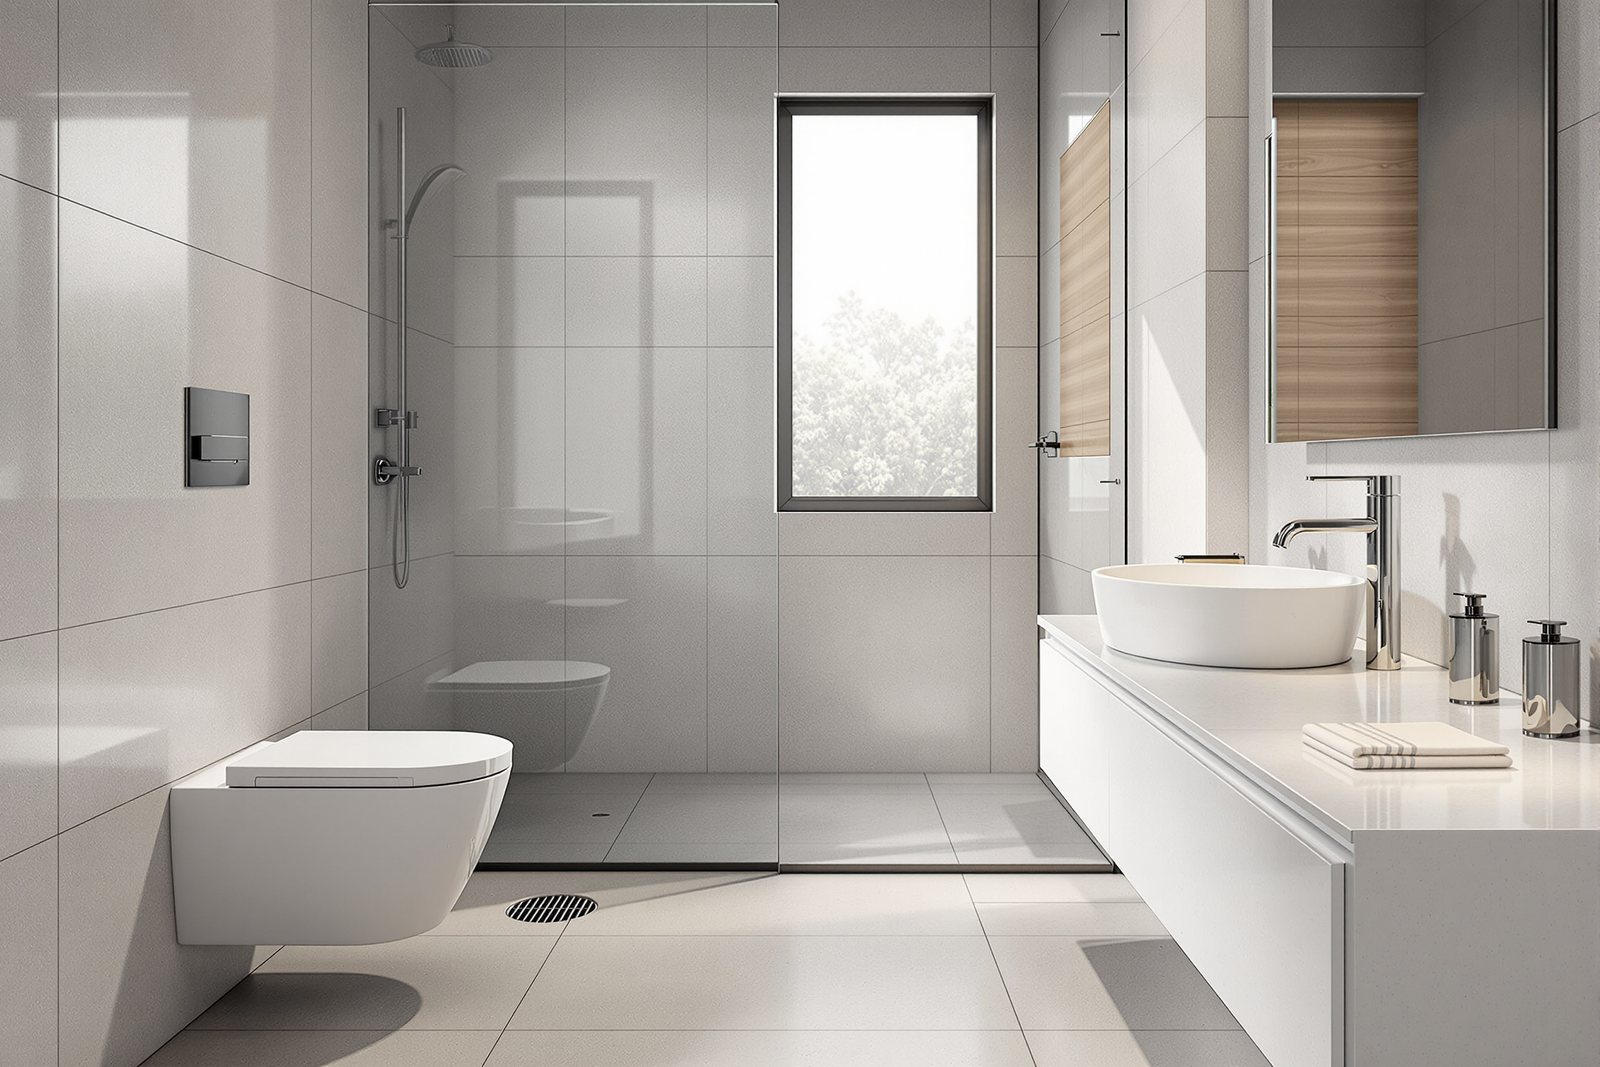
Water and Plumbing Fixtures
Clean water arrives under pressure; dirty water leaves by gravity. Learn to read both halves so your bathrooms work for thirty years.
Two pipes, two directions, one wall
Every bathroom you have ever stood in is quietly running two opposite errands at once. One set of pipes brings you clean water pushed down from the tank on your roof. Another set carries dirty water away, sliding downhill on nothing but gravity. Get the directions and the slopes right, and the room stays dry and odourless for decades. Get them wrong, and you get the smell, the gurgle, and the slow brown stain that no amount of cleaning fixes.
A cutaway of one bathroom wall: roof tank at top with a down-arrow labelled 'pressure', a thin blue supply line snaking to a tap, a fat grey drain line under a basin curving into a P-trap (water shaded in), a tiny 'sewer gas — STOP' label hitting the seal, and a slope triangle marked '1:40' on the soil pipe falling to a manhole.
The two halves never touch
Hold one idea above all others: supply and drainage are separate systems that must never meet except across the tiny air gap above a fixture. Supply is water under pressure, arriving clean. Drainage is used water leaving by gravity, carrying soap, hair, and waste. The first runs in small pipes (15 mm to 25 mm) that can climb walls and turn corners freely because pressure pushes the water along. The second runs in fat pipes (75 mm to 110 mm) that can only ever go downhill, because nothing pushes it — it falls.
This is why a tap can sit anywhere you like, but a WC pan or a floor drain is fixed the moment the slab is poured: its outlet has to line up with a drain that already falls toward the stack. When you move a basin 300 mm along a wall, the supply follows easily. When you try to move a WC 300 mm away from its stack, you are now fighting gravity, and that is a structural conversation, not a finishing one.
Where the pressure comes from: tank, sump, and head
In most Indian homes, municipal water is unreliable in both timing and pressure, so we store it. A sump (underground or ground-level) collects whatever the corporation gives, a pump lifts it to an overhead tank on the roof, and from there water flows down to every tap by gravity alone. The pressure you feel at the tap comes from head — the vertical drop from the tank's water level to the fixture. Roughly every 1 metre of height gives you about 0.1 kg/cm² of pressure. A tank 3 metres above a ground-floor shower gives a gentle, usable flow; a tank only 300 mm above a top-floor shower gives a sad dribble.
This is the single most common pressure complaint in Indian flats: the top floor's bathroom sits almost level with the tank, so it has almost no head. Designers fix it with a pressure pump on that branch, or by raising the tank on a taller stool. Know the tank height before you promise anyone a rain shower on the top floor — that big drencher head needs real head behind it or it simply weeps.
The supply tree: risers, branches, and a valve for every fixture
Trace the clean water from the tank and you get a tree. A vertical riser drops the water down through the building. Off it, branches run horizontally to each bathroom and the kitchen. Off each branch, short legs feed individual fixtures. The rule that separates an amateur layout from a professional one is simple: every fixture deserves its own accessible shut-off valve (an isolation or angle valve), and every branch deserves one too.
Why obsess over valves? Because plumbing fails, and when it does you want to stop the water to one tap — not run to the roof and drain the whole house while the family waits a day for water to refill. A leaking basin tap with its own angle valve is a five-minute fix; the same tap with no valve means shutting the main, draining the line, and a flooded floor. Insist on a valve under every basin and WC, a valve where each bathroom branch leaves the riser, and at least one drain point at the lowest part of every line so it can be emptied for repairs.
Drainage must fall — slope, the trap, and the air it needs
Drainage has one job: keep moving downhill so solids and water never separate. That needs a steady slope. For a 110 mm soil pipe a fall of about 1:40 (one unit down for every forty along) works; gentler 1:60 to 1:100 suits larger or longer runs. Too flat and the water outruns the solids, leaving them behind to block. Counter-intuitively, too steep is also bad — the water races away and abandons the solids just the same. A back-fall, where a pipe accidentally tilts the wrong way, is the worst of all: it pools, stagnates, and stinks.
Under every fixture sits the quiet hero of the whole system — the trap, a U or P shaped bend that holds a permanent plug of water called the water seal (around 50 mm deep). That little curve of trapped water is the only thing between your nose and the sewer. Foul gases from the drain push up the pipe and stop dead at the seal. This is why a floor drain in a guest bathroom you never use eventually smells: the seal evaporates, the barrier vanishes, and the sewer breathes into the room. Pour a mug of water down a forgotten drain monthly and the smell never comes. Traps also need venting — a pipe open to outside air higher up the stack — so that a big flush elsewhere doesn't suck the seal out like a straw.
The wet wall: cluster the plumbing, then budget the water
Here is the move that quietly saves money, leaks, and noise: put all the wet fixtures on one wet wall. Cluster the WC, basin, and shower against a single thickened plumbing wall, and where you have multiple floors, stack the bathrooms (and the kitchen) one above another so a single set of risers and stacks serves them all. Short pipe runs mean fewer joints, and every joint you remove is a leak you will never have. It also keeps the noisy, smelly drainage on one side and frees the rest of the room.
With the layout settled, size the demand. A standard tap can run 8–10 litres/min; an aerated low-flow tap mixes air in and gives the same satisfying jet at 4–6 litres/min. A single-flush WC dumps 10–12 litres every time; a dual-flush cistern offers 6 litres for solids and 3 litres for liquids, saving thousands of litres a month. A bucket bath uses 15–20 litres; a shower can quietly run 60+ litres if you linger. Multiply by a family and the numbers get real fast — try the Water Budget Calculator on this page: pick your taps, your WC, bucket versus shower, and your family size, and watch the household's daily litres add up so you can choose fixtures that fit your sump, your tanker bill, and your conscience.
Hands-on
Switch all three to the gentler option and watch the per-person figure fall — low-flow taps, a dual-flush WC and a bucket bath together can roughly halve a family’s water without anyone feeling deprived.
Three altitudes on the same idea
Read the band that fits you — or all three.
If you remember one thing, make it this: ask for a shut-off valve under every tap and WC. It is a tiny cost during construction and the difference between a five-minute leak fix and a flooded, water-less day. Second: keep your bathrooms stacked across floors and clustered on one wall — fight your architect on this before tiles, never after. Third: pour a mug of water down every floor drain you rarely use, once a month, and the mystery bathroom smell will never return.
On site, you own the falls. Walk the slab before the screed and confirm every floor gradient runs to the drain — chalk-line it, do not trust the mason's eye. Verify trap seals are 50 mm+ and that vents actually terminate to open air, not into a void. Coordinate the wet wall thickness early with the structural and tile drawings so chases do not eat your cover or your reveals. And specify isolation valves and clean-out (rodding) access at every change of direction — the bathroom that can be unblocked through an access panel saves you a broken floor and an angry client two years on.
Train yourself to read a plumbing layout as two overlaid trees: a thin pressurised supply tree that can go anywhere, and a fat gravity drainage tree that can only fall toward a stack. Sketch a simple two-storey house and place the sump, pump, overhead tank, riser, and one bathroom, then draw the soil stack falling to the manhole. Mark the slope as a ratio. Add a P-trap under each fixture and a vent at the top of the stack. If you can draw that from memory, you understand 90% of domestic plumbing.
“A steeper drain pipe always drains better — the more fall, the faster it clears.”
1:40 for a 110 mm line — so water and solids travel together. Self-cleansing velocity, not maximum speed, is the goal.Run the method yourself
Spend twenty minutes turning your own home into a plumbing diagram. You will never look at a bathroom the same way again.
- 1Find your overhead tank and estimate its height above your top-floor and ground-floor taps. Predict which bathroom has the weakest pressure, then go open both taps and check whether the head explains what you feel.
- 2In one bathroom, get on your knees and trace each fixture's water seal: look under the basin for the bottle/P-trap, find the floor drain, and confirm every outlet has a bend holding water.
- 3Hunt for shut-off valves under your basin and WC. If a fixture has none, note it — that is a flood waiting for a leak, and a worthy first upgrade.
- 4Open the Water Budget Calculator on this page, enter your family size and current fixtures, then switch standard taps to aerated low-flow and the WC to dual-flush. Note how many litres a day you would save.
- 5Pour a mug of water into a rarely-used floor drain and smell the room ten minutes later versus before — feel the trap seal doing its silent job.
One wall, two directions, thirty quiet years
1:40-ish slope, and a water-sealed trap to block sewer gas. Cluster fixtures on a wet wall, valve every fixture, and budget your litres.Water was the system that falls. Next we follow the system that flows the other way — invisible, instant, and unforgiving of mistakes. In **Electrical and Wireless Systems** we wire the home: circuits, loads, switch heights, and where the signal goes when the wires end.