
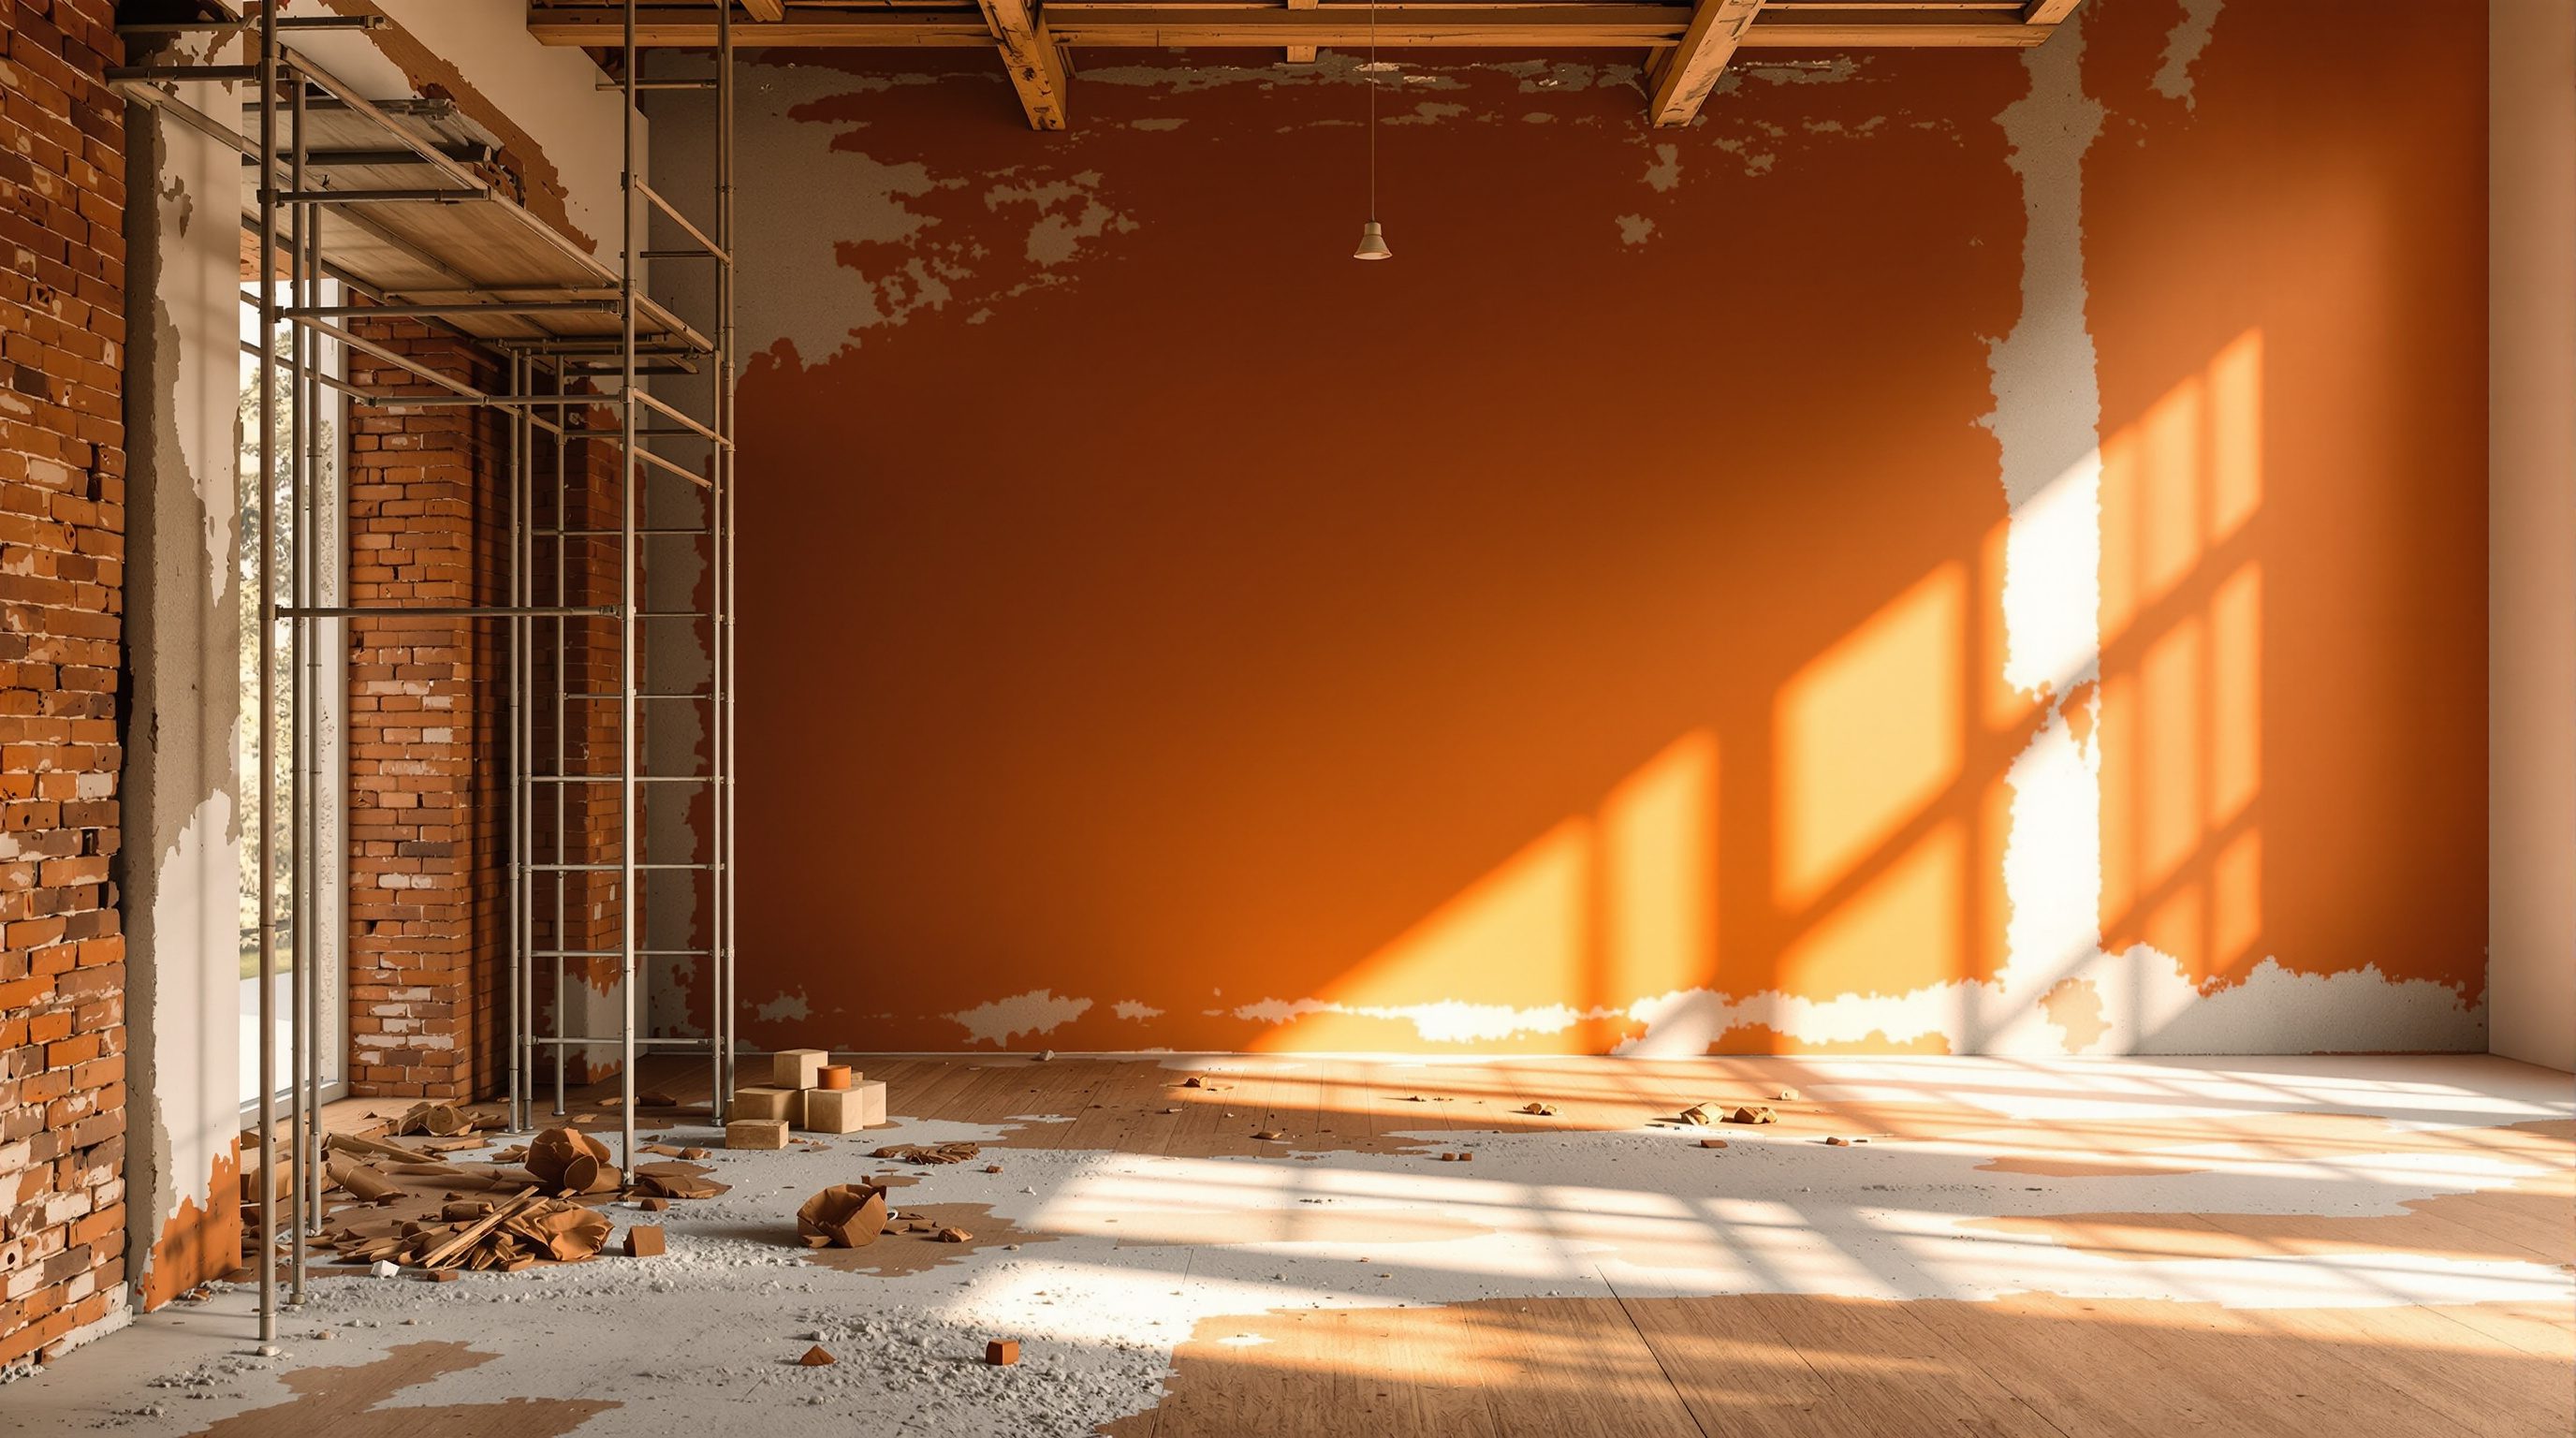
 Lesson 7.2
Lesson 7.2 · Materials, Finishes & Character
Floors, Walls & Ceilings
The three great surfaces wrap every room, cost real money and set the whole mood - so choosing and renovating them well, with durability, maintenance and the Indian climate in mind, is where most of a renovation budget and character actually lives
Floors, walls and ceilings are just three surfaces - but they wrap every room, set its whole mood, and quietly absorb much of your renovation budget.
Stand in any room and almost everything your eye and body touch is one of three surfaces: the floor underfoot, the walls around you, the ceiling overhead. Together they are the greatest area in the whole project, they set the mood of a space before a single piece of furniture arrives, and they swallow a large share of any renovation budget. Get them right - durable, well chosen, sympathetic to the building and to how the room is really used - and the rest of the renovation has a calm, coherent canvas to sit on. Get them wrong and no amount of lovely furniture or lighting will rescue the room.
The surgeon's discipline applies as much here as anywhere. Each of these surfaces is not a colour to be chosen but a build-up to be understood: a floor is a finish on a bedding on a sub-floor or slab; a wall is a finish on plaster on a substrate; a ceiling may hide a whole zone of services above it. Before you specify the new surface you must diagnose the existing one - is that floor sound and level, are those walls dry and stable, what runs above that ceiling - because the new finish will faithfully inherit every problem you fail to fix beneath it. This lesson works through the three surfaces in turn, always asking the renovator's questions: what is there now, what can I keep or must I replace, and which choice will be durable, maintainable and affordable in the real Indian climate of monsoon damp, hard use and hard water?
Surface = build-up. Diagnose base -> run services -> finish last. Choose for the monsoon, not the magazine.
Floors: working with what's underfoot
The floor is the hardest-working surface in the house and usually the costliest and most disruptive to change, so the first question is never 'which new floor?' but 'what do I actually have, and must it change at all?' Lift a corner, tap across the surface, look for cracks, hollow 'drummy' sounds, damp or unevenness. A floor that is sound, level and pleasant - an old stone, a cement-tile, a red-oxide or a genuine timber floor - is often worth keeping and simply repairing and re-polishing; you keep character, save money and spare yourself enormous dust and disruption. A floor that is sound but the wrong look can sometimes be overlaid, if you can spare the head-height. A floor that is failing - cracked, damp, drummy, or hiding a rotten sub-floor - must be taken up and relaid, and you should find out *why* it failed before you do, because damp or movement under a floor will ruin its replacement too (Modules 1 and 6).
The Indian palette of flooring is rich and each option trades off differently. Vitrified tiles are the default - cheap, hard, water-resistant, low-maintenance, endless choices - but can read as characterless and the joints collect grime. Natural stone (Kota, Kadappa, granite, marble) is beautiful and durable but heavier, costlier, and some stones stain or need sealing. IPS and red-oxide floors are seamless, traditional, lovely and economical, but need skilled labour and cure slowly. Cement/Athangudi tiles carry gorgeous pattern and heritage character. Engineered or solid wood brings warmth but demands care with water and termites in Indian conditions, so it suits bedrooms and living rooms far more than kitchens or bathrooms.
A crucial practical warning runs through all of it: a new floor, or an overlay, adds thickness, and that changes everything at the edges - door bottoms that no longer clear, thresholds between rooms, the step down to a balcony, the level at a bathroom door that must stay *lower* than the room to keep water in. Map the levels before you commit to a build-up. And match the floor to how the room is truly used: water-resistant, anti-slip and easy-clean for kitchens, bathrooms and entrances; warmer, quieter materials where people sit and rest. The right floor is the one that will still look and perform well after ten monsoons and ten thousand moppings - treat any price or thickness figure here as illustrative, as of 2026, and verify for your building.
Floor = finish + bedding + base. Diagnose the base first. A new floor adds height - check doors and thresholds!
Walls: finishes, plaster and honest repair
Walls are the largest surface of all, and the secret to a good wall finish is almost entirely in the layer you don't see: the plaster and substrate beneath it. A wall is a build-up - masonry or RCC substrate, a plaster coat to true it up, often a skim of putty, then paint or another finish - and a beautiful paint will faithfully reveal every flaw in the plaster under it, from undulations to hairline cracks to the tell-tale shadow of damp. So the renovator's work on walls begins with diagnosis: are these walls dry, stable and sound, or do they show damp patches, efflorescence (that white salty bloom), flaking, or cracks? Damp and cracks must be diagnosed and their cause fixed before you finish over them - a fresh coat of paint over rising damp or a live crack simply hides the problem for a season and then fails, wasting the work. That diagnosis belongs with a surveyor or engineer when the cause is not obvious (Modules 1 and 6).
With sound walls, your finish choices run from the everyday to the characterful. Paint over putty is the workhorse - economical, endlessly coloured, easy to refresh - and the quality lies in the preparation: well-repaired, well-sanded, properly primed walls, and a paint suited to the room (washable and anti-fungal for kitchens and damp-prone areas, exterior-grade where it belongs). Plaster finishes themselves can be the character - lime plaster, textured or polished cement, the soft depth of a traditional hand-applied finish - honest, breathable and often kinder to old masonry than a sealed modern paint. Tiling and cladding protect and define wet walls and feature walls; wallpaper, panelling and exposed brick or stone each bring their own mood.
In old buildings a special caution applies: old solid walls were often built to *breathe*, and wrapping them in modern impervious cement render or plastic paint can trap moisture and make damp worse, not better. Breathable lime-based finishes are frequently the sympathetic choice for genuinely old masonry - a point Module 10's heritage lesson develops. And whatever you choose, remember the connection to everything behind the wall: chasing in new wiring or plumbing, moving a switch, fixing heavy units - all of it happens in or on these walls, so sequence the finish *after* the services work, never before. The finish is the last, visible layer of a wall whose real quality was decided underneath it.
Ceilings and the services zone above them
The ceiling is the surface we notice least and renovate most casually, yet it quietly does a great deal of work - and in a renovation it is often the key to hiding the unglamorous services that make a modern home comfortable. The existing ceiling might be the honest underside of an RCC slab, an old timber or Madras-terrace structure, or an earlier false ceiling. As always, diagnose first: a ceiling showing damp stains, sagging, or cracks is reporting a problem above it - a leak from the flat or roof overhead, a failed waterproofing layer, structural movement - and that cause must be found and fixed before you cover it, or the new ceiling will simply stain and sag in turn.
The great renovation tool here is the false or dropped ceiling - typically gypsum board or metal-framed panels suspended below the slab - and its real value is the services zone it creates in the gap above. That concealed zone is where you can run new electrical wiring and conduits, recessed and cove lighting, air-conditioning ducts and drain lines, exhaust ducting and the like, all hidden from view - which is exactly why ceilings are so useful in a services-led renovation (the theme of Module 6). A dropped ceiling also lets you level an uneven old ceiling, improve acoustics, and create pockets for layered lighting. The cost is head-height: every centimetre you drop the ceiling is a centimetre of room height gone, and in older homes with already-modest heights that trade-off must be made deliberately, not by habit. Drop only where the services or the effect truly justify it, and keep it as tight as the ductwork allows.
Ceilings carry real climate and comfort consequences in India too. A high ceiling and a slab that is well shaded or insulated above keeps a room cooler; a poorly detailed false ceiling can trap heat or, worse, hide the early signs of a slab leak until the damage is done. Always leave access to anything that might need servicing above a false ceiling - valves, junctions, AC components - because a sealed ceiling over a joint that later leaks means tearing down finished work to reach it. And coordinate the ceiling with the walls and floor as one composition: the three surfaces together make the room, and a thoughtful ceiling - whether a crisp flush plaster finish or a considered dropped design with integrated light - is what lifts a renovated room from merely redecorated to genuinely resolved.
Durability, maintenance and cost - the Indian reality
Choosing surfaces is not only an aesthetic act; it is a long bet on durability, maintenance and cost, and in the Indian context those three stakes are high and specific. Durability must be read against real conditions: a fierce monsoon that tests every waterproofing and every breathable-versus-sealed decision; hard water that scales and stains; strong sun that fades; termites and humidity that punish timber; and the simple intensity of use in a busy Indian household. A finish that performs beautifully in a magazine may fail quickly here if it was never meant for this climate - so specify for the conditions the surface will actually live in, room by room.
Maintenance is the cost you pay forever, long after the renovation invoice is settled, and it deserves equal weight in the decision. A gorgeous material that needs sealing every year, shows every mark, or cannot be cleaned with ordinary mopping will quietly tax the household's time and money for decades. The honest questions are: how will this be cleaned, how does it age, what happens when it is chipped or stained, and can it be repaired in patches or must the whole surface be redone? Vitrified tile and good paint score high on easy maintenance; natural stone, timber and delicate plaster finishes ask for more care in return for more character. Neither is wrong - but the choice should be made with eyes open to the lifetime cost, not just the upfront look.
Cost itself must be read as a whole, not as a rate per square foot. The true cost of a surface includes preparation (often the biggest hidden item - levelling a floor, repairing plaster), the bedding and sub-layers, skilled labour (IPS, good plaster and stone-laying need real craft and command real wages), wastage, and the knock-on effects like doors that must be trimmed for a thicker floor. A cheap finish over unaddressed damp or an unlevel base is the most expensive choice of all, because it fails and must be done twice. The renovator's discipline is to spend first on getting the substrate sound and dry, then choose finishes honestly matched to the room's use, the climate and the budget - and to treat every rate, coverage or lifespan figure as illustrative, as of 2026, to be verified with a local quantity surveyor or contractor for your own building and market.
Diagnose the substrate first
Floor base, wall plaster, ceiling/slab above
Check sound, level and dry before specifying any finish. Damp, cracks, drumminess or sag must be diagnosed and their CAUSE fixed first - a finish inherits the faults beneath it. Surveyor/engineer where the cause is unclear. Modules 1 & 6.
Map levels before a floor build-up
New floors and overlays
A new floor or overlay adds thickness - check door clearances, thresholds, balcony steps, and that bathroom floors stay lower than adjoining rooms. Verify on site before committing.
Sequence: services before finishes
Walls and ceilings carrying new services
Chasing, wiring, ducting and the services zone come first; the finish is the last layer. Leave access to serviceable items above false ceilings. Licensed trades for the services work (Module 6).
Specify for the Indian climate & use
Durability and maintenance of each surface
Match finishes to monsoon damp, hard water, sun, termites and real household use. Anti-slip/water-resistant in wet zones; breathable finishes on old solid masonry. Treat all rates/lifespans as illustrative, as of 2026 - verify locally.
Workshop - a surface-by-surface plan for one real room
Surfaces are easy to think about loosely and hard to think about rigorously. In this workshop you will make a disciplined floor / wall / ceiling plan for one real room, diagnosing each build-up before choosing each finish - exactly the order a good renovation follows.
A room you can inspect, a tape measure or measuring app, and a notebook. No specialist testing - and nothing here replaces a professional's diagnosis of damp, cracks or structural loading.
Goal: a diagnosed, costed-in-principle surface plan for one room
Inputs: a real room you can inspect + tape or a measuring app + a notebook
Time: ~50 minutes
- 1FLOOR: inspect and diagnose the existing floor - sound, level, damp, drummy? Decide keep-and-repair, overlay, or remove-and-relay, and say why. If you would change it, name a finish matched to the room's use and note the head-height/threshold effect of any added thickness.
- 2WALLS: check for damp, efflorescence, flaking and cracks, and note anything whose cause needs a professional before finishing. Then choose a wall finish (paint over repaired plaster, a plaster finish, tile where wet) and note any breathability need if the walls are old solid masonry.
- 3CEILING: identify what the ceiling is and what runs (or should run) above it. Decide whether a dropped ceiling is justified by services or effect - and if so, budget the head-height cost honestly and note where service access must be left.
- 4SEQUENCE: write the order of operations for this room's surfaces, putting substrate repairs and services before finishes, and noting which steps need a licensed trade or a professional's check.
- 5LIFETIME VIEW: for each of your three finishes, note in one line how it will be cleaned, how it ages in Indian conditions, and whether it can be patch-repaired - then flag the one choice with the highest lifetime maintenance cost.
You’ll walk away with
A one-page surface plan for the room: a diagnosis and chosen finish for floor, walls and ceiling; the level/head-height checks; a correct sequence of works; and a lifetime-maintenance note. A reusable template for every room in a real project.
Three altitudes on the same idea
Read the band that fits you — or all three.
On the big surfaces your contribution is coordination and build-up: resolving floor levels, thresholds and datums across old and new; specifying plaster and ceiling systems that work with the existing structure; and integrating the services zone above ceilings with the M&E design. Watch the structural and loading implications - heavy stone flooring or a dense screed adds dead load an old floor may not have been designed for, a question for the structural engineer; and a dropped ceiling's fixings and any feature wall loads must be carried properly. Detail the junctions between the three surfaces and between old and new fabric, and specify breathable finishes where old masonry needs to breathe. Leave service access in ceilings by design, and never let a finish be sequenced before the services and substrate repairs it depends on.
The three surfaces are the heart of your craft and the bulk of the fit-out - this is where your scheme becomes real. Build a coherent material and finish palette across floors, walls and ceilings, matched room by room to use, light and budget, and hold it consistent so the home reads as one intention. Specify wisely for Indian conditions: anti-slip, water-resistant floors in wet and entry zones; washable, anti-fungal paints where damp and cooking reach; finishes whose maintenance the client can actually live with. Always confirm the substrate is sound and dry before you finish over it, and sequence finishes after services. Your great value is choosing surfaces that are as durable and low-maintenance as they are beautiful - and steering clients away from high-maintenance choices they will come to resent.
Learning to see each surface as a build-up, not a colour, is one of the most useful mental shifts in this whole course. Practise it: in any room, mentally peel back the floor to its bedding and base, the wall to its plaster and substrate, the ceiling to the slab and services above. Learn the real Indian material palette - vitrified tile, Kota and Kadappa and granite, IPS and red-oxide, Athangudi tiles, lime and cement plaster, gypsum ceilings - and what each costs in money, maintenance and craft. Understand why diagnosis comes first (a finish inherits the faults beneath it) and why finishes are sequenced after services. You are not expected to specify a waterproofing system or judge a floor's loading - that is for professionals - but you should understand the decisions well enough to design and sequence them sensibly.
“Renovating a room's surfaces is mostly about choosing nice colours and materials - pick a tile you like, a paint shade, a ceiling design, and get it installed. The finish is what matters.”
Do it yourself
No tools needed - reason each one through.
- 1Explain why each of the three surfaces is a 'build-up' and why that means you diagnose before you choose a finish.
- 2Give three Indian flooring options and the durability/maintenance trade-off of each.
- 3Why must damp and live cracks be diagnosed and fixed before a wall is finished over?
- 4What is the real value of a dropped ceiling in a renovation, and what is its cost?
- 5List the three stakes - durability, maintenance, cost - and explain why 'cost' means more than the rate per square foot.
The one line to carry out
Peer-reviewed journals & authoritative standards
- 01Flooring — Wikipedia — Flooring, 2026.
- 02Wood flooring — Wikipedia — Wood flooring, 2026.
- 03Plaster — Wikipedia — Plaster, 2026.
- 04Tile — Wikipedia — Tile, 2026.
- 05Paint — Wikipedia — Paint, 2026.
We have chosen and sequenced the big surfaces; but some of what an old home offers cannot be bought at any tile shop - its original features, craftsmanship and patina. Next we learn to recognise and conserve the character and detail worth keeping.
The author
Amogh N P
Architect, interior designer, and creative polymath. Studio Matrx began in his notebooks — his vision of design made honest, useful, and open to everyone. Its Academy is written and taught in his memory, and free, forever.
More about Amogh →