
Project — 3D Model & AI Rendering
Model a residence, then render it with AI — the whole pipeline, end to end.
The capstone brings it all together: model a residence in 3D, then render it through AI tools. Learn the seven-step pipeline — model, camera, export, generate, iterate, post-process, verify — and the anatomy of an architectural-visualization prompt that gets you the image you intended. The thread throughout: AI accelerates the picture, but you remain the architect who checks it.
Learning objectives
By the end of this lesson, you will be able to — mapped to the course outcomes for Design of Structures I:
Carry a residence from a 3D model to a finished AI-assisted render.
Run the pipeline — model, camera, export, generate, iterate, post-process, verify.
Write an effective architectural-visualization prompt.
Judge where AI helps and where human review is non-negotiable.
The project pipeline
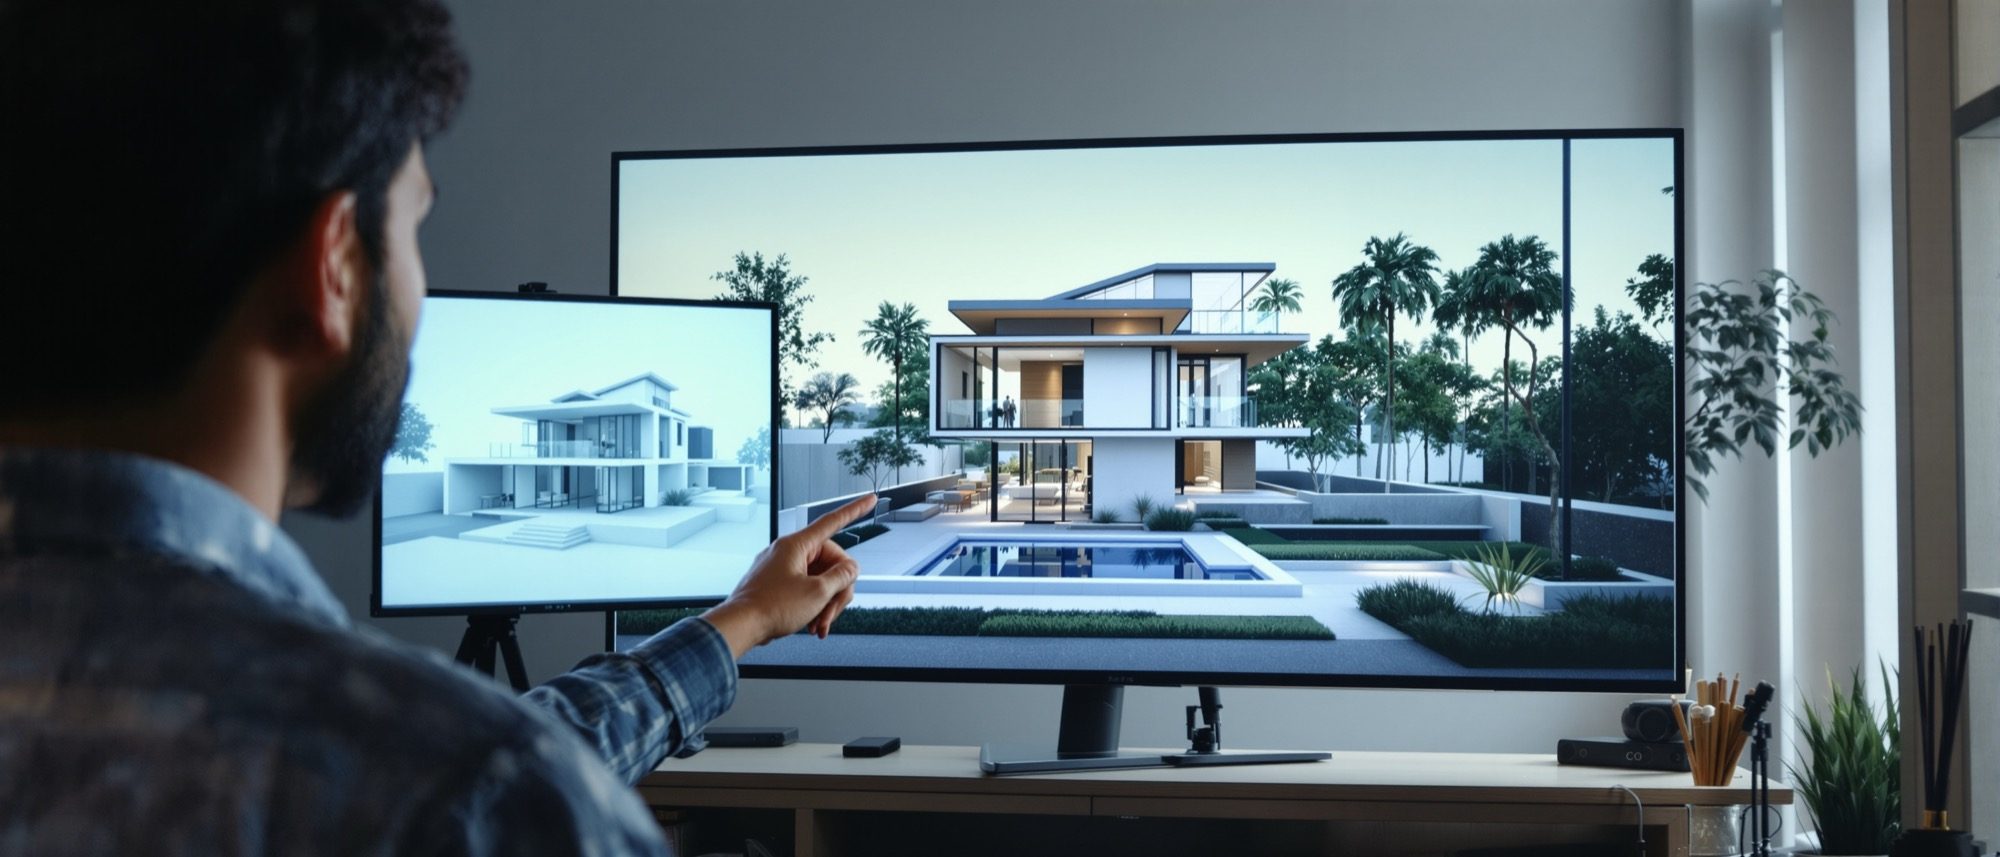
Model cleanly, set a two-point camera, export the views, generate with AI (a plugin, or Stable Diffusion + ControlNet to keep your geometry), iterate with control, post-process — and verify before anything reaches a client.[1, 2, 3]
Build it, frame it
Model the residence cleanly in SketchUp — massing, openings, roof, basic materials, a little context. Then set the camera: two-point perspective with verticals kept vertical, and pick the hero views. A clean model and a good camera do most of the work before any AI is involved.[1]
Writing the prompt
A good arch-viz prompt is layered: building type, then style, then named materials, then lighting and mood, then the camera and quality. Specific beats vague — and lighting is the biggest lever of all.[2]
What and in what manner
Start macro: the building type (single-family residence, apartment, café) and the architectural style (modern minimalist, brutalist, Scandinavian, vernacular Indian, biophilic). These set the whole character before any detail.[2]
Build a prompt
Assemble an architectural-visualization prompt from the components and copy it. Paste it into MidJourney, Stable Diffusion or Firefly — remembering the result is ideation, not a measured drawing.[2, 3]
AI-visualization prompt builder
Your prompt
A modern minimalist single-family residence of board-formed concrete and glass, golden-hour sunset, serene and calm atmosphere, eye-level two-point perspective, 24mm — photorealistic, architectural photography, 8K.
Built macro → micro. Paste into MidJourney, Stable Diffusion or Firefly — but remember the result is ideation, not a measured drawing.
At a glance
| Aspect | One | The other |
|---|---|---|
| Plugin vs ControlNet | Veras/D5: capture viewport, render your model | SD + ControlNet: depth/line export guides the image |
| High vs low adherence | High: faithful to geometry, less invention | Low: more creative, may drift from the design |
| Same seed vs new seed | Same seed: consistent, controlled studies | New seed: fresh variations to explore |
| Generate vs verify | AI makes the image fast | The architect checks floors, openings, proportions |
| Vague vs specific prompt | Vague: generic, unpredictable | Specific: named materials, light, lens → intended image |
Key terms
The end-to-end sequence: model → camera → export → generate → iterate → post → verify.
How closely an AI render follows your geometry vs invents freely.
An image encoding distance from the camera, used by ControlNet to respect spatial relationships.
The random starting value; the same seed re-creates a consistent image for controlled studies.
Text telling the model what to avoid (artefacts, extra storeys, blur).
Re-generating or fixing only a selected part of an image.
Subject → style → materials → lighting → mood → camera → quality, macro to micro.
The mandatory check that an AI image is dimensionally and architecturally sound before use.
Project brief
Model a small residence, choose two hero views, and produce one AI-assisted render of each — one exterior at golden hour, one interior. Use the prompt builder above to draft your prompt, then verify the result: count the floors and openings, and confirm the design intent survived. Submit the model, the prompts and the final images.
Self-assessment
1. In an AI arch-viz render, what does the adherence/strength slider control?
2. A reliable limitation of AI renders for architecture is that they —
3. The single biggest lever for mood and realism in an arch-viz prompt is —
Recap
References & further reading
- [1]SketchUp-to-AI render workflow (viewport capture, geometry-preserving) — EvolveLAB Veras / D5. https://www.evolvelab.io/veras
- [2]Anatomy of an architectural-visualization prompt — Apatero / BibLus. https://apatero.com/blog/best-prompts-architecture-visualization-renderings-2025
- [3]Limits of AI renders for architecture — ideation not documentation. https://www.pelicad.com/blog/ai-renders-architecture
- [4]Stable Diffusion + ControlNet architectural workflow — Archgyan. https://archgyan.com/stable-diffusion-architectural-rendering-open-source/
Further reading
- Mohammed Saleh Uddin, Digital Architecture — 3D Computer Graphics from 50 Top Designers.
- Clark Cory, Scott Meador & William Rosi, 3D Computer Animated Walk-Throughs. McGraw-Hill.
- Vendor & community docs: EvolveLAB Veras, D5 Render, Stable Diffusion ControlNet guides.
Sources gathered and fact-checked June 2026. Published values vary by source, sample and method — treat as indicative and confirm against the cited standard before structural use.
The author
Amogh N P
Architect, interior designer, and creative polymath. Studio Matrx began in his notebooks — his vision of design made honest, useful, and open to everyone. Its Academy is written and taught in his memory, and free, forever.
More about Amogh →