
Plugins for SketchUp, Rhino & Revit
The render that starts from your model, not from a blank prompt — one AI engine sitting inside every CAD you already drive.
You already drew the building. Why are you describing it to a blank box?
Most text-to-image AI starts from nothing — you type a courtyard house and it invents one, walls and windows wherever the model finds them plausible. That is fine for a mood board and useless when you have already modelled the actual courtyard, with the actual setbacks, in Revit. The plugin family fixes exactly this. Veras opens inside your CAD, reads your real 3D geometry, and renders _that_ — your massing, your openings, your proportions — while you prompt only for materials, light and style. The building stays yours. The AI just dresses it. For a working architect that is the difference between a toy and a tool.
Your geometry is the base layer; the prompt only styles it
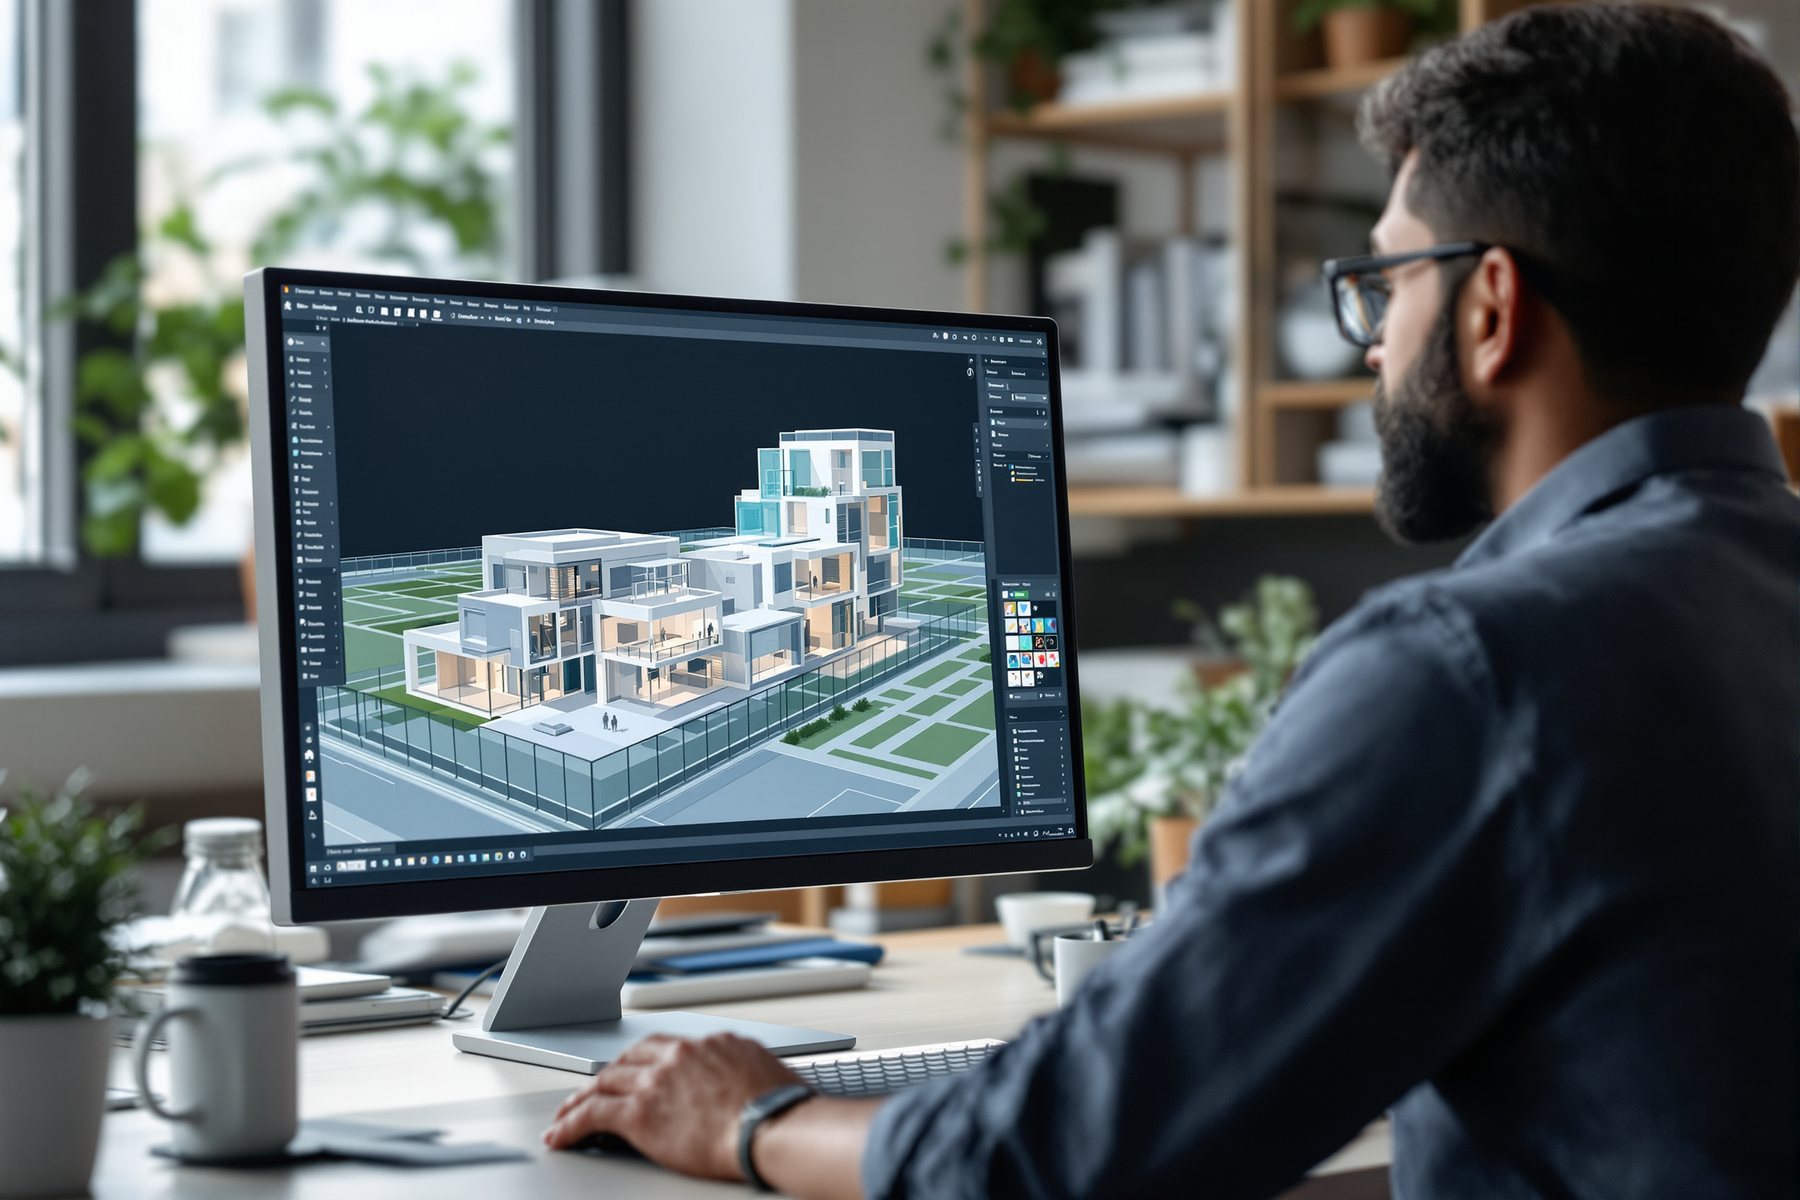
Veras is the cross-platform, BIM-integrated render plugin
The signature tool here is Veras, from EvolveLAB and now part of Chaos (the Enscape family). As of 2026 it runs as a plugin across the CADs architects actually use: Revit, SketchUp (2021 to 2025), Rhino, ArchiCAD and Vectorworks, plus a web version. One engine, five hosts. Whatever you model in, Veras meets you there.
The defining trait is in the landscape one-liner: it uses your actual 3D geometry as the base. This is not text-to-image inventing a building from scratch. It is image-from-model: the plugin takes the depth, edges and masses of what you drew and renders a photoreal image constrained to that shape. You prompt for materials and mood, not for walls. That constraint is the whole value. It is the cleanest expression of the course spine for rendering — you model first, the AI does the viz pass, and a human stayed in the loop for every dimension that matters because you drew them.
Constraining the AI to your geometry is what makes it usable for real projects
Pure text-to-image (Module 2's territory) is a plausibility machine with no anchor: ask for 'modern villa' twice and you get two different buildings. Brilliant for divergence, hopeless when the building is decided. Veras anchors the plausibility machine to your decided geometry, so every render is the same building, just re-skinned.
That unlocks the things a text prompt can't give you: consistent massing across views, openings exactly where your setbacks put them, a stair that lands where you drew it. The AI's freedom is spent on the layer where freedom helps — finish, light, atmosphere — and removed from the layer where it hurts. Compare this with Studio Matrx's own Design Ideas recolour, which uses FLUX Kontext to change a wall colour while keeping the room: same philosophy, different scale. Lock the geometry, free the surface. LookX and Vizcom sit nearby for sketch and massing-led work, but for 'I have a finished model and need a render', the BIM-integrated plugin is the straight path.
Installing is trivial; getting a good render is about a structured prompt
Setup is genuinely a five-minute job: install the plugin for your CAD, open your model, frame the view you want, and hit the Veras button. The render opens on your geometry. The skill is not installation. It is the prompt.
A weak prompt ('make it nice') wastes the geometry advantage. A strong prompt follows a structure you'll reuse: materials (laterite, teak, terrazzo), light (warm late-afternoon, overcast), style (calm minimal, lush tropical-modern), quality (photoreal, sharp). Then you adjust a stylize or influence slider that decides how far the AI may stray from your geometry — low keeps it faithful, high gets more dramatic and more invented. As of 2026 render plugins like this sit in the EUR 25 to 60 per user per month band, with AI-BIM platforms reaching EUR 100 to 250 for the heavier generative-design tools. Start low on the influence slider until you trust the engine on your own model.
Low influence = my building, nicely lit. High influence = the AI's building, loosely inspired by mine. Know which you asked for.
This is the render path that fits a documented practice. Because Veras renders your Revit or Rhino geometry, the image and the sanction set come from one model — no drift between the pretty picture and the buildable drawing. Keep the influence slider low so the render stays faithful to your massing, setbacks and openings; you want a render the client can trust to be the building, not a loosely-inspired fantasy. The AI dresses surfaces and light; you still own every dimension, because you drew them. That is the cleanest 'AI as the intern' arrangement in the whole rendering chapter.
Model the room once in SketchUp — the real joinery layout, the real ceiling, the real window — then let Veras re-skin it across palettes without re-modelling. That is the interior dream: ten finish directions on the _same_ true room, so the client compares apples to apples instead of ten different rooms. Keep it faithful with a low influence setting so the proportions stay real, and remember the surfaces it generates are mood, not products. Source the actual veneer, stone and fabric afterward from a costed schedule.
A plugin removes the single biggest solo time-sink: the export-and-resync dance between modeller and renderer. Install Veras into the one CAD you already know, and your render lives on your model with no second app to manage. Start with the web version or a trial before committing a seat. Learn the prompt structure — materials, light, style, quality — once, save your best prompts as a personal library, and you'll produce firm-grade renders single-handed. Depth in one plugin beats a drawer full of half-learned tools.
Veras (EvolveLAB / Chaos)
Cross-platform BIM-integrated AI render plugin
Plugin for Revit, SketchUp (2021 to 2025), Rhino, ArchiCAD, Vectorworks, plus web. Uses your actual 3D geometry as the base; prompt for materials, mood and style. Best when you model first and the AI does the viz pass; high influence settings start inventing geometry, so keep it low for faithful work.
LookX
Architecture-trained sketch/massing render
Trained on architectural geometry and structural logic, so it holds 'architectural correctness' from a sketch, massing or clay model. Strong earlier in the process than a finished-model plugin; less about re-skinning a documented BIM model.
Vizcom
Sketch-to-render with high designer authorship
Product/automotive roots, used in architectural concept; you keep strong control of the line and composition. A concept-stage companion to a plugin, not a replacement for model-based rendering.
Studio Matrx Design Ideas (recolour)
Geometry-locked surface edit (FLUX Kontext)
Same lock-the-geometry, free-the-surface idea at room scale — changes a wall or finish while keeping the space. A live, free example of why constraining the AI to real geometry works.
“An AI render plugin will design and render the whole building for me from a prompt.”
A BIM-integrated plugin like Veras does the opposite of designing for you — it renders the building _you_ already modelled. It reads your real geometry as the base and only generates the surface layer: materials, light, mood. It will not invent your plan, fix your massing or know your setbacks; those came from your model. If you push the influence slider high it starts inventing geometry and you lose the very faithfulness that made it useful. You model first; the plugin does the viz pass.
Workshop — your first plugin render off your own model
You will take one model you already have, render it in a BIM-integrated plugin, and learn the prompt structure and the influence slider by feeling them move. The point is a render that is unmistakably _your_ building, just dressed.
One model in Revit, SketchUp, Rhino, ArchiCAD or Vectorworks. A Veras trial (or its web version). Optional: Design Ideas for a free recolour warm-up.
PROMPT STRUCTURE (fill the four slots, keep it ASCII):

MATERIALS: laterite stone plinth, teak screens, kota floor
LIGHT:     warm late-afternoon sun, soft long shadows
STYLE:     calm tropical-modern, restrained, residential
QUALITY:   photorealistic, sharp, architectural photography

INFLUENCE / STYLIZE SLIDER: start LOW (faithful to geometry)
- 1Install the Veras plugin for your CAD (or open its web version) and open the model you want to render.
- 2Frame one strong view — the entrance, a courtyard, a key interior — and lock the camera. You are rendering this geometry, so the composition is decided by your model.
- 3Prompt using the four-slot starter: fill materials, light, style and quality. Resist a vague 'make it nice'.
- 4Render with the influence/stylize slider set LOW. Confirm the openings, massing and proportions still match your model. If they drifted, the slider was too high.
- 5Push the slider higher on a second render and watch the AI start inventing geometry. Note the exact point where it stops being your building.
- 6Re-prompt the same view with a different light and style line only — late-afternoon to overcast monsoon — keeping materials fixed, to see how much mood you can change without touching the geometry.
- 7Save your two best prompts to a personal library and write the influence value that kept the render faithful on your model.
You’ll walk away with
A photoreal render generated directly from your own model geometry, a tested four-slot prompt you can reuse, and a noted influence-slider value that keeps a render faithful to your design.
A quick comparison if you have five minutes.
- 01Render the same view twice at the same low influence — notice it stays the same building, unlike text-to-image which invents a new one each time. That is the geometry lock working.
- 02Run a Design Ideas recolour on a room photo to feel the same lock-geometry, free-surface idea at the smallest scale.
A BIM-integrated plugin like Veras anchors the plausibility machine to your real geometry and lets the AI dress only the surface — materials, light, mood. That is what makes AI rendering usable on decided projects: same building, re-skinned, consistent across views. Setup is a button; the craft is a structured prompt and a low influence slider that keeps the render faithful to what you drew.
Veras runs inside Revit, SketchUp, Rhino, ArchiCAD and Vectorworks and renders your actual geometry — you prompt only materials, light, style and quality. Keep the influence slider low for faithful, deliverable renders; push it high and it starts inventing geometry. Lock the geometry, free the surface — the same idea as Design Ideas recolour, scaled up.
Which CADs does the Veras AI render plugin work with?
As of 2026 Veras runs as a plugin for Revit, SketchUp (versions 2021 to 2025), Rhino, ArchiCAD and Vectorworks, plus a web version. One engine across five hosts, so whatever you model in, it renders your actual geometry there without a separate export.
Does an AI render plugin use my real model or invent a new building?
A BIM-integrated plugin uses your real 3D geometry as the base. It reads the masses, edges and openings you modelled and renders that, while you prompt only for materials, light and style. It only starts inventing geometry if you push the influence or stylize slider high — keep it low and the render stays faithful to your design.
How do I prompt a render plugin well?
Use a structure, not a vague request. Fill four slots — materials (laterite, teak, terrazzo), light (warm late-afternoon, overcast monsoon), style (calm minimal, tropical-modern) and quality (photorealistic, sharp) — and keep the influence slider low so the AI stays on your geometry. Save your best prompts as a reusable library so good renders become repeatable rather than lucky.
_One faithful render is a craft; turning out a deck of them without losing days is a workflow — next, the iteration loop that does exactly that._