
Screen Printing
A different tool — flat, even, and for different work
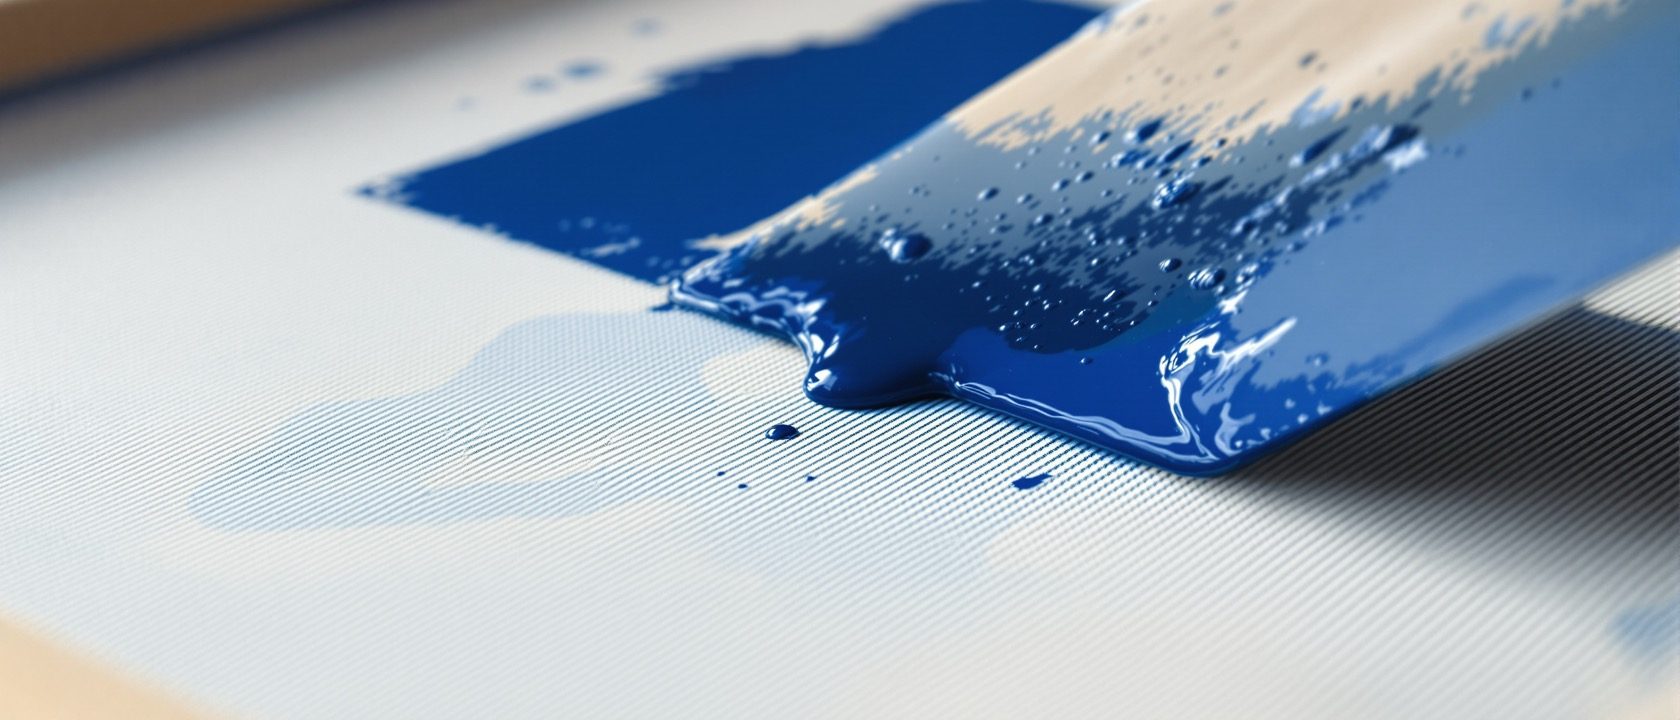
Screen printing pushes ink through the open areas of a mesh screen with a squeegee, laying flat, even colour — a different mechanism from the block’s stamp. The screen is prepared by stencil or photo-emulsion; multi-colour work uses one screen per colour, aligned by registration. And ‘screen is better than block’ is a myth: they are different tools for different work, and digital printing has not made either pointless.
Learning objectives
By the end of this lesson, you will be able to — mapped to the course outcomes for Advanced Workshop:
Explain how a screen is prepared and how the squeegee lays flat, even colour.
Register one screen per colour to build a multi-colour print on paper and fabric.
Distinguish screen from block printing and choose the right method for the work.
What screen printing is
Screen printing pushes ink through the open areas of a fine mesh screen onto the cloth below; the non-design mesh is blocked. Where the block stamps colour from a relief, the screen pushes it through a stencil — a flatter, more even result, beautiful on paper and fabric.[1]
Pushing ink through a mesh
SCREEN PRINTING lays colour by pushing ink through the open areas of a fine mesh SCREEN. The screen is a frame with a taut mesh; the non-design areas of the mesh are BLOCKED so ink cannot pass; where the design is, the mesh is OPEN. Ink is placed on top, and a SQUEEGEE drags it across, forcing it through the open mesh onto the cloth or paper BELOW. The result is a flat, EVEN layer of colour in exactly the design's shape. Where the block STAMPS colour on from a relief surface, the screen PUSHES colour through a stencil — a completely different mechanism, giving a different, flatter, more even result. It prints beautifully on both PAPER and FABRIC, and is the method behind many wall hangings.[1]
Preparing the screen
The heart of the craft is preparing the screen so ink passes only through the design. A stencil suits bold shapes; photo-emulsion is precise — the mesh is coated, the design exposed with light, and the design areas washed out to open mesh — allowing fine lines and photographic detail. A bad screen prints badly, however good the stroke.[1]
Blocking the mesh to the design
The heart of screen printing is PREPARING the screen so ink passes ONLY through the design. There are two main ways. A STENCIL — a cut shape stuck under the mesh — is simple and good for bold shapes. PHOTO-EMULSION is more precise: the mesh is coated with a light-sensitive emulsion, the design is exposed onto it with light, and the unexposed (design) areas wash out to leave open mesh, while the rest hardens and blocks the ink. Photo-emulsion allows fine lines, photographic detail and complex artwork that a carved block or a cut stencil cannot. Preparing the screen well — clean, accurate, properly blocked — is most of the craft; a bad screen prints badly no matter how good the squeegee stroke.[1]
The squeegee and registration
The squeegee is drawn across in one firm, even stroke, pushing ink through in a single flat pass; consistency of pressure gives consistency of print. Multi-colour work uses one screen per colour, aligned by registration — the skill, exactly as with block printing’s blocks.[1]
One stroke, and one screen per colour
With the screen prepared, PRINTING is a disciplined action. Ink is laid along the top, and the SQUEEGEE is drawn across in one firm, even STROKE, pushing ink through the open mesh in a single flat pass. Consistency of pressure, angle and speed gives consistency of print. For MULTI-COLOUR work, there is ONE SCREEN PER COLOUR — the design is separated into its colours, a screen made for each, and the colours printed one after another, each ALIGNED to the last by REGISTRATION marks. Getting the registration right — so the colours sit exactly where they should — is the skill, exactly as with block printing's blocks. Flat screens print by hand; ROTARY screens print continuous fabric at industrial speed on the same principle.[1]
Block vs screen
‘Screen is better than block’ is a myth: they are different techniques with different aesthetics, each for different work. Block gives hand-mark character and small units; screen gives flat even coverage, large flats and fine detail. And digital printing, fast and photographic, has not made either pointless — the skill is choosing the method.[1]
Each suited to different work
'Screen printing is just a cheaper or better block printing' is a MYTH. They are DIFFERENT techniques with different AESTHETICS, and each suits different work. BLOCK printing stamps from a carved relief: it gives a hand-mark CHARACTER, small repeating units, the warmth and slight irregularity of the handmade, and it is unbeatable for traditional, crafted, small-run textiles. SCREEN printing pushes through a stencil: it gives FLAT, even coverage, large solid areas, fine and photographic DETAIL, and it scales to larger runs. Neither is 'better' — a bold contemporary cushion in flat colour wants a screen; a traditional Ajrakh-style yardage wants the block. And DIGITAL printing, fast and photographic, has not made either pointless. The skill is CHOOSING the method for the work, the aesthetic and the meaning.[1]
At a glance
| Aspect | The fact | The folklore |
|---|---|---|
| Screen printing works by | Pushing ink THROUGH open mesh with a squeegee | Stamping from a relief block |
| The screen is prepared by | Stencil or photo-emulsion, blocking the non-design mesh | Carving wood |
| Photo-emulsion allows | Fine lines and photographic detail a block can't | Only bold shapes |
| Multi-colour needs | One screen per colour, aligned by registration | One screen for everything |
| Screen gives | Flat, even coverage and large flats | The hand-mark of a block |
| 'Screen is better than block' | A myth — different tools, different work; each has its place | True — screen replaces block |
Key terms
A frame with a taut fine mesh, blocked in the non-design areas so ink passes only through the open (design) mesh onto the cloth or paper below.
A rubber blade drawn across the screen in one firm, even stroke to push ink through the open mesh — consistency of pressure, angle and speed gives a consistent print.
Two ways to block the mesh: a cut stencil (simple, bold shapes) or a light-sensitive photo-emulsion (fine lines and photographic detail exposed with light and washed out).
Aligning each colour's screen exactly to the last using registration marks, so a multi-colour print's colours sit precisely where they should.
Flat screens print by hand, one stroke at a time; rotary screens print continuous fabric at industrial speed on the same push-through principle.
Different techniques, not one better: block gives hand-mark character and small units; screen gives flat even coverage, large flats and fine detail — each for different work.
Study task
Plan the same motif you carried through block printing as a screen print instead. Decide how you would prepare the screen — a cut stencil for bold shapes, or photo-emulsion for fine detail — and why. Describe the squeegee stroke and, for a two-colour version, how you would separate the colours into two screens and register them. Then compare honestly: for this design, would block or screen printing be the better choice, and why — thinking about the aesthetic (hand-mark vs flat coverage), the run size and the meaning? Remember neither is simply ‘better’. The goal is to hold both techniques in your hand and choose the right tool for the work.
Self-assessment
1. How does screen printing lay colour?
2. What does photo-emulsion let you do that a carved block or stencil cannot?
3. How is a multi-colour screen print made?
4. Is screen printing simply better than block printing?
Recap
References & further reading
- [1]June Fish, Designing and Printing Textiles, and R. W. Lee, Printing on Textiles by Direct and Transfer Techniques — screen printing: preparing the screen (stencil, photo-emulsion), the squeegee, registration and printing on paper and fabric. https://www.crowood.com/
Further reading
- June Fish, Designing and Printing Textiles, The Crowood Press.
- R. W. Lee, Printing on Textiles by Direct and Transfer Techniques, Noyes Data Corporation.
Sources gathered and fact-checked June 2026. Published values vary by source, sample and method — treat as indicative and confirm against the cited standard before structural use.
The author
Amogh N P
Architect, interior designer, and creative polymath. Studio Matrx began in his notebooks — his vision of design made honest, useful, and open to everyone. Its Academy is written and taught in his memory, and free, forever.
More about Amogh →