
 Lesson 5.2
Lesson 5.2 · The keystone
Storage Where the Levers Left Room
You don't need to bolt storage onto a finished home. The three levers already opened the places — the cleared floor, the convertible's partner, the height above. This lesson is a tour of the storage you've been building all along.
The best storage in a small home is rarely a thing you buy and stand in a corner. It's the space the design already made — under, behind, above, and inside the moves you made for other reasons. You've been building storage this whole course without calling it that.
In Lesson 5.1 we said storage is a system, and that the three levers largely build it. This lesson makes that concrete: a tour of exactly where Subtract, Layer and Extend each left room to store things — and how to fill each kind of space well.
The reframe is freeing. Instead of "where do I add storage?" — which leads to bought cupboards crowding a cleared room — you ask "where did the design already leave room?" The answer is: almost everywhere, if you know where to look.
Read your home for hidden storage
Beyond the obvious cupboard, a small home holds storage in five places — each opened or revealed by a lever. Trained to see them, you'll find capacity you didn't know you had.
Notice how little of this is "buy a cupboard." Four of the five are spaces the design opened — you're occupying storage, not adding it. Only the freed floor invites a bought piece, and Subtract is what made room for it to sit without crowding.
| Hidden place | Lever / what it holds best |
|---|---|
| Under — beds, benches, seating, stairs | Layer — Bulky, occasional: bedding, luggage, off-season |
| Inside — the convertible's own body, ottomans | Layer — The props that piece displaces — at the point of use |
| Above — high band, lofts, over doors | Extend — Rarely-touched: suitcases, festival items, archives |
| Within walls — niches, the depth of a partition | Subtract — Books, the pooja niche, display, slim daily items |
| The freed floor — room for one good cupboard | Subtract — The daily-use core: clothes, the things at hand |
The right place for the right thing
With five kinds of space and a houseful of things, the skill is matching them — using the two rules from earlier in the course. Get the match right and everything has a home that it actually returns to.
Frequency sets height. The reach rule from Lesson 3.1, applied to storage: daily things at hand height, weekly things a reach away, seasonal and archive things up high or deep under. Never put the daily kettle in the loft or the once-a-year trunk at eye level.
Point-of-use sets location. The co-location rule from Lesson 4.3: a thing's home should be where it's used. Bedding by the bed-fold, spices by the stove, shoes by the door, the laptop by the desk. A home far from use is a home that gets skipped.
Bulk sets the kind of space. Big and occasional goes under or above (beds, lofts); small and daily goes within reach (niches, the daily cupboard, drawers). Matching bulk to space stops you wasting prime, reachable storage on things you touch twice a year.
Go deeper — storage you don't see is storage that works
There's a quiet hierarchy professionals use: the best small-home storage is invisible (inside the bench, under the bed, in the wall), the next best is integrated (a built-in that reads as architecture, like a storage wall), and the weakest is applied (a standalone cupboard parked in the room). The reason isn't only looks — invisible and integrated storage doesn't consume visual space, so a room stays calm and feels larger even while holding more. A wall of mismatched plastic boxes stores things and shrinks the room; a storage wall stores the same things and disappears.
This is why the lever-built storage is so powerful: almost all of it is invisible or integrated by nature. The under-bed drawer, the high band, the niche, the bench — none of them adds a visible object to the room. You end up with a home that holds far more than it appears to, which is exactly the felt-space win from Module 2. Storage and the Extend lever quietly reinforce each other: the less your storage shows, the larger your cleared room keeps feeling.
Where each lever left room
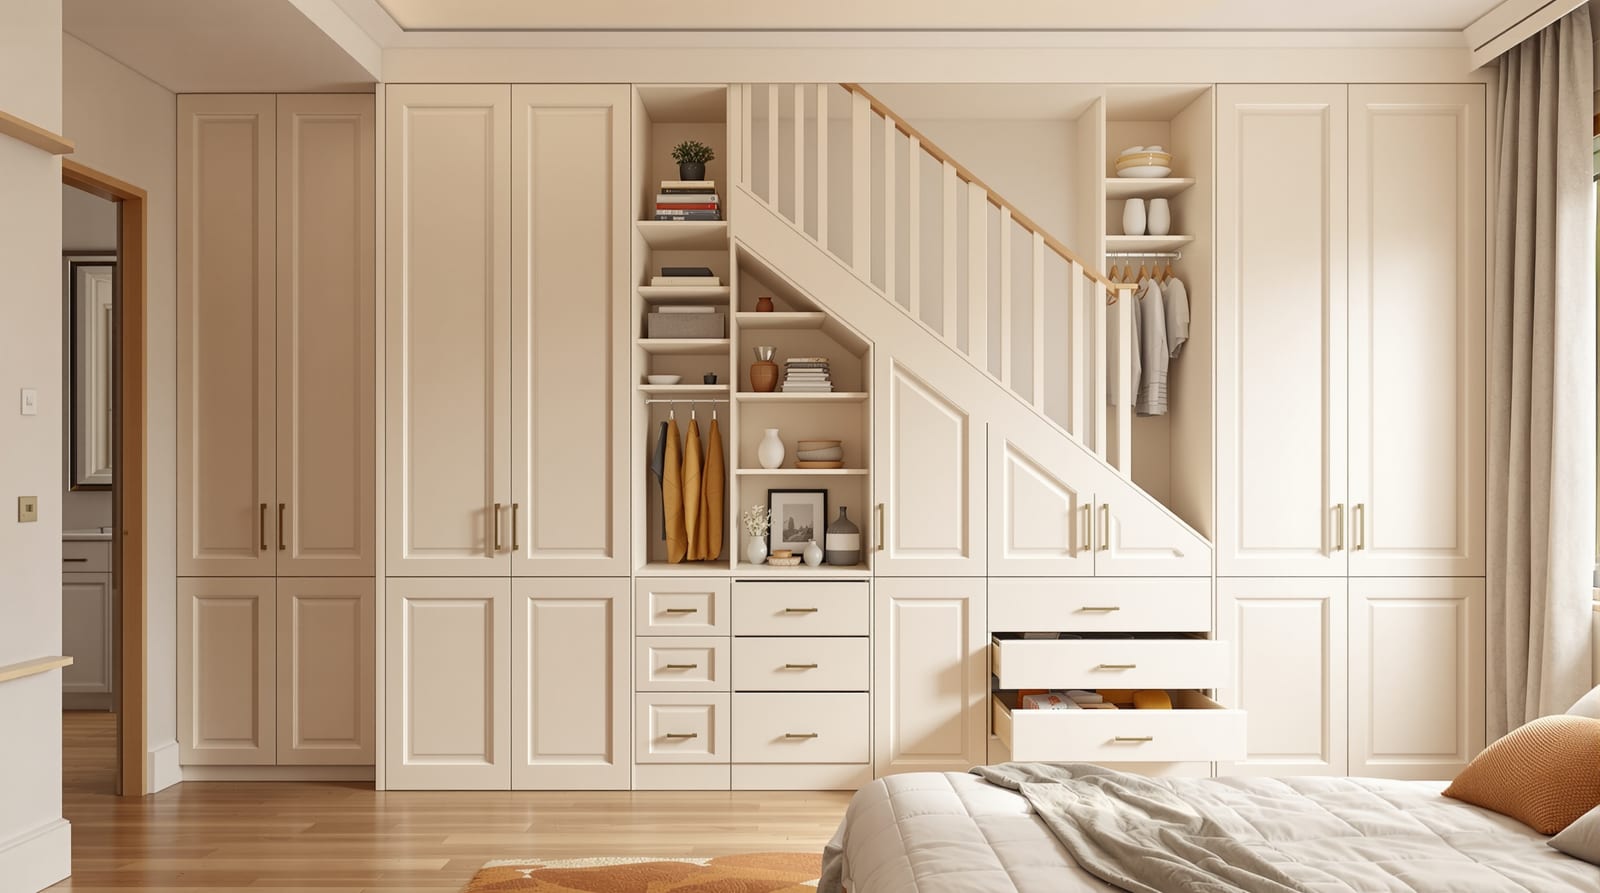
The same room, read three ways. Tap each lever to see the storage it opened up — and what to fill that space with. Together they're a near-complete storage system, mostly already built into moves you made for light, space and function.
The cleared floor & the wall depth
Subtracting didn't just open floor — it revealed two storage spaces. The freed floor leaves room for one good cupboard to sit without crowding; and the depth within walls and partitions becomes niches — the pooja niche, book recesses, slim shelving carved into space you already own.
Fig 5.2 — Three levers, three kinds of storage — most of it already opened up by moves you made for other reasons.
Fig 5.2 — Three levers, three kinds of storage — most of it already opened up by moves you made for other reasons.
After subtracting, layering and extending a room, a homeowner still feels they must buy several cupboards to get enough storage. What has this lesson shown?
Run the method yourself
Walk one room with the five hidden places in mind, and the homeless-things list from Lesson 5.1 in hand.
- 1Find the five places. Point to the under, the inside, the above, the within-walls, and the freed floor in this room. Some will already exist; some are latent (a bed with no drawers yet, a high band still empty air).
- 2Assign each homeless thing to a place using the three matches: frequency → height, point-of-use → location, bulk → kind of space.
- 3Flag what needs building vs buying. Most matches are "build into existing space" (add drawers under the bed, a shelf in the high band). Only the leftover daily core needs the one bought cupboard.
- 4Prefer invisible, then integrated. Where you have a choice, hide it or build it in before you park a standalone box in the room.
- The three levers already built most of your storage — you occupy it, you don't add it.
- Storage hides in five places: under, inside, above, within walls, and the freed floor — four opened by the levers.
- Match the thing to the place: frequency sets height, point-of-use sets location, bulk sets the kind of space.
- Best storage is invisible, then integrated, and only last applied — hidden storage holds more while keeping a room feeling larger.
- Usually only one cupboard, on the freed floor, needs buying — the rest is occupying space the design opened.
You know where storage hides and how to match things to it. But an Indian home holds particular things — the pooja items, the gathering vessels, the shoe pile at the door. How do you house what an Indian household actually owns?