
 Lesson 3.1
Lesson 3.1 · 3D Printing Fundamentals
What Additive Manufacturing Is
Every other way of making a thing either cuts it out of a bigger block or pours it into a mould; additive manufacturing does neither, building the object up from nothing one thin layer at a time straight from a digital model, and that single difference is what makes 3D printing strange, powerful and limited all at once
Carve it, mould it, or grow it: for the whole history of making, you had the first two. Additive manufacturing is the third - and it changes what is easy and what is hard.
Think about how a thing gets made. A sculptor takes a block of marble and removes everything that is not the statue: that is subtractive, and it is how a lathe, a mill and a router also work - you start with too much and cut away. A potter presses clay into a mould, or a foundry pours molten metal into a cast: that is formative, shaping material with a tool or a mould that already holds the final form. For almost all of human history, every manufactured object was made one of those two ways, and both share a quiet assumption: the shape is limited by what a tool can reach or what a mould can release.
Additive manufacturing breaks that assumption. Instead of starting with too much material and removing it, or forcing material into a pre-made shape, it starts with nothing and adds material exactly where the design says it should go, a thin layer at a time, building the object up from its base until it is complete. The machine reads a 3D model, slices it into hundreds or thousands of horizontal layers, and deposits or fuses material to form each layer in turn, one stacked on the next. Nothing is carved; no mould is needed. That is the whole idea - and because the object is built rather than cut or cast, shapes that were once expensive or impossible become, within limits, almost free. This lesson is about that core idea, the few families of machines that do it, and the honest limits that come attached.
Additive = the third way. Build up from nothing, layer by layer, from a model. Gift: complexity for free, low waste. Catch: layer adhesion, overhangs, anisotropy.
The third way of making
There are really only three ways to turn raw material into a finished object, and it is worth naming all three because additive manufacturing only makes sense against the other two. Subtractive manufacturing starts with a solid block and removes material until the shape is left behind - milling, turning, drilling, routing, carving. It is precise and fast for many parts, but it wastes whatever it cuts away (the chips and swarf), it cannot make internal cavities a tool cannot reach, and complex shapes mean more cutting, more setups and more cost. Formative manufacturing shapes material without removing much of it - casting molten metal, moulding plastic, forging, pressing, extruding a fixed profile. It is wonderfully efficient for making the same thing thousands of times, but every shape needs its own mould or die, moulds are expensive and slow to make, and the part has to be designed so it can actually be pulled out of the mould.
Additive manufacturing is the third way, and the newest. It adds material rather than removing or moulding it: the object is built up, layer by layer, from the bottom, following a digital model. No block to carve down from, so little waste; no mould to make, so no mould cost and no mould-release constraint; and because each layer is drawn fresh from the model, the machine does not especially care whether the layer is a simple rectangle or an intricate lattice - it takes about the same effort either way.
That is the conceptual heart of it, and everything else in Module 3 follows from it. A desktop printer squeezing molten plastic, a metal printer fusing powder with a laser, and a building-scale machine extruding concrete are all doing the same fundamental thing: reading a model, slicing it into layers, and adding material layer by layer. The materials, the machines and the scales differ enormously - but the idea is identical. Hold that idea firmly, because the seductive claims and the real limits of 3D-printed construction both come directly from this one move: building up instead of cutting down or moulding in. When you hear a grand claim about printing, the first useful question is always simple - what, exactly, is being added, layer by layer, and from what model?
Carve (subtractive), mould (formative), grow (additive). Additive adds material exactly where the model says - no block, no mould.
The process families - one idea, several machines
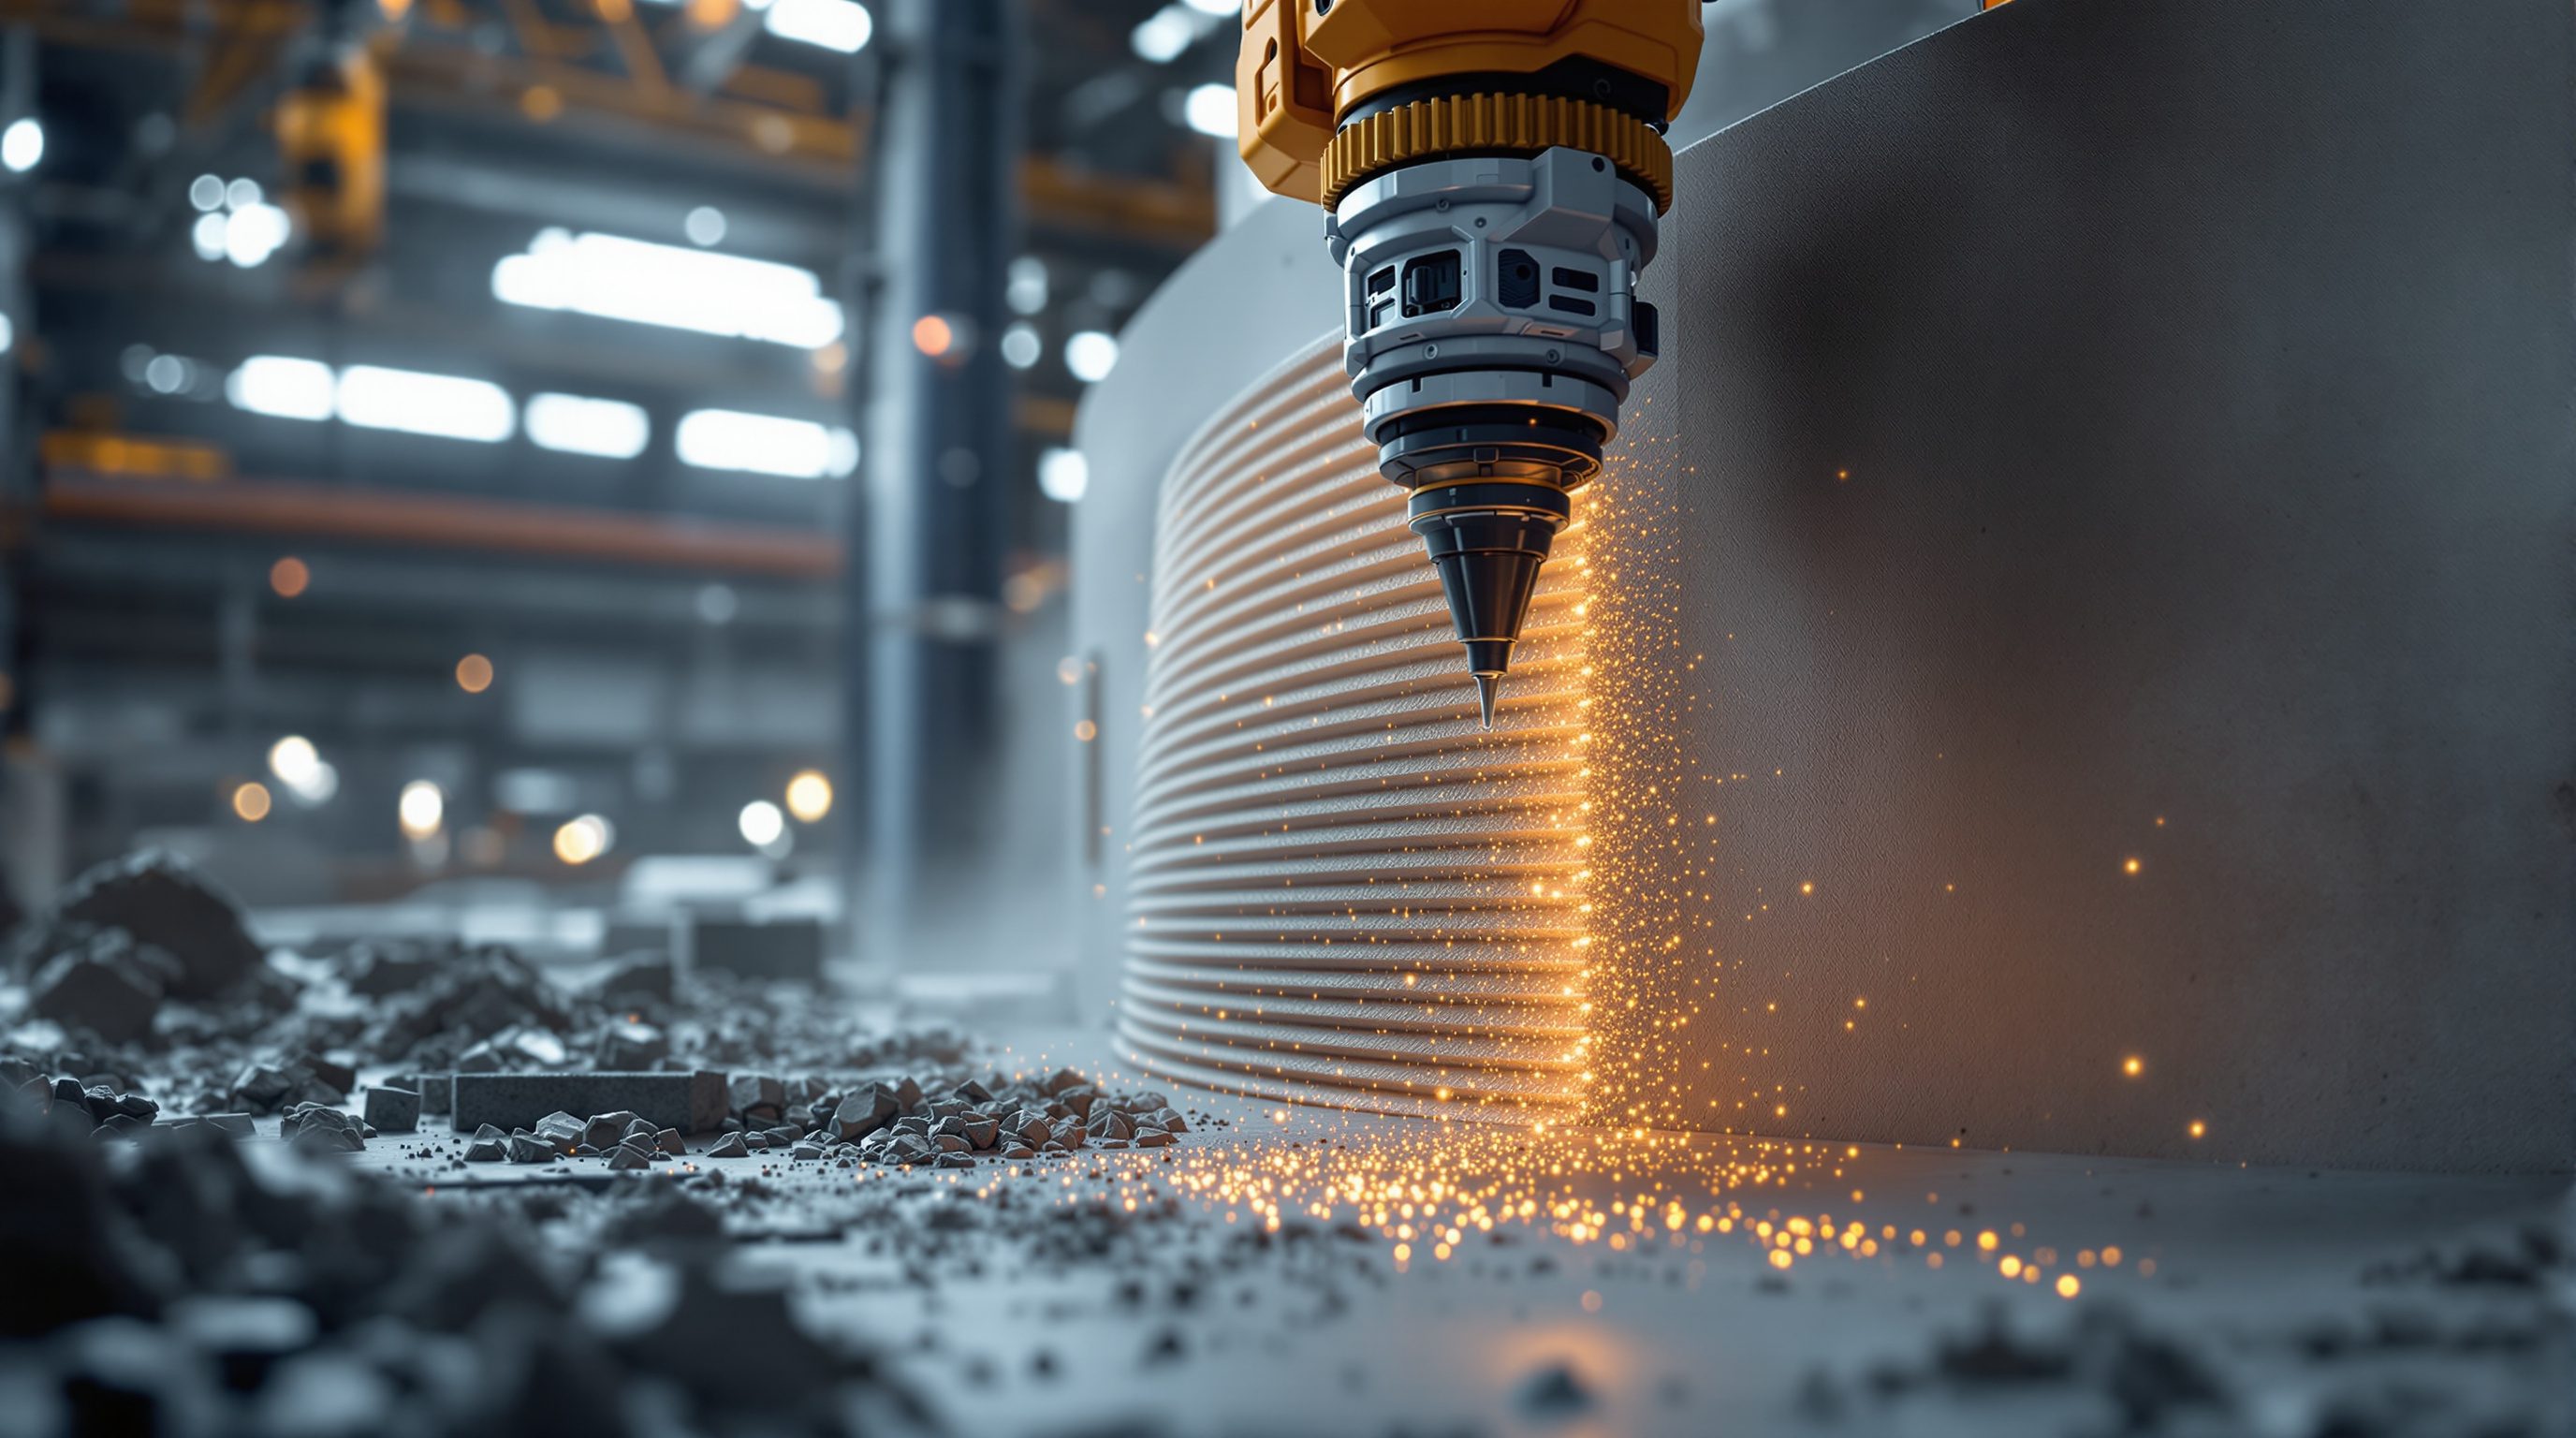
Additive manufacturing is not a single technology but a family of them, grouped by *how each layer is formed and joined*. You do not need to memorise a taxonomy, but a designer should recognise the main families, because the one that matters for construction is only one of them. Material extrusion is the most familiar and the most relevant here: a material that can be pushed through a nozzle - molten plastic filament on a desktop, a paste, a clay or a special concrete at building scale - is squeezed out in a continuous bead and laid down along the layer's path, bead beside bead and layer on layer. This is the family that scales up to 3D concrete printing, which is why this module dwells on it.
The others are worth knowing so you can place claims correctly. Powder-bed processes spread a thin layer of fine powder and then selectively fuse or glue the grains where the part should be solid - a laser or electron beam melts metal or nylon powder (used for high-value metal and plastic parts), or a liquid binder is jetted onto sand or powder to glue it (binder jetting, used for sand moulds and some large forms). Vat photopolymerisation cures a liquid resin with light, layer by layer, giving very fine detail for small parts. Material and binder jetting spray droplets, a little like an inkjet printer building in three dimensions. There are more, but these cover the landscape.
The point of naming them is judgement, not trivia. The families differ in materials, resolution, speed, cost and scale, and almost none of them scale to a building: you are not going to laser-melt a house out of metal powder or cure it from a vat of resin. Construction-scale printing is overwhelmingly extrusion of a cementitious or earthen paste, with binder jetting of sand-like material a niche second for some components and moulds. So when a headline says a building was '3D printed', it almost always means a paste was extruded through a nozzle in stacked beads. Knowing that one family does the heavy lifting - and why the glamorous metal-and-laser processes stay in the factory for small, precious parts - keeps you oriented through the rest of the course.
Why additive gives complexity for free - and low waste
Two genuine advantages flow directly from building up rather than cutting or moulding, and both are real enough to get excited about - within limits. The first is often called complexity for free. In subtractive making, a more intricate shape means more cutting, more tool changes, more setups and more cost; in formative making, a more intricate shape means a more complex, more expensive mould, and some shapes simply cannot be released from any mould at all. In additive making, the machine draws each layer from the model regardless of how ornate that layer is. A curved, tapered, hollow or internally latticed wall takes roughly the same machine effort as a plain box of the same size, because either way the machine is just tracing this layer's path and moving up. Geometry that would be punishingly expensive with formwork - curves, varying sections, organic branching, internal voids for services or insulation - becomes, within the process's limits, close to free. For architecture this is the headline attraction: the mould, and the cost of complex form it imposes, largely disappears.
The second advantage is low waste. Because material is placed only where it is needed, there is no block to carve down from and no offcut pile, and no mould to make, use and discard. A well-run print can approach near-net-shape - you add roughly the material that ends up in the part. At a time when construction's material use and embodied carbon are under hard scrutiny, placing material only where structurally or functionally required, and shaping elements to use less of it, is a real sustainability argument (one we examine honestly, not credulously, in Module 8.4).
But keep both advantages truthful. 'Complexity for free' is free in *machine effort*, not in design effort, engineering or verification - a clever printed form still has to be designed, sliced, and proven safe, and a shape that is easy to print can still be hard to reinforce or to make watertight. 'Low waste' counts the printing step, not the whole system: the special printable concrete can be cement-rich and carbon-intensive per kilogram, and a printed wall still needs foundations, reinforcement, floors and finishes made conventionally. The advantages are genuine and worth designing for - but they are advantages of the *forming* step, and the rest of the building, and the rest of the argument, still has to add up.
Complexity for free = free in MACHINE effort, not in design, engineering or proof. A curved wall prints as easily as a box - but still must be reinforced and verified.
The limits built into the idea
The same move that gives additive manufacturing its powers also builds in its characteristic weaknesses, and an honest designer learns these as early as the advantages. The first is layer adhesion. Because the object is a stack of separately deposited layers, the bond *between* layers is a potential weak plane - each new layer must fuse or key into the one below, and if it is laid too late, too cold, too dry or too fast, the bond is poor. A printed part is often weaker across its layers than along them, and a cold joint between beads can become a crack or a leak. Managing the bond - timing, temperature, moisture, pressure - is central to print quality, and at building scale, where layers are thick and set chemically, it is a serious structural and waterproofing concern.
The second limit is overhangs and support. A layer can only be laid on something beneath it; you cannot print a horizontal surface into thin air. Steep overhangs and bridges need either support structures printed underneath (and later removed) or clever geometry that never oversteps what the layer below can carry. Desktop printers solve this with sacrificial supports; at building scale, removing supports is impractical, which is a core reason printing makes *walls and vertical elements* far more readily than floors and roofs - a limit we return to throughout the concrete modules.
The third is anisotropy: because of the layering, a printed object does not usually have the same properties in every direction. It is generally stronger along the layers than across them, and its surface carries the texture and the small valleys of the stacked beads. That directional behaviour must be understood and designed around, not assumed away. Add the practical limits of resolution (layers have a finite thickness, so fine detail and smooth curves are stepped), speed, and the real materials, and you have the honest frame: additive manufacturing is a genuinely different and powerful way of making, but it is not magic. It builds up from nothing, which is its gift; it builds up in layers, which is its constraint. Every one of these limits reappears, magnified, when the material becomes wet concrete and the object becomes a building - which is exactly where the next lessons go. The binding question of whether any printed element is strong and safe enough always belongs to a qualified structural engineer and certified testing, never to the printer's brochure.
Layer adhesion & anisotropy
How strong a printed element really is, and in which direction
Inter-layer bond strength and directional properties are measured by certified testing of the actual material and machine, not read from the printing idea. Modules 8.1 and 4.3.
Process selection
Which additive family suits a given part
Match process to material, scale, finish and purpose; for construction this is overwhelmingly material extrusion. Confirm capabilities with the equipment manufacturer's verified data.
Structural adequacy
Whether a printed element is safe to use in a building
Never inferred from 'it printed'. Binding structural design, reinforcement and testing belong to a qualified structural engineer and the governing codes (NBC India). Module 8.1.
Workshop - classify three made objects by how they were formed
The fastest way to internalise the additive idea is to sort real objects by the three ways of making. In this workshop you will take ordinary objects and reverse-engineer how each was manufactured, then reason about how an additive version would differ.
Three everyday objects, a pencil and paper. No printer needed - this is about seeing how things are made and reasoning about the additive idea.
Goal: fluency in subtractive vs formative vs additive, and in what the additive idea gives and costs
Inputs: three everyday objects (e.g. a wooden spoon, a plastic bottle, a metal bracket) + this lesson + a notebook
Time: ~40 minutes
- 1Pick three objects made in clearly different ways. For each, decide: was it mostly subtractive (cut from a block), formative (moulded or cast), or additive? Note the clues (tool marks, mould seams, layer lines).
- 2For one formative object, describe the mould it needed and why that mould makes the shape cheap to repeat but expensive to change. This is the cost additive removes.
- 3Now redesign one object as if it were to be 3D printed by extrusion. Where could you add complexity 'for free' (a lattice, a curve, an internal void)? Sketch it.
- 4For that same printed redesign, find the three limits: where would an overhang need support, which direction would be the weak (cross-layer) plane, and where would layer lines show on the surface?
- 5Write a short verdict: for this object, does additive genuinely win, and on what - complexity, waste, one-off cost - or would subtractive or formative still be better, and why? Flag any strength claim as something a test, not your sketch, would have to confirm.
You’ll walk away with
A one-page classification of three objects by forming method, plus one object redesigned for extrusion printing with its complexity gains and its three built-in limits marked, and an honest verdict on whether additive actually wins for it.
Three altitudes on the same idea
Read the band that fits you — or all three.
Additive manufacturing is the reason printed architecture can offer form that formwork makes expensive - but read the offer precisely. The gift is geometric: curves, tapers, varying sections and internal voids cost the machine little, so the mould premium on complex form largely vanishes. Design to that freedom. The catch is equally precise: the object is a layered stack, so it is anisotropic, weak across its layers, dependent on good layer adhesion, and unable to print overhangs or horizontal spans without support - which is why you print walls, not floors and roofs, and why 'complexity for free' is free in machine time only, never in engineering or proof. Use the idea to open form; keep the structural adequacy, reinforcement and code compliance of any printed element with your structural engineer and certified testing.
For interiors, the additive idea is immediately useful at component scale - and most of the process families you will actually touch live on a desktop or in a fabrication shop, not on a building site. Extrusion printers make bespoke screens, panels, lighting parts, furniture components and custom moulds; resin and powder processes give fine detail for small, precise pieces. The same advantages apply - complex, one-off geometry at low incremental cost, little waste - and so do the same limits: layer lines as a surface texture you design with or finish away, weaker bonds across layers, and the need for supports on overhangs. Choose the process family to suit the part's size, finish and material, and treat any load-bearing or fire-rated element as something to confirm with the relevant specialist rather than assume from a print.
Learn the one idea cleanly and everything downstream gets easier: additive manufacturing builds an object up from nothing, layer by layer, from a digital model - not by cutting a block (subtractive) or filling a mould (formative). Know the main families by how they join a layer (extrusion squeezes a bead; powder-bed fuses or glues grains; vat cures resin with light), and know that construction uses extrusion almost exclusively. Hold the two honest advantages - complexity for free in machine effort, and low waste - against the three built-in limits - layer adhesion, no overhangs without support, and anisotropy. That single frame lets you judge any printing claim you meet for the rest of this course, and it is exactly the literacy a clear-eyed designer is expected to have.
“3D printing is basically a new kind of machine that can make any shape you can model, in any material, with no real limits - if you can design it on screen, the printer can just build it.”
Do it yourself
No tools needed - reason it through.
- 1Explain additive manufacturing in one sentence, and contrast it with subtractive and formative making.
- 2Name the main additive process families by how they join a layer, and say which one scales to construction and why.
- 3What does 'complexity for free' actually mean - and what is it NOT free in?
- 4Why can you print walls far more easily than floors or roofs? Tie your answer to overhangs and support.
- 5What is anisotropy in a printed part, and why does layer adhesion matter for strength and for keeping water out?
The one line to carry out
Peer-reviewed journals & authoritative standards
- 01Additive manufacturing — Wikipedia - Additive manufacturing, 2026.
- 023D printing — Wikipedia - 3D printing, 2026.
- 03Material extrusion — Wikipedia - Material extrusion, 2026.
- 04Construction 3D printing — Wikipedia - Construction 3D printing, 2026.
The idea is identical from a desktop toy to a house-sized machine - but the jump in scale changes almost everything else. Next we trace exactly what breaks and what survives when you scale a printer from plastic on a desk to concrete across a building plot.
The author
Amogh N P
Architect, interior designer, and creative polymath. Studio Matrx began in his notebooks — his vision of design made honest, useful, and open to everyone. Its Academy is written and taught in his memory, and free, forever.
More about Amogh →