
 Lesson 1.4
Lesson 1.4 · The Interior Space
Reading a Space: Working With What Is There
The survey every designer runs before drawing a line - and the choice to work with, extend, or counter what exists
You don't get a blank page. You get a room someone already built.
Designers love to imagine they start from nothing. In Indian practice you almost never do. You walk into a resale 2BHK in a fifteen-year-old building, the previous owner's modular kitchen still bolted to the wall, a damp shadow creeping up the bathroom-side bedroom corner, and the builder's brochure plan that lies to you in three different places. Before you draw a single line, you have to read what is already there - honestly, with a tape in your hand.
The brochure measures in wishes. Bring a tape.
The brochure lies; the tape does not
Open the file the builder handed over and you will find a clean little floor plan with tidy round numbers - a bedroom that is exactly 3.0 m x 3.6 m, walls drawn as crisp lines of no particular thickness. Now stand in that bedroom with a tape and you will measure 2.96 m on one wall and 3.07 m on the wall opposite, in a room that is supposed to be a rectangle. This is normal. The drawing is the architect's intention; the room is what the masons built, and the as-built almost never matches the as-drawn.
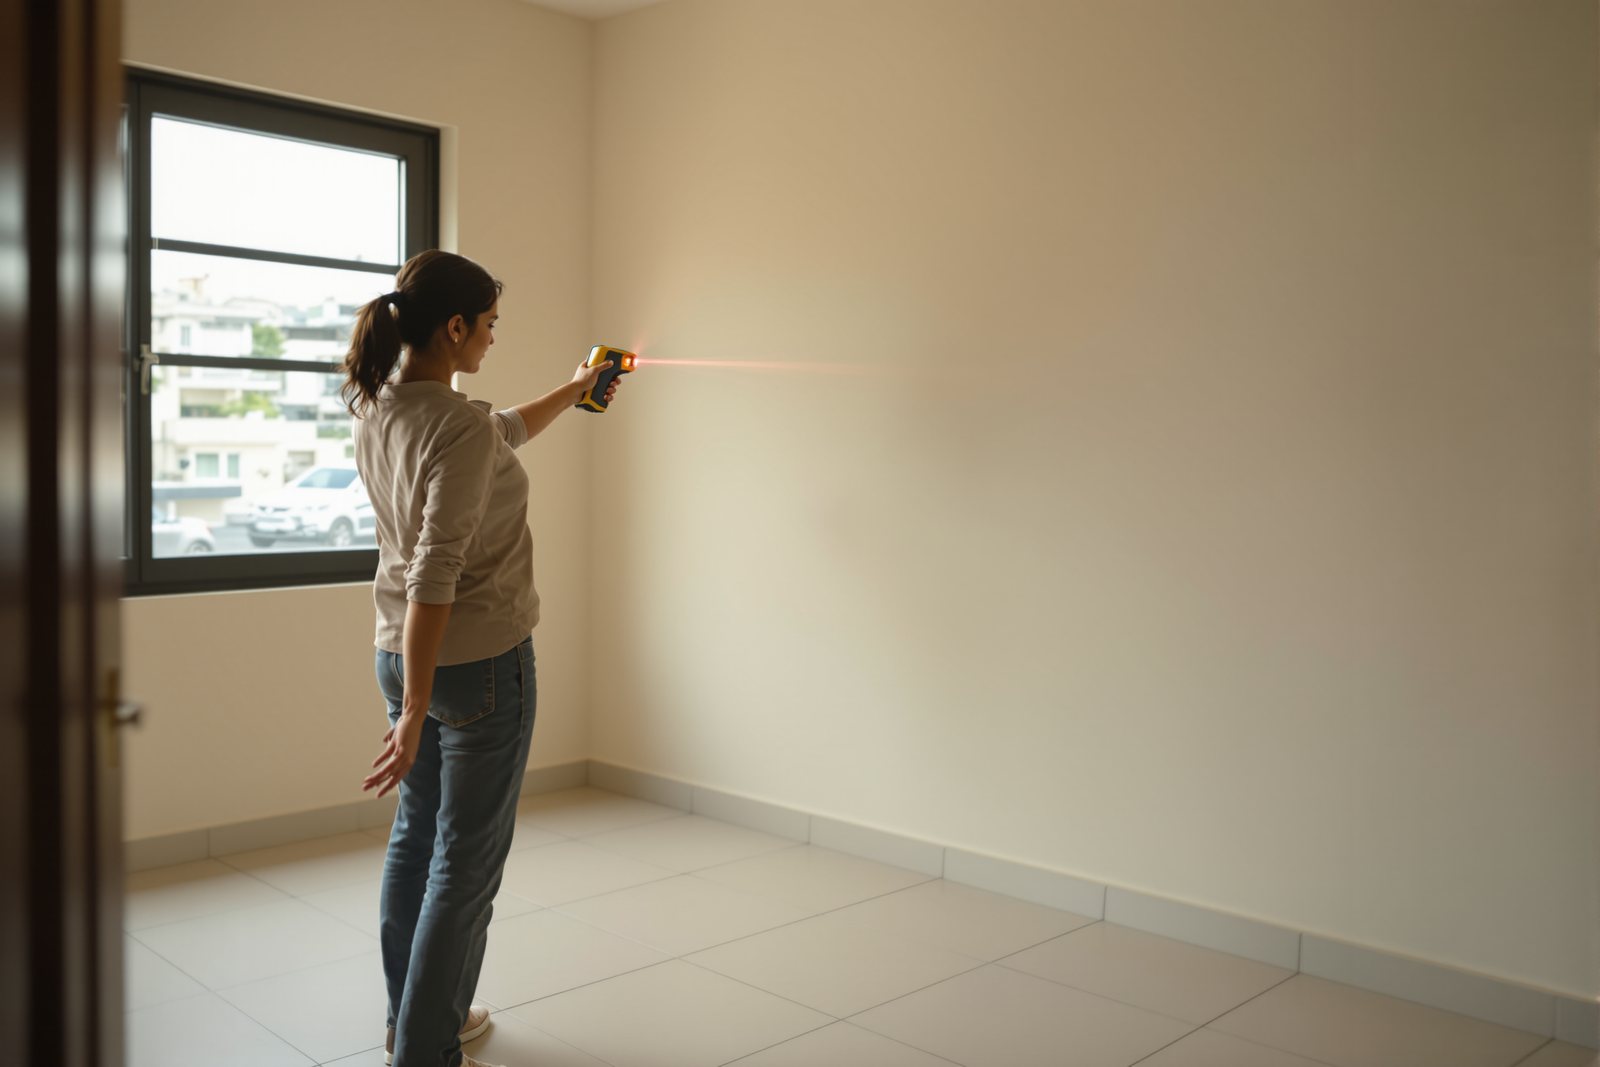
The gap is not an accident you can ignore. A 40 mm error compounds: design a wardrobe to the drawing, fabricate it offsite, and it arrives 40 mm too wide for the wall it was meant to fill. So you run a measured survey - you measure the actual room, every dimension, and you trust that over any drawing. A laser distance meter makes this fast and accurate to a couple of millimetres; a 5 m steel tape works too if you measure carefully and have a second pair of hands. Measure each wall end to end, measure diagonals to check whether the room is truly square, and write the real numbers down.
What to record, and how carefully
A survey is only as good as what you write down on the spot, because you will not get to come back for every forgotten dimension. Sketch the room in plan, roughly to proportion, then load your sketch with the real measurements: every wall length, the wall thicknesses at each opening (a 230 mm wall reads very differently from a 115 mm one), the width and height of every door and window and the height of the sill, and the floor-to-ceiling height - which is rarely uniform, so measure it in at least three corners.
Don't ignore the floor. Older flats and renovated ones are full of small level changes - a 20 mm step at the balcony threshold, a tiled-over screed that left the bathroom floor lower than the bedroom. Pick one reference point, a datum, and note every level relative to it. The annotated plan in the figure shows the full set you are after: dimensions, wall thicknesses, openings, levels, and the services - this is the honest record everything downstream depends on. Record dimensions to the millimetre, ceiling heights to the nearest 5 mm, and note your confidence wherever a tape couldn't reach.
Structure you must respect, services you must find
Not all walls are equal. A 230 mm thick wall sitting under a beam, or a fat plastered column poking into the corner of the living room, is almost certainly structural - load is coming down through it and you do not touch it. A 115 mm or 75 mm partition between two bedrooms is usually just an infill wall you can remove, subject to the building's rules. Wall thickness is your first clue, the column grid your second; when in doubt you treat it as structural until proven otherwise. This is exactly the reading you practised in the structural-systems lesson.
Then you hunt for the services, because they are the constraints that do not move cheaply. Find the plumbing stack - usually buried in or beside the bathroom and kitchen, the one fixed line your new layout must respect if you don't want to relay drainage at heroic cost. Locate the electrical DB (distribution board), the position of the meter, and any shaft carrying pipes or cables vertically through the flat. The constraints figure overlays exactly these on the plan - the columns, the stack, and the direction of daylight - so you can see at a glance what your design has to negotiate around rather than wish away.
Light, character, and the honest defect list
A room is not just its dimensions; it is the light that moves through it. For every window, note which way it faces - an east window floods a bedroom with soft morning sun and goes flat by afternoon, a west window brings harsh hot evening glare that will cook a study by 4 pm in a Chennai or Nagpur summer. This is the orientation read, and it decides where you'd put a reading chair versus a TV, long before any furniture is chosen.
Now be ruthlessly honest about the existing condition. Walk every wall and note the defects: the damp patch and salt bloom on the shared bathroom wall, the hairline crack tracing a beam, seepage stains under the window, the previous owner's lumpy putty and peeling builder-grade paint. Photograph each one against your plan. Read the architectural character too - the proportion of the rooms, the rhythm of the openings, whether the space feels generous or pinched - because that character is the thing you are about to decide how to treat. Running the space-reading-checklist interactive on the room forces you through all of this so nothing gets quietly skipped.
With, extend, or counter: the strategic choice
Once the space is read honestly, you face the first real design decision, and it is a choice of stance toward what exists. There are three moves, shown side by side in the strategies figure. You can work with the existing character - honour the proportions, keep the material palette in family, let the room stay the kind of room it already is. You can extend it - take a cue the space offers, a high ceiling or a run of windows, and amplify it, continuing its logic further than the builder did. Or you can set up a deliberate counterpoint - introduce something the room does not contain, a dark moody library inside a bright builder-white flat, so the tension itself becomes the design.
None of these is the 'right' answer; the survey is what lets you choose deliberately instead of by accident. A flat with a genuinely lovely sea-facing balcony probably wants you to work with and extend it. A charmless boxy 2BHK with nothing to honour is often where counterpoint earns its keep. The point is that the choice is now informed by the real room, not the brochure's fiction.
Hands-on
Have you read the room? 0/12
Run this on a real room — tick each item as you record it.
Three altitudes on the same idea
Read the band that fits you — or all three.
Before you buy or commit money to a resale flat, walk it with a tape, not just your eyes. Measure the rooms yourself rather than trusting the broker's or builder's numbers, check floor-to-ceiling height (anything under about 2.7 m feels low once a false ceiling goes in), and look hard for damp, cracks, and seepage on bathroom-shared walls. Note which way the main windows face - morning light or harsh evening sun changes how a room actually lives.
Run a full measured survey on day one and never design off the builder's drawing. Record every wall length and diagonal, wall thicknesses at each opening, all opening sizes and sill heights, ceiling heights in at least three corners, and every level change against a single datum - dimensions to the millimetre, heights to 5 mm. Mark structural versus partition on the survey, locate the plumbing stack, DB, and shafts precisely, photograph every defect against the plan, and note confidence wherever you couldn't physically reach.
The survey is the moment design stops being a fantasy and becomes honest. Every good interior is a response to a real container - a room with real dimensions, real load paths, real light, real flaws - and you cannot respond to what you have not read. Treat the measured drawing as the truthful foundation everything else stands on; a design built on a lie about the room will fail in fabrication, on site, or in use.
“The builder's floor plan is accurate - just design straight from that.”
Run the method yourself
Pick any real room you can stand in right now and survey it properly.
- 1Sketch the room in plan to rough proportion, then measure every wall end to end with a tape or laser and write the real numbers on your sketch - measure the diagonals too, to test whether it is actually square.
- 2Mark each wall as structural or partition: note the thickness (230 mm and up usually structural, 115 mm and under usually partition) and flag any column or beam poking into the room.
- 3Locate and mark the services - the plumbing stack near the bathroom/kitchen, the electrical DB, the meter, and any vertical shaft.
- 4Stand at each window and note which compass direction it faces and whether it gets morning or evening sun; mark the light arrows on your plan.
- 5Record floor-to-ceiling height in three corners, note every level change against one datum point, and list every defect you can see - damp, cracks, seepage, poor finishes - photographing each against the plan.
From the container to the choice
With the space read and a stance chosen, the next module turns that reading and the client's brief into an actual designed room - the design process itself.