
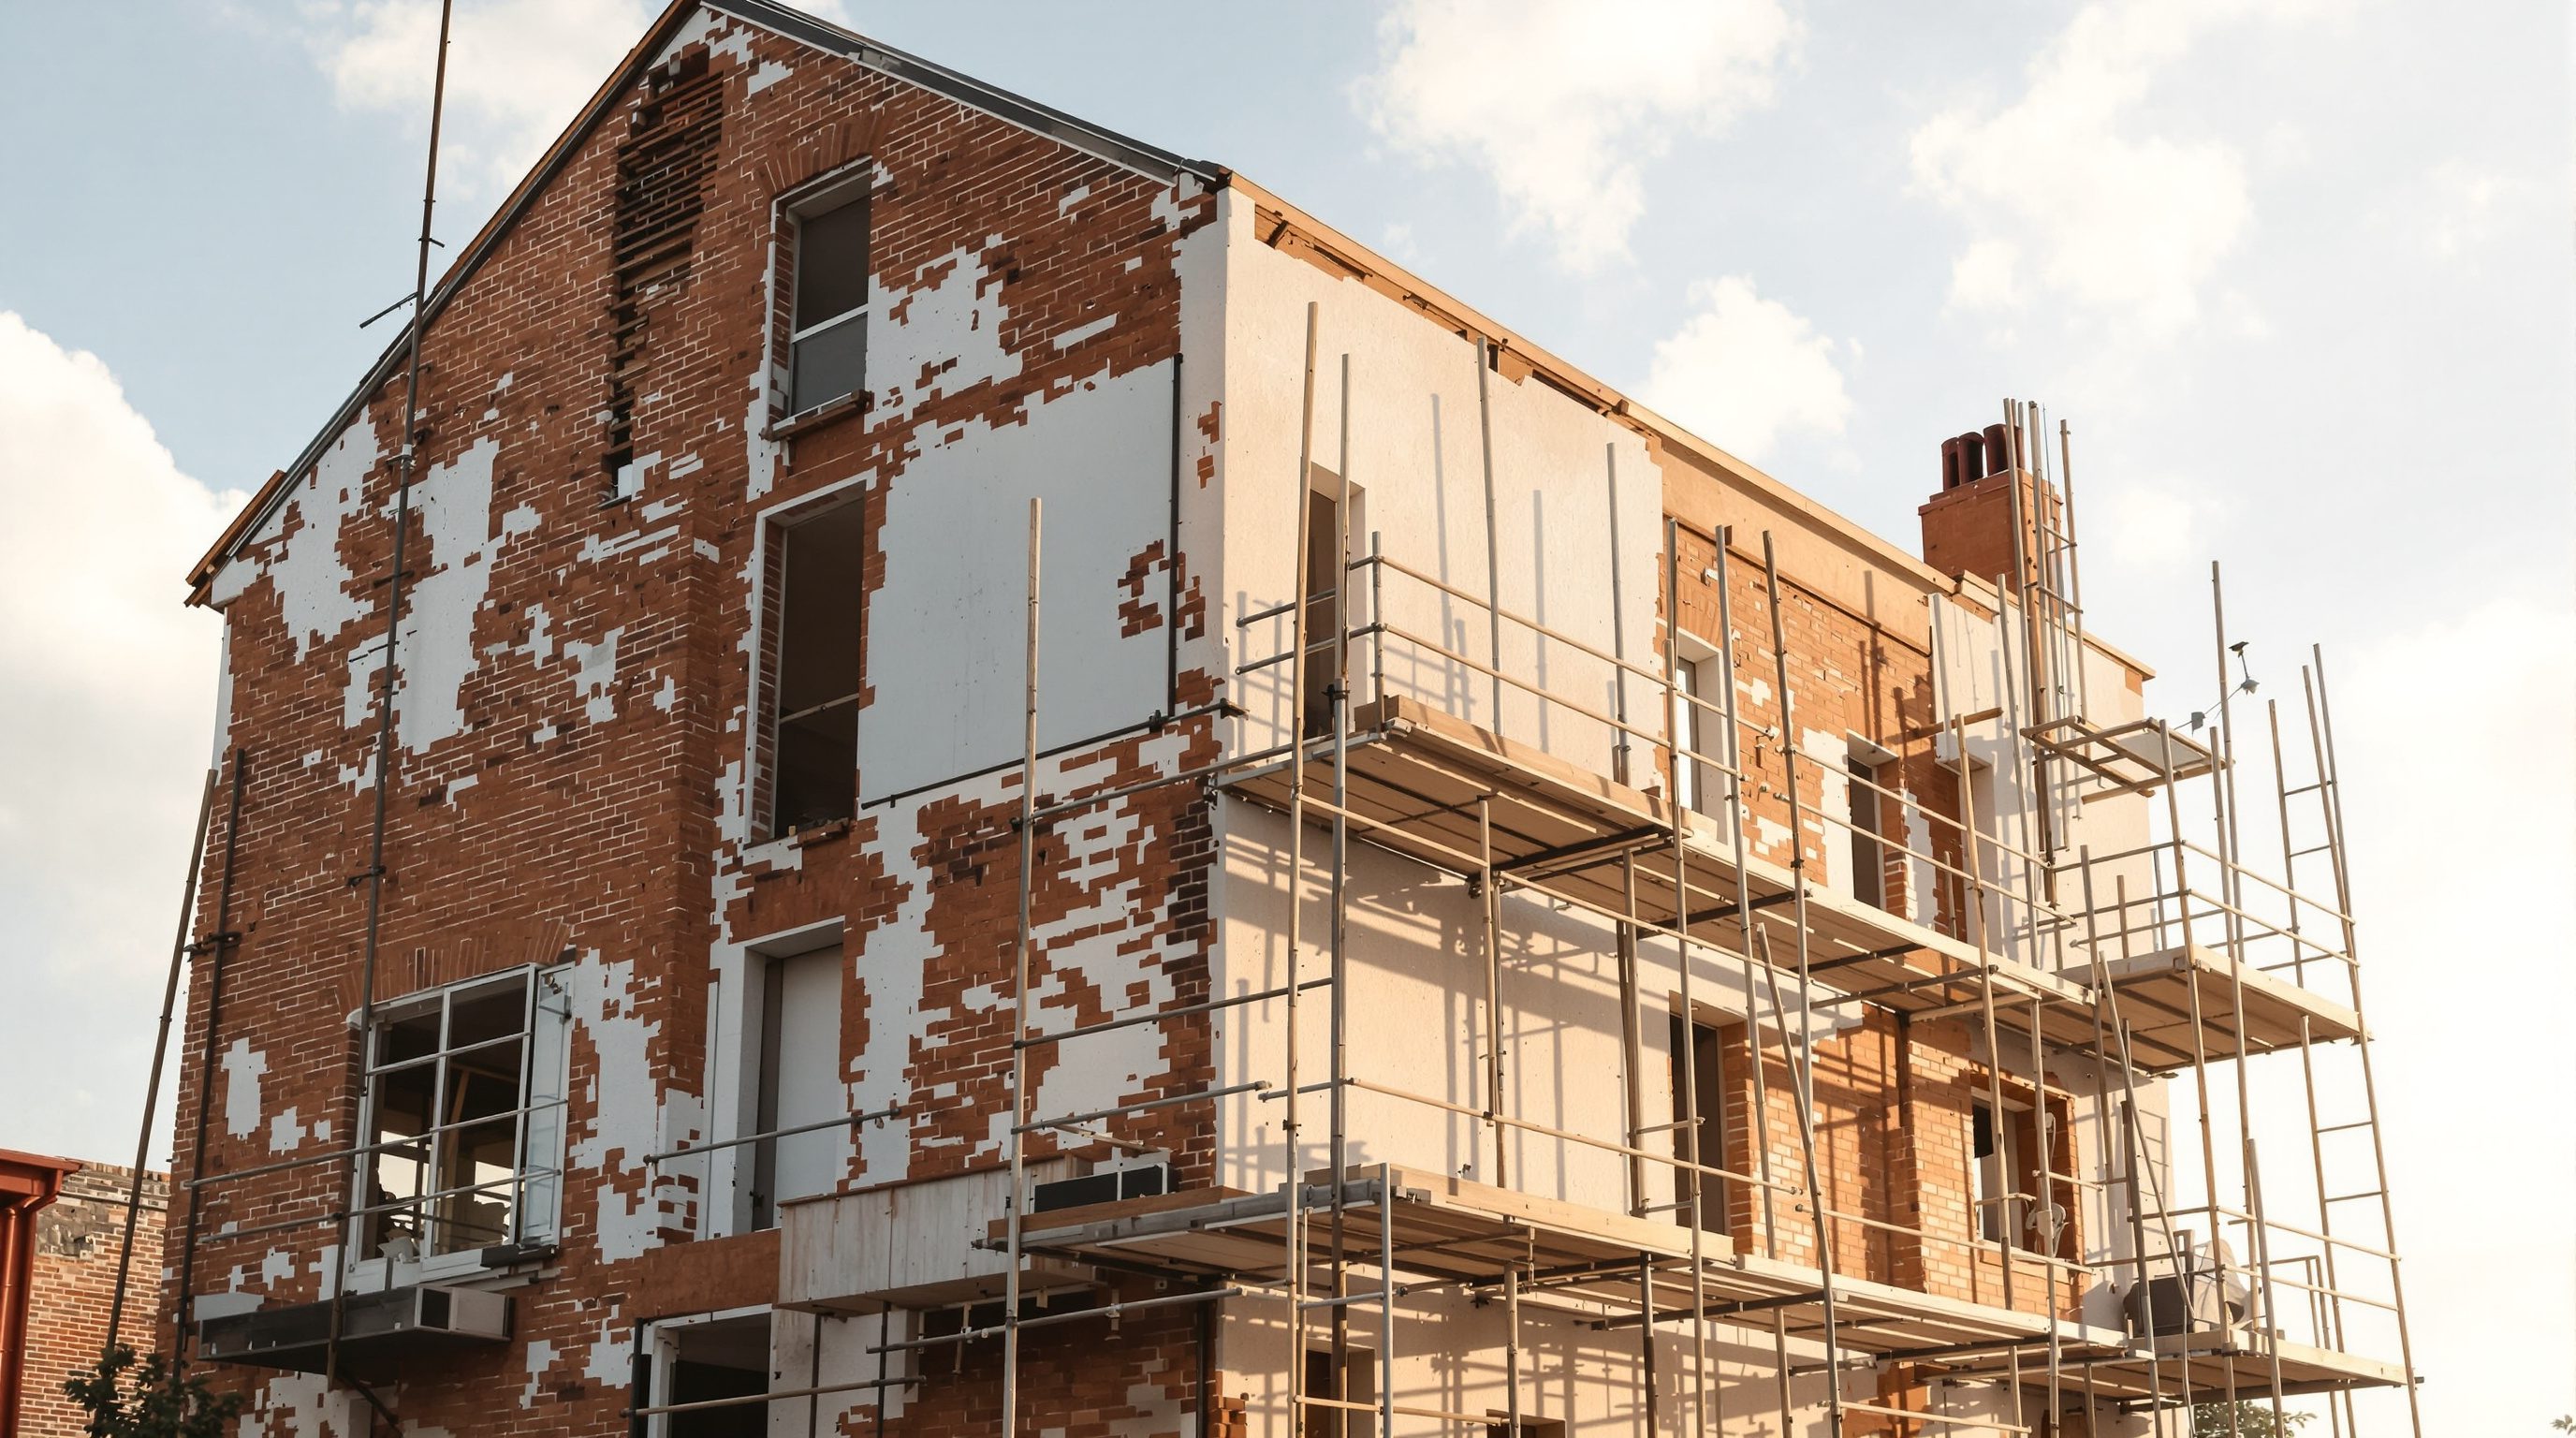
 Lesson 1.1
Lesson 1.1 · Understanding the Existing Building
How to Survey & Read a Building
Before you change a single thing you must know exactly what is there and what state it is in - so the first real renovation skill is learning to survey and read an existing building, patiently and in the right order
You cannot change what you have not first understood - and understanding an existing building starts with a survey done in the right order.
Every renovation worth the name begins not with a mood board but with a tape measure, a camera and a notebook - or rather, with the discipline they stand for: look before you leap, record before you imagine, diagnose before you change. An existing building will not hand you its drawings or confess its problems; you have to go and read it, carefully and systematically, the way a doctor examines a patient before prescribing. Skip this, and every decision that follows rests on guesswork.
Reading a building is a learnable skill with a definite method, and it answers two quite different questions that beginners constantly run together. The measured survey asks *what is there, and where* - the geometry you will design on. The condition survey asks *what state it is in* - the health you must diagnose. Master both and you hold the two things every later module depends on: accurate existing drawings, and an honest list of what the building is quietly telling you. This lesson teaches how to gather them - and, just as important, where your own walk-round ends and a professional's survey must begin.
Tape, camera, notebook. Two surveys, kept apart. Record before you imagine; diagnose before you change.
Two surveys, two different questions
A proper read of an existing building is really two surveys answering two different questions, and conflating them is one of the commonest beginner errors. The measured survey asks *what is there, and where*: the geometry of the building - room sizes, wall thicknesses, ceiling and floor-to-floor heights, the positions of doors, windows and openings, changes in floor level, and where the fixed things live (drains and inspection chambers, the electrical board, where water enters). Its product is the set of accurate existing drawings that every later decision is measured against. Without them you are designing on a fiction.
The condition survey - sometimes called a building survey or defect survey - asks a completely different question: *what state is it in?* Is the structure sound; what is failing; where is it damp, cracked, sagging, decayed, corroded or overloaded; what has been repaired or bodged before. One survey tells you the shape of the canvas; the other tells you the health of the patient. You need both, and you must not let one masquerade as the other - a beautifully dimensioned plan says nothing about whether the wall it draws is crumbling, and a long list of defects is useless if you cannot say where they are.
In practice you often gather both in the same visit, moving through the building room by room with a tape in one hand and a critical eye running over every surface. But keep the findings in separate records, because they feed different decisions downstream: the measured survey feeds design and feasibility (Modules 2 and 4); the condition survey feeds diagnosis and the repair strategy (Modules 1.3 and 6). This is the diagnosis stage of the course's through-line - renovation is surgery, and a surgeon images and examines before deciding where to cut. The survey is your imaging and examination. Do it thoroughly, do it before you fall in love with any idea, and treat every later ambition as a hypothesis to be tested against what the survey actually found - not the other way round.
Measured survey = WHAT and WHERE. Condition survey = WHAT STATE. Two questions, two records.
Measuring and recording what is there
A measured survey is a craft, and a few habits separate a reliable one from a misleading one. Work room by room, and in each room sketch the shape freehand first, generously sized on the page, before you write a single number - a sketch you can annotate beats a tidy drawing you cannot. Then measure, and here is the single most important rule: take running dimensions from one fixed end of a wall (0, then 2140, then 2950, then 5080 to the far corner), rather than measuring each gap separately and adding them up. Separate measurements let small errors compound into a wall that does not close; running dimensions keep every point located from the same origin.
Record the things beginners forget. Measure wall thickness at every opening - it tells you a great deal later about what kind of wall you are dealing with. Note ceiling heights and floor-to-floor heights, and flag every change in floor level, however small, because level changes hide structure and drive drainage. Buildings are rarely square, so triangulate: take the diagonals of each room and the distances between window and door reveals, so a non-orthogonal room can be drawn truthfully. Locate the fixed, expensive-to-move things - drains and inspection chambers, the soil pipe, the water entry and meter, the electrical distribution board - because these constrain where kitchens and wet rooms can sensibly go.
Label everything. Every sketch gets the room name, the date, and a north point or a consistent orientation, so that weeks later you can still read your own survey. A laser measure speeds long runs and floor-to-ceiling heights, but a steel tape, graph paper and a clipboard still do the job, and a phone photo of each annotated sketch is cheap insurance. Note honestly what you could not measure - the cupboard you could not empty, the ceiling void you could not see into - so the gaps are visible rather than silently guessed. The deliverable is a set of existing plans and sections accurate enough to design on with confidence, and specific enough that a contractor pricing the work is pricing the real building, not an optimistic sketch of it.
Running dimensions, not separate gaps. Triangulate the corners. Label every sketch: room, date, north.
Reading what the building is telling you
The condition survey is where you learn to *read* a building rather than merely measure it, and the method is to be systematic and outside-in. Start outside and work around the whole building before you go in: look at the roofline for sagging or spreading, the walls for bulging, leaning, cracking or patched repairs, the ground levels against the wall (is soil or a raised path bridging the damp-proof course?), the rainwater goods (are gutters and downpipes discharging where they should, or soaking a wall?), and any vegetation growing into the fabric. Only then go inside and move room by room, looking up, down and behind - at ceilings for staining, at floors for slope or spring, into corners and behind furniture where damp and cracks hide.
The discipline here, which Lesson 1.3 develops, is to record symptoms without yet guessing their cause. Write and photograph what you actually see - a damp patch, a crack, a stain, a sag - and resist the urge to diagnose on the spot, because premature diagnosis makes you stop looking. Note cracks with their location, direction and rough width (a coin or a ruler in the photo gives scale), and whether they step through mortar joints or cut straight across bricks. Flag anything that suggests movement (doors that have been planed to still shut, floors that slope, gaps opening at wall-to-ceiling junctions) for a proper look later.
Photograph methodically, because the photographs become your memory. Shoot each room wide first, then the details, include a recognisable reference in close-ups, and keep the images organised by room so you can find them. Date-stamped photos also create a baseline: if a crack is monitored over months, you will want today's image to compare against. Capture the awkward, unglamorous things - the meter cupboard, the loft hatch view, the back of the boiler, the underside of the stairs - because those are exactly where the surprises live. By the end you should have, for every room and elevation, a measured record of *what is there* and an annotated, photographed record of *what state it is in* - the raw material for every diagnosis and decision to come.
When you need a professional survey
Your own careful walk-round is genuinely valuable - it sharpens your eye, produces the working drawings, and tells you *what to investigate* - but it has firm limits, and knowing where those limits fall is itself a professional skill. A homeowner, student or designer with a tape and a camera can record geometry and catalogue visible symptoms. What they cannot do is diagnose structural movement, judge whether a wall is load-bearing, assess a foundation, or pronounce a building safe - and pretending otherwise is exactly the overconfidence this course exists to cure.
Commission a professional when the building shows any of the classic triggers: stepped or diagonal cracks, bulging, leaning or separating walls, sagging floors or rooflines, spreading or unexplained damp, signs of subsidence or heave, or any time you are about to remove or open up a wall or commit serious money. Match the professional to the question. A chartered building surveyor produces a full condition report and is the right first call before buying or before a major renovation of an older property. A structural engineer must assess anything touching structure - movement, load paths, removing walls, forming openings, adding load - and design any remedy. Specialist surveyors handle specific risks: damp and timber (rot and infestation), drainage (a CCTV drain survey), or asbestos and other hazards in older buildings. In India a full RICS-style building survey is less common, so you will often assemble this from a structural engineer and trusted specialists - but the principle is identical.
Treat a professional survey as an investment, not a cost. Its fee is trivial beside the price of a structural mistake, a collapsed budget, or buying a building whose defects you did not understand. This is the course's golden rule applied to the very first stage: when in doubt about structure, services or the law, stop and get a qualified professional. Your survey is not a substitute for theirs; it is the thing that tells you, intelligently and early, which professional to call and what to ask them. Do it well and you enter every later decision with your eyes open - which is the whole point of diagnosing before you change.
You catalogue symptoms; the engineer diagnoses them. Cracks, bulging, sagging, wall removal = call a professional.
Measured survey accuracy
The dimensional basis for all later design
Use running dimensions from one origin and triangulate corners; errors compound if gaps are measured separately and added. For complex or valuable buildings, a laser scan / point cloud is worth the cost.
Signs of structural movement
Stepped/diagonal cracks, bulging or leaning walls, sagging floors/roofs
You record these as symptoms; you do NOT diagnose them. Any sign of movement is a structural engineer's question before any work is planned. Lesson 1.3 and Module 3.
Condition / building survey before purchase or major works
Overall soundness of an older or unfamiliar building
A chartered building surveyor (RICS-style report) or, in India, a structural engineer plus trusted specialists, should assess before you buy or commit serious money.
Specialist surveys
Damp and timber, drainage, asbestos and other hazards
Spreading damp, suspected rot/infestation, blocked drains or pre-1990s materials warrant a specialist (damp/timber surveyor, CCTV drain survey, asbestos survey) - not a guess.
Workshop - survey one real room, both ways
Surveying is learned by doing it and discovering how wrong the first attempt is. In this workshop you will produce, for a single real room you can access, both a measured record and a condition record - the two surveys, kept separate - and then test your own accuracy.
A tape or laser measure, graph paper or a notebook, a pencil and a phone camera. No specialist equipment - and nothing here replaces a professional measured or structural survey.
Goal: one accurate existing drawing + one honest condition note for a single room
Inputs: a room you can access, a tape or laser measure, graph paper/notebook, a phone camera
Time: ~60 minutes
- 1Sketch the room freehand and large on the page BEFORE measuring. Mark the door (with its swing), windows, and any change in floor level or ceiling height. Add a north point or a consistent orientation, the room name and today's date.
- 2Take the MEASURED survey: running dimensions along each wall from one fixed corner (0, then each feature, then the far corner), wall thickness at every opening, ceiling height, and the two diagonals of the room. Note where any services enter or pass through (drain, pipe, board, sockets).
- 3Take the CONDITION survey separately: walk the room looking up, down and behind, and write down every symptom you can see - damp, staining, cracks (with direction and rough width), sagging, past repairs, blocked ventilation - WITHOUT guessing the cause. Photograph each one wide-then-close with something for scale.
- 4Test your accuracy: redraw the plan to scale from your running dimensions and check the diagonals close. Where it does not close, work out which measurement was wrong - this is how you learn to measure honestly.
- 5Write a two-line verdict: one line naming the single thing most worth investigating properly (and which professional it points to), and one line on whether your measured drawing is reliable enough to design on.
You’ll walk away with
A scaled existing plan of one room with its key heights and service positions, a dated list of visible condition symptoms with photographs, and a two-line verdict flagging what needs a professional. Keep both records - you will reuse this room through the course.
Three altitudes on the same idea
Read the band that fits you — or all three.
An accurate measured and condition survey is the legal and technical foundation of everything you will draw, specify and certify on an existing building. Your existing drawings must be reliable enough to design extensions, openings and structural alterations on, and to hand to a structural engineer as the basis for their assessment - so invest in a proper measured survey (a point cloud / laser scan for anything complex) and record wall construction, levels and service runs, not just room outlines. On the condition side, your duty of care is to identify what needs specialist investigation and to commission it: structural engineer for movement and load paths, specialist for damp, drainage and hazardous materials. Never let a measured survey's tidiness disguise the building's condition, and never design a scheme on assumptions a survey could have tested.
Your schemes live or die on the accuracy of the existing survey - a reconfiguration drawn on wrong dimensions is wrong everywhere downstream. Measure properly: running dimensions, wall thicknesses at openings, ceiling heights, and above all the fixed services (drains, soil pipe, water entry, board) that decide where a kitchen or bathroom can realistically go. On the condition side, train your eye to spot the symptoms - damp, movement, tired services - that will blow a fit-out budget if discovered after demolition, and flag them to the client and to the right professional early. You are not expected to diagnose structure or damp, but you are expected to notice it, record it, and not design a beautiful finish over an unaddressed problem that will return to ruin it.
Surveying is the most transferable single skill in this whole course, and the one most worth practising now while the stakes are low. Take a tape, a notebook and a phone into any building you can access and produce an existing plan and a condition note - then check how wrong your first attempts are, because that is how you learn to measure honestly. Practise the two disciplines separately: the patient geometry of a measured survey, and the observant, symptom-first reading of a condition survey. Learn to write down what you see without jumping to a cause, and to recognise the triggers that mean 'this needs a professional'. Every real project you ever touch will start here, and the habit of looking carefully before proposing anything is the mark of someone who understands existing buildings.
“A good look around the place tells you everything you need to know. You can see the rooms, you can see the damp patch, you know roughly how big it is - why spend time and money on a formal survey before you start?”
Do it yourself
No building needed - reason it through.
- 1In one sentence each, state the different question the measured survey and the condition survey answer.
- 2Why do you take running dimensions from one origin rather than measuring each gap and adding them up?
- 3Give two reasons to record a symptom (a crack, a damp patch) without immediately guessing its cause.
- 4List three things you would survey on the OUTSIDE of a building before going indoors, and what each might warn you about.
- 5Name three triggers that mean your walk-round must stop and a professional survey begin - and which professional each points to.
The one line to carry out
Peer-reviewed journals & authoritative standards
- 01Building surveying — Wikipedia - Building surveying, 2026.
- 02Home inspection — Wikipedia - Home inspection, 2026.
- 03Structural engineering — Wikipedia - Structural engineering, 2026.
- 04Building science — Wikipedia - Building science, 2026.
A survey tells you what is there and what state it is in - but to interpret it you need to know how buildings are actually put together. Next we open up the fabric: load paths, walls, floors, roofs and foundations, so you can anticipate what lies behind every surface.
The author
Amogh N P
Architect, interior designer, and creative polymath. Studio Matrx began in his notebooks — his vision of design made honest, useful, and open to everyone. Its Academy is written and taught in his memory, and free, forever.
More about Amogh →