
 Lesson 6.1
Lesson 6.1 · Parametric Facades & Panelization
Panelization Strategies
Dividing a surface into buildable panels: UV grids, morph, and LunchBox patterns
A facade looks like a surface. It is really thousands of panels - and panelization is how you get from one to the other.
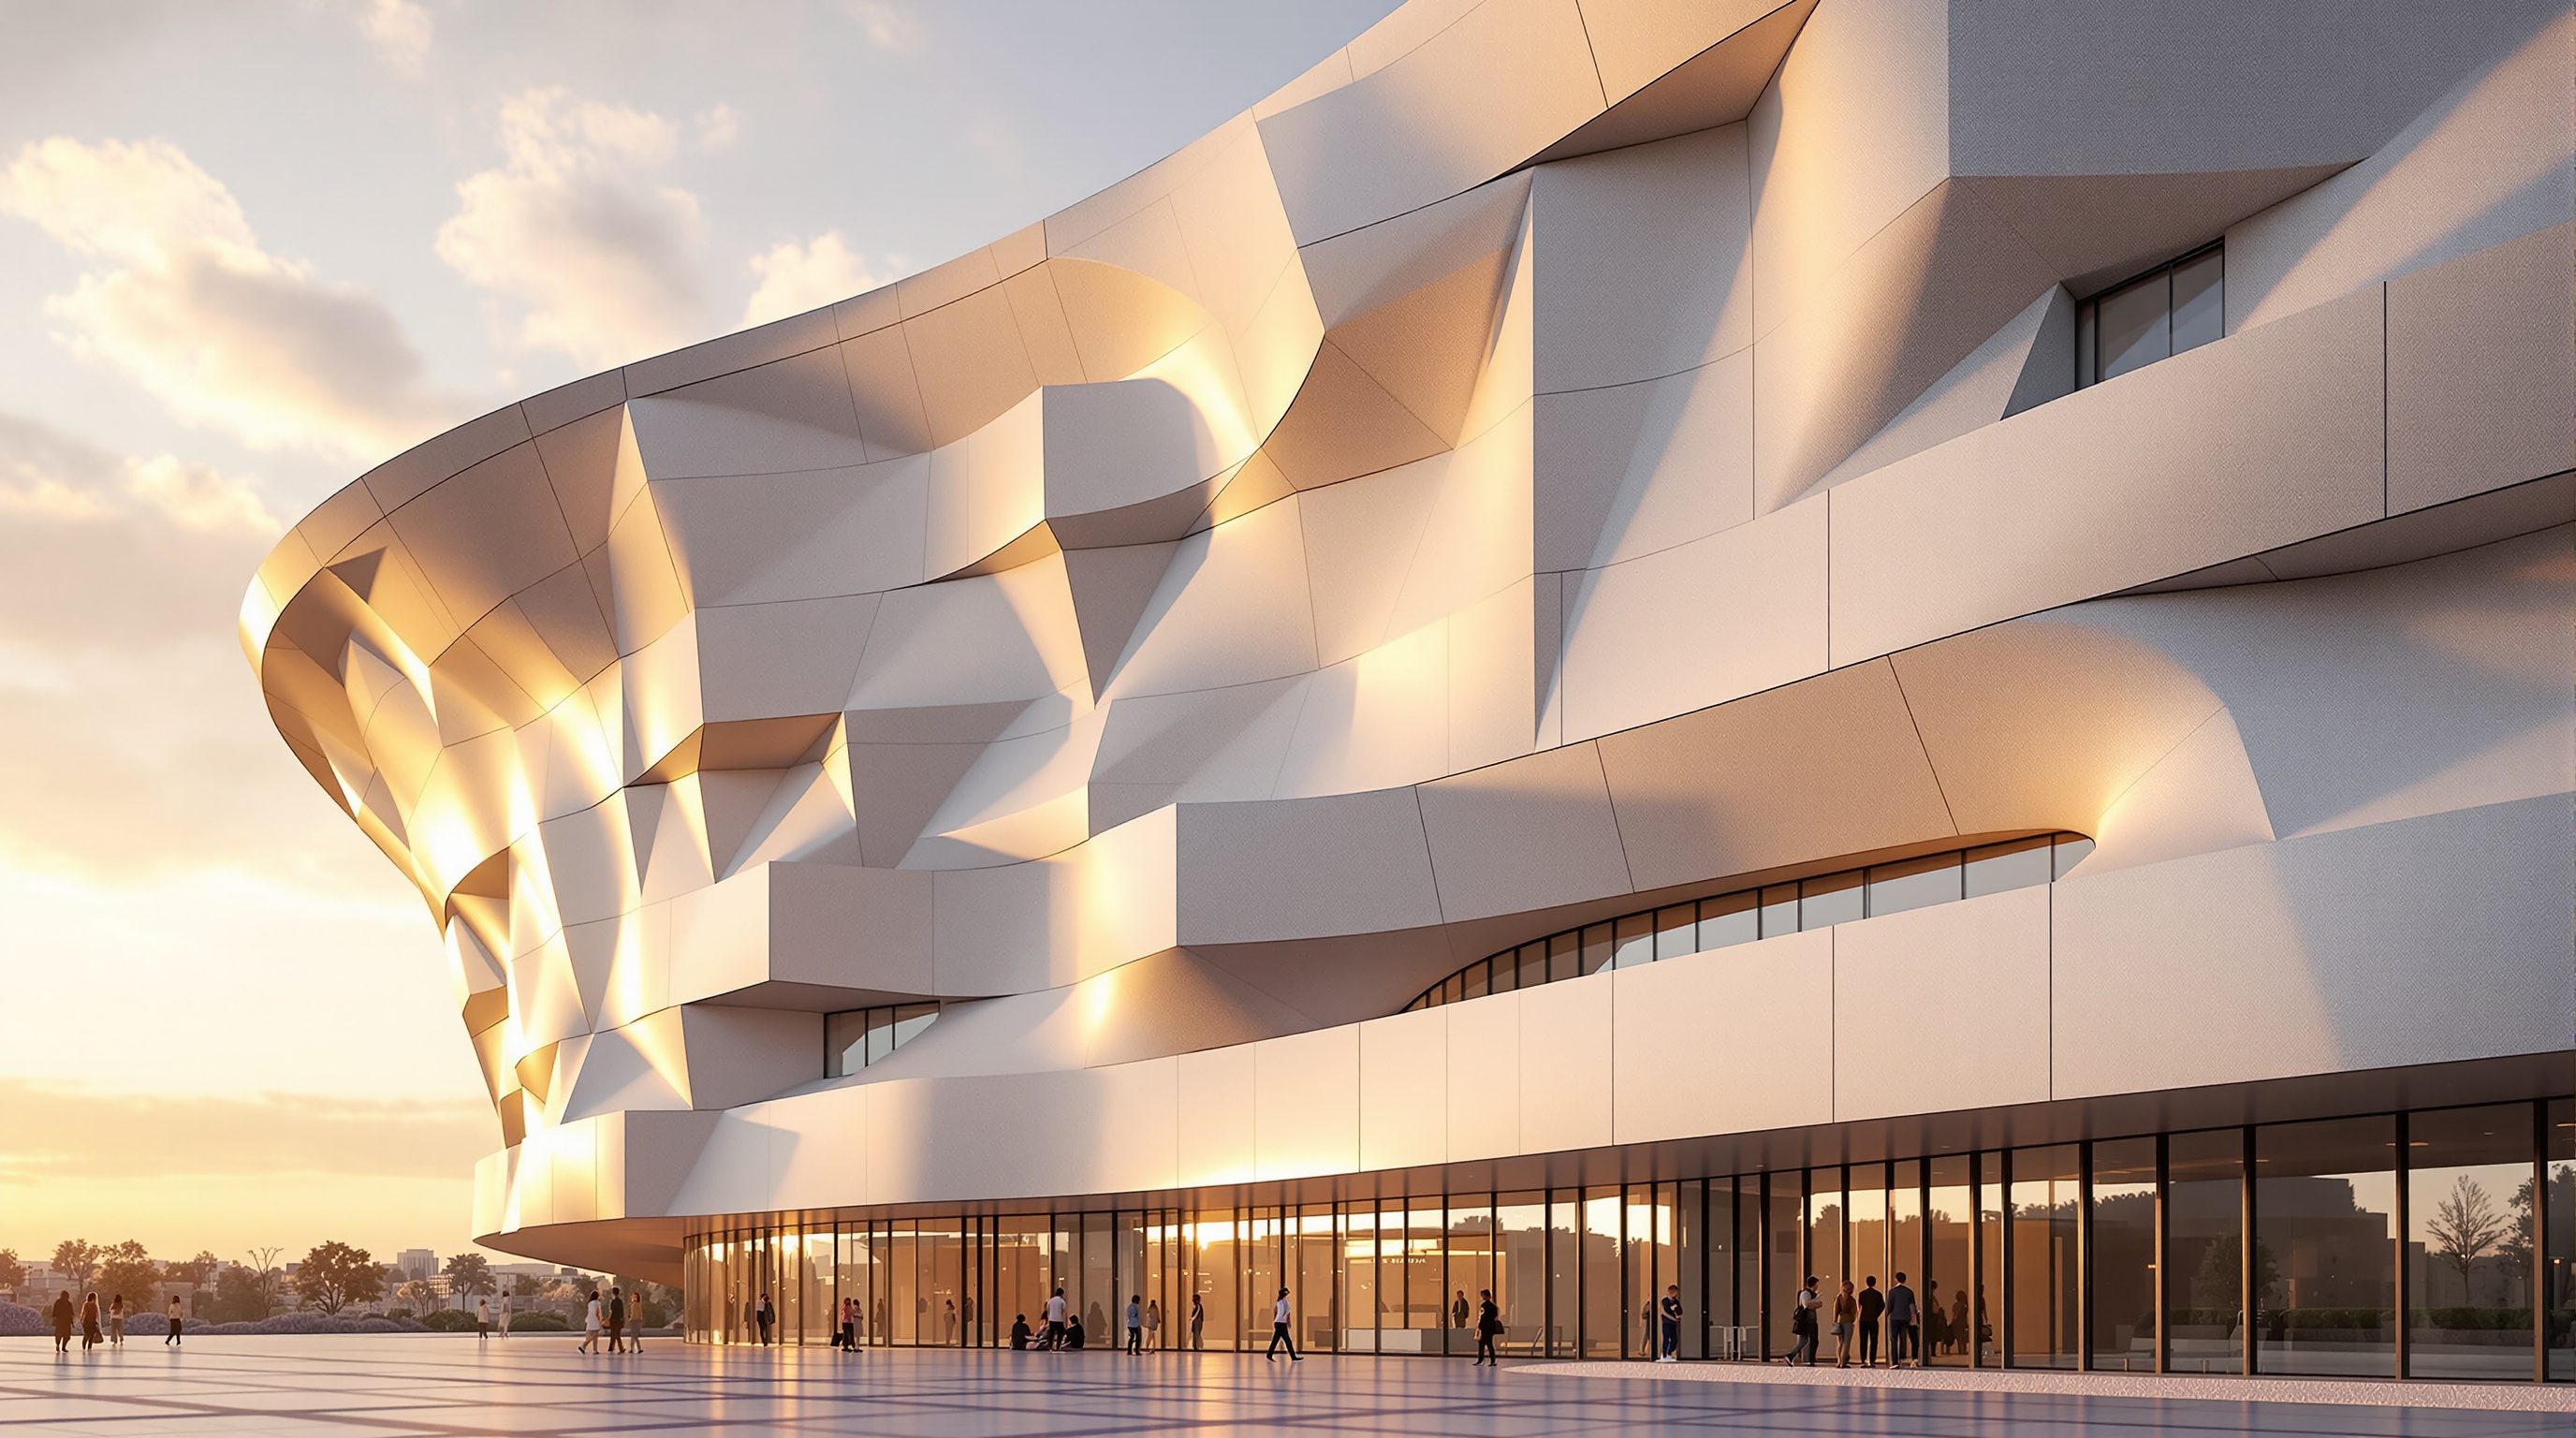
Draw a smooth curved facade in Rhino and you have one surface. But nobody manufactures a building-sized surface. It has to become panels: glass units, metal cassettes, GFRC pieces - each one cut, priced, shipped, hoisted and bolted. Panelization is the craft of dividing a surface into those parts in a way that is both good-looking and buildable.
Get it right and an ambitious form becomes a schedule of parts a factory can make. Get it wrong and you have panels that don't sit flat, seams that fight the geometry, and a cost estimate that kills the project. This lesson gives you the core strategies - and the one question (planar or not?) that decides most of them.
One surface -> a field of parts. The pattern is an economic decision in disguise.
The UV grid: a surface's built-in coordinate system
Every NURBS surface in Rhino carries its own two-directional coordinate system, called u and v. Think of them as latitude and longitude painted onto the surface: any point is addressed by a (u, v) pair, each running conventionally from 0 to 1 across the surface regardless of its real size. This is the foundation of almost all panelization, because it lets you divide the surface evenly even when the surface is curved and its edges are unequal.
In Grasshopper the workhorse is Divide Domain (Divide Domain2) followed by Isotrim (nicknamed SubSrf). Divide Domain2 chops the surface's u,v domain into a grid of U by V smaller domains; Isotrim then cuts the surface into one sub-surface per cell. Feed it 10 and 20 and you get a 10x20 field of panels that follow the curvature exactly. Change either number and every panel re-solves - the parametric promise, applied to cladding.
A few honest cautions. A UV grid is even in parameter space, not always in real space: if the surface is stretched, the panels bunch where the surface is dense. And the grid inherits the surface's flow - if the isocurves run awkwardly, so will your seams. Sometimes the first real move in panelization is rebuilding or re-lofting the surface so its u,v directions run the way you want the joints to run.
u,v = the surface's own lat/long. Divide Domain2 -> Isotrim = a grid of sub-surfaces.
Morph and Box Morph: putting a real panel into every cell
A sub-surface is just a patch of the surface. Real panels have content: a frame, a folded metal cassette, a perforation, an opening. You don't want to model that thousands of times. Instead you model one panel unit in a neat box and let Grasshopper morph a copy of it into every grid cell, bending it to fit the local curvature.
The tool is Box Morph. You build your panel once inside a unit Bounding Box (a 'reference' box, 0..1 in each direction). Divide Domain2 can output Surface Box cells - little twisted boxes sitting on the surface, one per grid cell. Box Morph then maps the contents of your reference box into each surface box. A mullion in the reference box becomes a mullion that follows the surface; a bump becomes a bump that leans with the curvature. Model once, populate thousands.
This is the engine behind most 'designed' panels - operable louvres, kinetic shades, ornamental screens. The discipline it demands is thinking in normalized coordinates: your reference panel lives in a tidy 0-to-1 world, and the surface's curvature is applied afterwards. Get comfortable moving between that clean unit box and the messy real surface and you can panelize almost anything - though remember the morph will happily warp a flat panel to fit, which is exactly the planarity problem we deal with next.
Model the panel ONCE in a 0..1 box. Box Morph drops a fitted copy into every cell.
LunchBox patterns: quad, diamond, triangle, hex
You rarely have to build the grid maths from scratch. LunchBox, a free and hugely popular Grasshopper plug-in, has a 'Panels' family that takes a surface and a U,V count and hands back ready patterns: Quad, Diamond, Triangle, Hexagon, and staggered brick-like variants. Feed a surface, get panel geometry - it is the fastest way to try five panelization languages in a minute.
The choice is not cosmetic. Quads are efficient and read calmly, but on a doubly curved surface a quad's four corners generally do not lie in one plane - so quads warp. Triangles are the safe workhorse: any three points define a plane, so triangular panels are always planar, which is why triangulated glazing wraps the most aggressive blobs. The cost is more nodes, more edges, sharper visual busyness, and awkward acute corners. Diamonds (rotated quads) and hexagons give a distinctive rhythm and can reduce node complexity, but hexagons on curvature warp even more than quads and often need to be flat-faceted or subtly split.
So the pattern decision is really a negotiation between look, structure (how many members meet at a node) and fabrication (can the panel be made flat and cheap?). A good habit: generate the same surface as quad, diamond and triangle, then measure planarity on each before you fall in love with one.
Triangles always planarize (3 points = a plane). Quads/hexes warp on double curvature.
Seams, joints and the honesty of edges
Panelization is not finished when the surface is covered - the panels have to meet each other. Between every two panels is a joint: a gap for a gasket, a shadow line, a structural mullion, a weather seal. Those joints are where a facade is waterproofed, where thermal movement is absorbed, and, visually, where the geometry either sings or looks cheap.
Computationally this means you almost never want panels that touch edge-to-edge at full size. You offset each panel edge inward by a few millimetres (Scale each panel about its centre, or offset its boundary) to open a consistent reveal for the gasket and to give tolerance for the fact that nothing is built perfectly. That small, deliberate gap is one of the marks of a facade that was detailed rather than merely modelled.
Seams also carry meaning. A continuous vertical seam reads as calm and tall; a staggered, brick-bonded seam reads as textured and can hide slight panel-to-panel variation. Where seams cross - four-way nodes - you get the most tolerance-sensitive, most expensive condition, which is one more reason triangular or diamond patterns (three-way nodes) are structurally kinder. Panelization, done well, is as much about designing the lines between panels as the panels themselves. Keep that reveal in your definition from the start; retrofitting it later is painful.
There is a practical dividend, too: because the reveal is parametric, you can dial it to match the fabricator's real gasket sizes and the building's expected thermal movement, and the whole facade re-solves to suit. A joint is not a leftover; it is a component with its own dimensions, its own tolerance, and its own contribution to how the elevation reads at a distance and up close.
Design the gap. A few mm reveal per edge = gasket room + tolerance + a crisp shadow line.
Choosing a strategy: a decision, not a default
With several tools in hand - UV grids, Box Morph, LunchBox patterns, meshes - the real skill is choosing between them for a given surface and brief. Work through four questions in order and the choice usually settles itself.
First, how curved is the surface? If it is flat or single-curved, quads stay planar and you have full freedom of pattern; if it is aggressively doubly curved, you are already being pushed toward triangles or a planarized mesh, and that constraint should lead. Second, what is the panel material? Flat glass, folded metal cassettes and GFRC each have different size limits, weights and cost curves - a pattern that yields 1.5m panels is a different project from one that yields 4m ones. Third, how many members meet at a node? Quads and hexes create four-way and three-way nodes with different structural and waterproofing consequences; triangles concentrate more members at each vertex. Fourth, what does the seam say? The joint pattern is a major part of the elevation's character, and it should be a positive choice, not a by-product of whichever component you reached for first.
The honest workflow is to run the surface through two or three strategies, measure each on planarity, panel count, unique-panel count and node type, and then decide with data on the table. This is exactly the parametric promise applied to a design decision: because each strategy is a re-solvable definition, comparing them costs minutes, not days. A designer who panelizes by reflex picks a pattern and hopes; a computational designer generates the alternatives and chooses. Keep the comparison itself in your definition, so that when the surface changes - and it will - the whole comparison re-runs.
Ask in order: how curved? what material? how many members per node? what should the seam say?
Divide Domain2 + Isotrim (SubSrf)
Splits a surface's u,v domain into a grid and cuts one sub-surface per cell
The native panelization core. Even in parameter space, not always in real space - watch bunching on stretched surfaces.
Box Morph
Maps a panel modelled in a unit reference box into every twisted surface-box cell
Model the panel once, populate thousands. It will warp a flat panel to fit - check planarity afterwards.
LunchBox (Panels)
Free plug-in: quad / diamond / triangle / hexagon panelizers
Fastest way to compare pattern languages. Triangles are always planar; quads and hexes warp on double curvature.
Surface Domain Number
The 0..1 u,v parameter space every NURBS surface carries
Addresses any point independent of real size; the coordinate system panelization rides on.
Workshop — panelize one surface four ways
You will take a single curved surface and clad it in four different patterns, then measure which panels are actually flat. This is the core facade skill in miniature.
Rhino + Grasshopper, the free LunchBox plug-in (food4rhino). No engineering software needed - planarity is pure geometry.
Goal: compare quad / diamond / triangle panelization on planarity and count
Inputs: one lofted, gently double-curved NURBS surface in Rhino
Time: ~45 minutes
- 1Loft a surface from two or three offset curves so it has some real double curvature. Reference it into Grasshopper with a Surface param.
- 2Panelize it with Divide Domain2 + Isotrim at a 12x8 grid. Then reproduce the same grid with LunchBox Quad, Diamond and Triangle panels.
- 3For each pattern, extract panel corner points and test planarity - deconstruct each panel, fit a plane to its corners, and measure the maximum corner-to-plane distance (the 'planarity deviation').
- 4Colour each panel green/amber/red by that deviation against a threshold you pick (say 5 mm). Note how triangles read all-green while quads and hexes flag red where curvature is strongest.
- 5Offset each panel edge inward ~15 mm to open a consistent joint reveal, and count total panels and total unique panels per pattern.
You’ll walk away with
One surface shown in three panelizations with a planarity colour-map and a small table of panel count, unique-panel count and max deviation per pattern - plus a one-line recommendation of which you'd take to a fabricator and why.
Three altitudes on the same idea
Read the band that fits you — or all three.
Panelization is where your form meets your budget. The pattern you pick sets the node count, the amount of flat vs warped glass, and the length of framing - the three biggest drivers of facade cost. Learn to panelize parametrically and you can hand the facade engineer a rational, re-solvable grid instead of a shape and a prayer.
The same logic scales down beautifully to interiors - a feature wall, a slatted ceiling, a perforated screen, a reception desk clad in folded panels. Box Morph lets you design one tile and repeat it across a curved surface with clean, CNC-ready seams, so a 'sculptural' wall becomes a tidy cut list rather than a site headache.
Panelizing a surface four different ways is one of the most portfolio-legible things you can show. It proves you understand surfaces, data, and buildability in one image. Master Divide Domain2, Isotrim, Box Morph and LunchBox now - they recur in every facade brief, competition and job interview you will meet.
“Panelization is just cosmetic - you pick a pattern you like and apply it to the surface.”
Do it yourself
Reason it through - you can answer these from the concepts.
- 1What are u and v on a NURBS surface, and why panelize in that space instead of world XY?
- 2Explain the Divide Domain2 -> Isotrim pipeline in one sentence.
- 3Why are triangular panels always planar while quads on a curved surface usually are not?
- 4What does Box Morph let you avoid doing thousands of times?
- 5Why should a panelization definition open a small gap between panels rather than leave them touching?
The one line to carry out
Peer-reviewed journals & authoritative standards
- 01Pottmann, Asperl, Hofer, Kilian — Architectural Geometry — Bentley Institute Press, 2007.
- 02LunchBox for Grasshopper (panelization/patterns) — food4rhino, 2026.
- 03Mode Lab — The Grasshopper Primer (Third Edition) — grasshopperprimer.com, 2020.
- 04Developable surface — Wikipedia, 2026.
You can now divide a surface into panels. The next lesson makes those panels _do_ something - opening, closing and varying in response to an input like an attractor or the sun, turning a static grid into a responsive facade.
The author
Amogh N P
Architect, interior designer, and creative polymath. Studio Matrx began in his notebooks — his vision of design made honest, useful, and open to everyone. Its Academy is written and taught in his memory, and free, forever.
More about Amogh →