
Concept to Form & the Crit
Grow an idea into a scheme — and present it well.
Now it all comes together. You take a concept and grow it — bubble to parti to massing to plan — testing it in sketch and model at every step. Then you have to present it, so a room of strangers understands your idea in a few minutes. This lesson is about both.
Learning objectives
By the end of this lesson, you will be able to — mapped to the course outcomes for Building Materials & Construction I:
Develop a concept through bubble, parti, massing and plan.
Choose the drawings and model your scheme needs.
Compose a presentation board and talk to your scheme at the jury.
Self-assess your project against clear criteria.
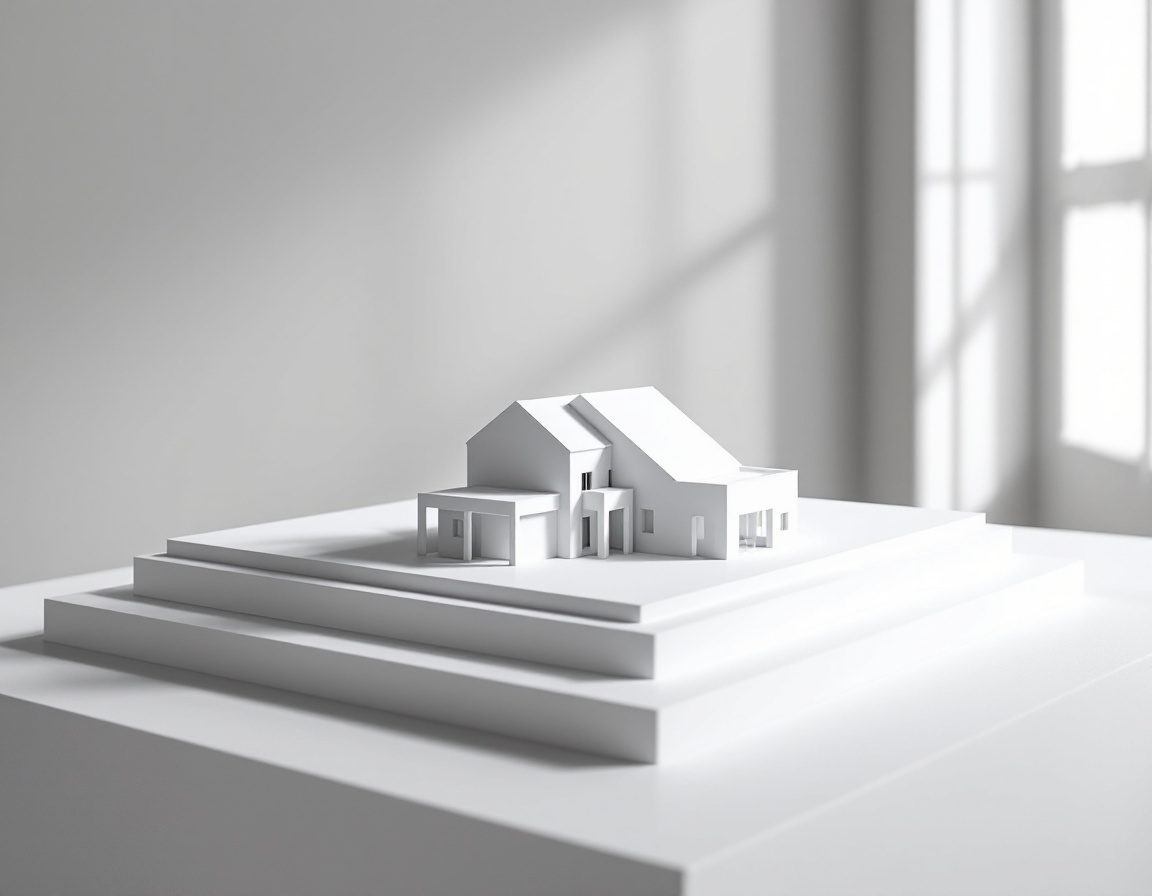
Grow the idea into form
The studio pipeline: a concept becomes a bubble diagram, a parti, a massing, and finally a resolved plan — looping back whenever the work tells you to.[1]
The massing step is just a few deliberate moves on a block — guided by your parti, not by decoration.
Present it well
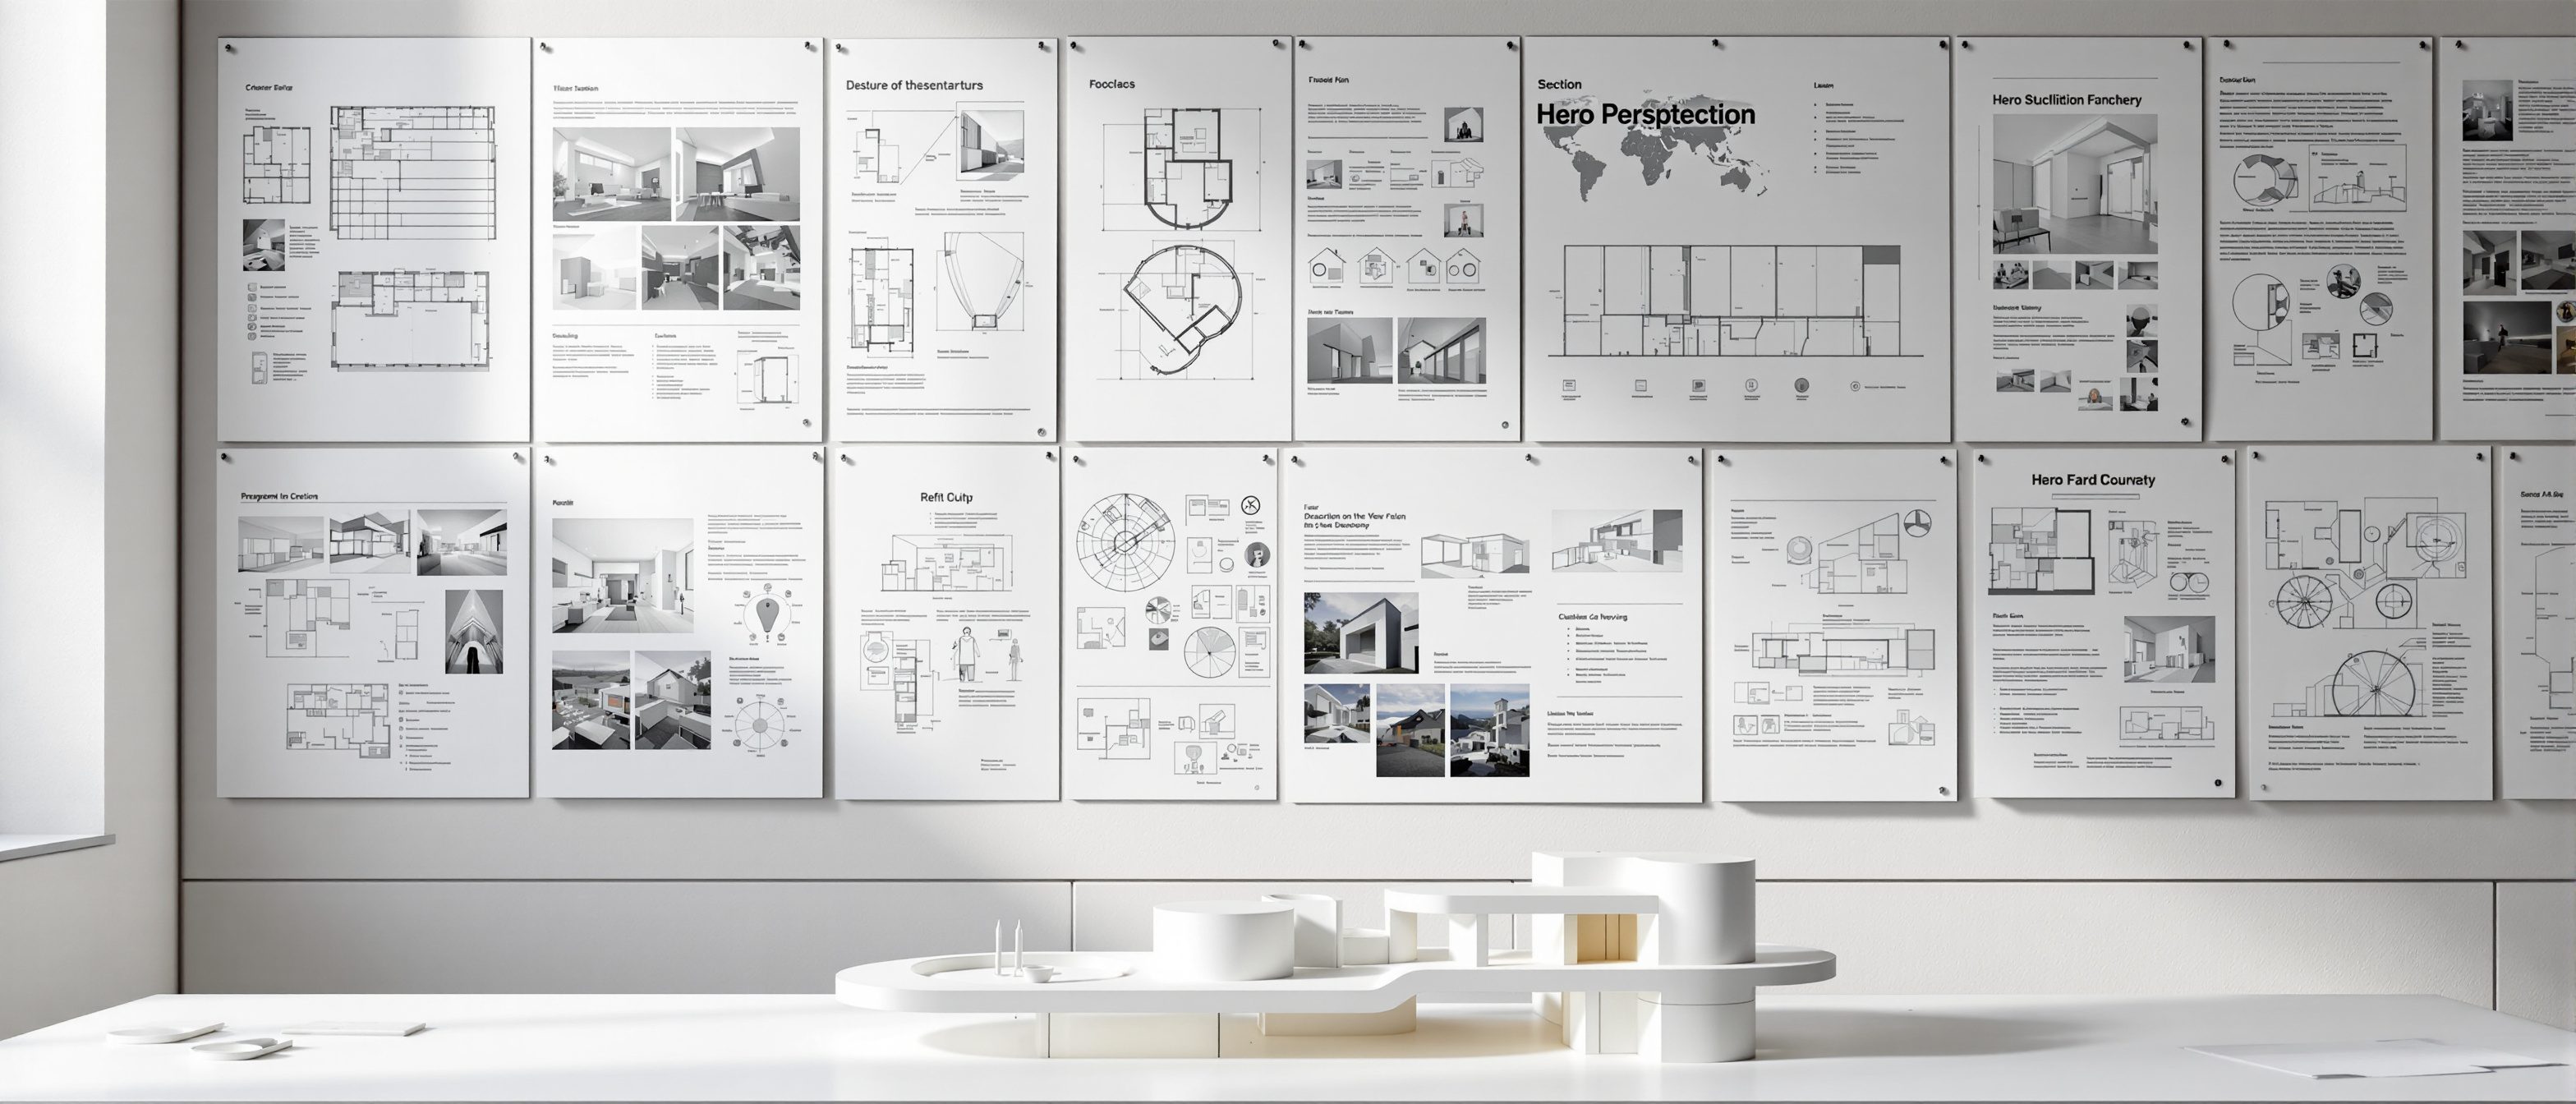
A great scheme presented badly fails the jury. Choose your drawings and model, compose the board to lead the eye, and learn to talk to your idea. (Draw it well with the Design Drawing course.)[2]
The drawings you need
A studio scheme is told through a site plan, floor plans, sections, elevations and at least one 3-D view (axonometric or perspective). Pair every plan and section with a 3-D view — see our Design Drawing course.[2]


Score your own scheme
Before the jury, mark yourself honestly against the criteria tutors actually use — then push the weakest part.[3]
Score your own scheme
A clear driving idea (parti), carried consistently through the scheme.
The programme and the site's opportunities and constraints are genuinely answered.
Adjacencies, circulation and the use of each space are resolved and work.
Massing, proportion and order — architectural quality, not just a diagram.
Structure, materials and buildability have been considered.
Drawings, model and the verbal pitch read clearly; the board leads the eye.
A self-check, not a grade — use it to find the weakest part of your scheme and push it before the jury.
Self-assessment quiz
1. The parti is:
2. A good presentation board:
3. Every plan and section should be paired with:
Recap
References & further reading
- [1]Concept to form — bubble, parti, massing, plan. Archisoup; First In Architecture diagram guides. https://www.archisoup.com/architecture-parti-diagram
- [2]Presenting design work — boards, models, the jury. Learn Architecture; Peter Raisbeck, 'Surviving a Design Jury'. https://peterraisbeck.com/2016/04/12/surviving-a-design-jury-presentation-the-essential-guide/
- [3]Architecture studio assessment criteria (rubrics). University studio grading guidelines; published rubrics. https://arch.be.uw.edu/wp-content/uploads/sites/5/2022/03/Studio-Grading_Evaluation_Guidelines.pdf
Further reading
- Clark, R.H. & Pause, M. (2012). Precedents in Architecture (4th ed.). Hoboken, NJ: Wiley.
- Ching, F.D.K. & Juroszek, S.P. (2019). Design Drawing (3rd ed.). Hoboken, NJ: Wiley.
Sources gathered and fact-checked June 2026. Published values vary by source, sample and method — treat as indicative and confirm against the cited standard before structural use.
The author
Amogh N P
Architect, interior designer, and creative polymath. Studio Matrx began in his notebooks — his vision of design made honest, useful, and open to everyone. Its Academy is written and taught in his memory, and free, forever.
More about Amogh →